Atlantean Stronghold - Bi-Level Room with Six Switches
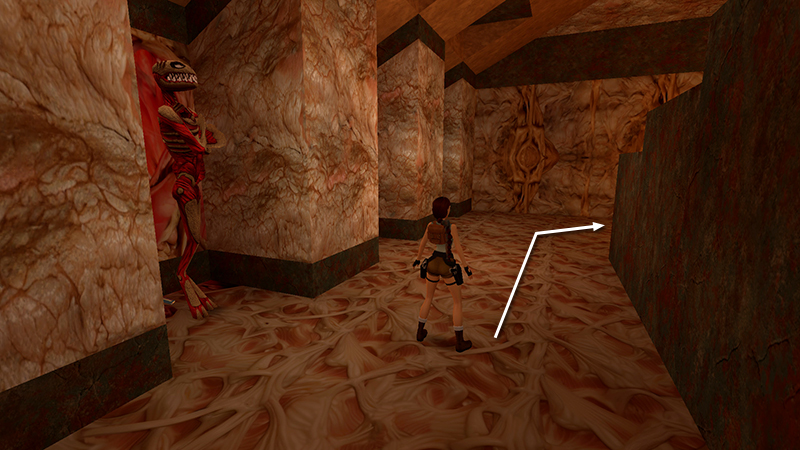
The next room contains 3 more mutants (11-13) in alcoves along the left wall. They don't animate unless you flip certain switches on the upper level or try and pick up the items behind them, so you can pass by safely for now. You can avoid them altogether by using only the fifth and sixth switches (i.e., the middle two on the upper level) to open the necessary doors, but the mutants are not too hard to kill one at a time from above. First, enter the room and head to the right, around the dark stone staircase.
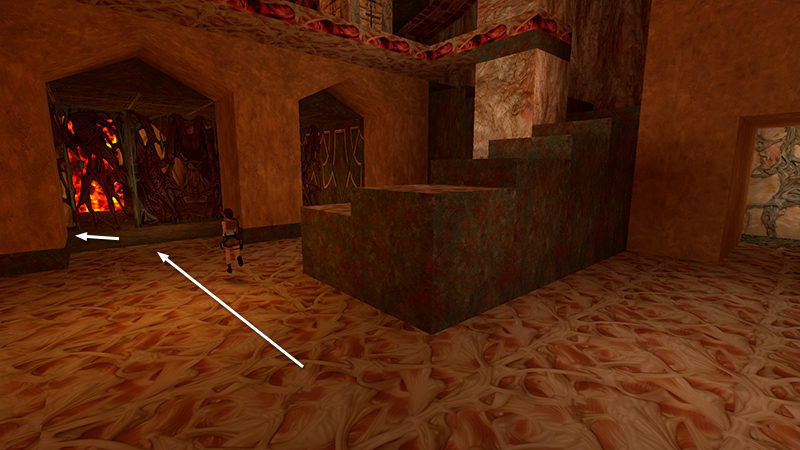
If you want all the kills in the game, locate the first switch, inside the alcove with the two pointed arches, on the left.
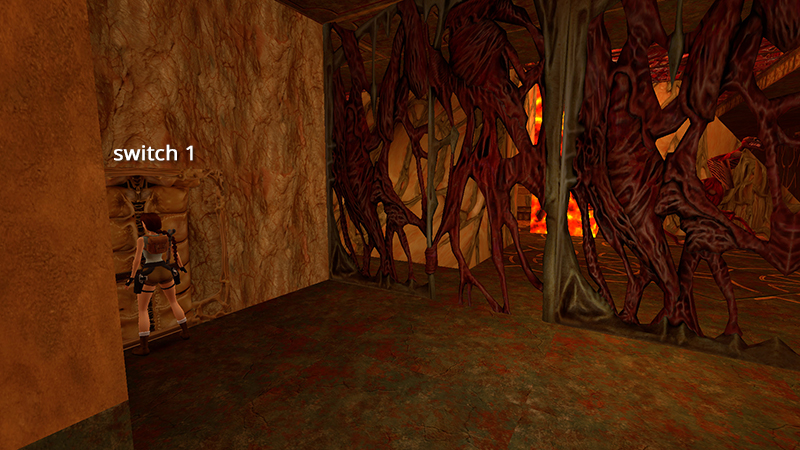
Use it to spawn a centaur (31 in the main walkthrough) in the room on the other side of the window. You'll wind up there at the end of the level.
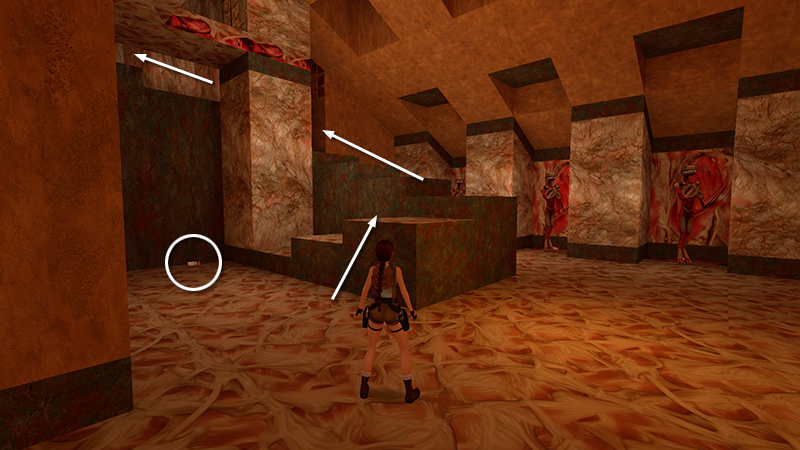
Next, grab the shotgun shells (18) on the ground at the foot of the stairs and go up.
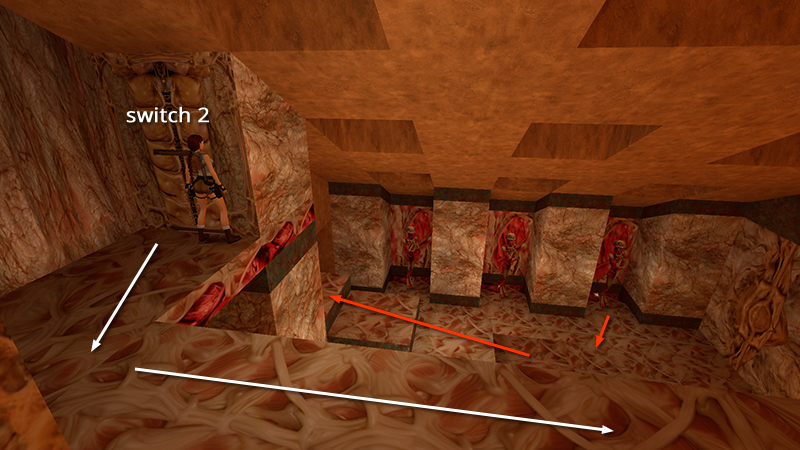
The second switch, set on a column apart from the others, awakens the mutant in the right alcove. If you use the switch and then run to the other end of the platform...
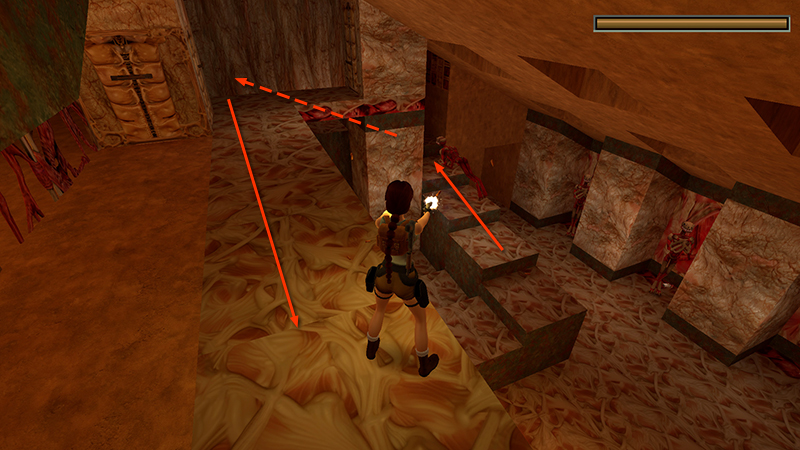
...you can shoot at the mutant as it comes up the stairs. If things get hairy, you can step off the edge and continue shooting as the mutant comes back down the stairs. Lara will lose a little health in the drop, but it's better than being mauled.
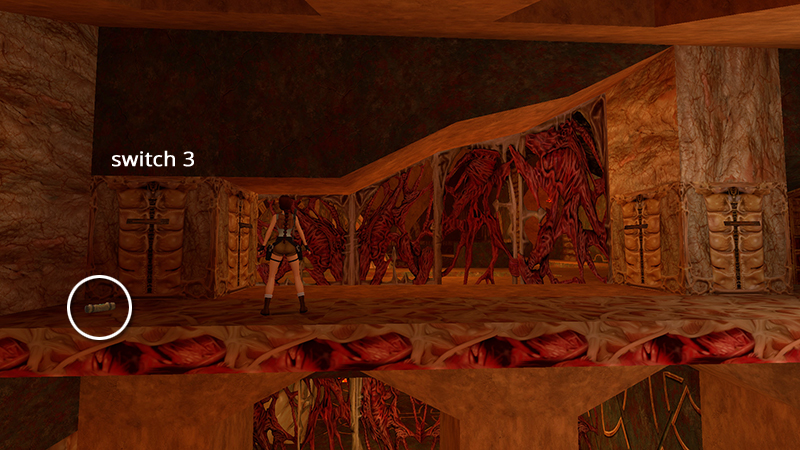
Pick up the small medi pack (19) on the floor near the leftmost switch.
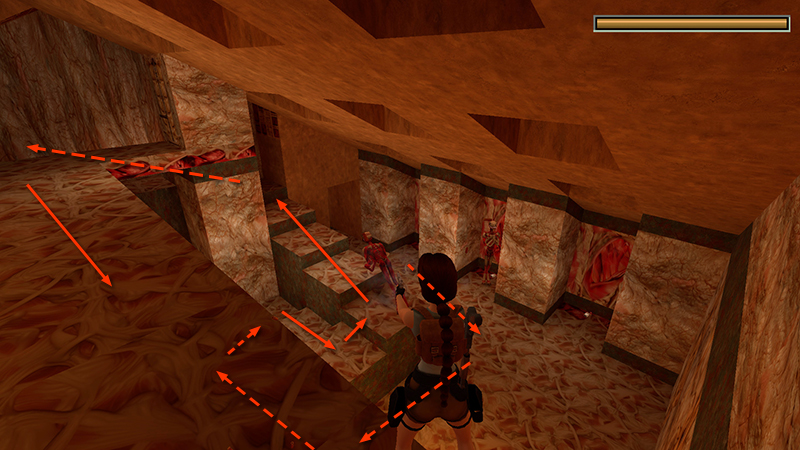
Use that switch to awaken the second mutant (12), then kill it in a similar fashion.
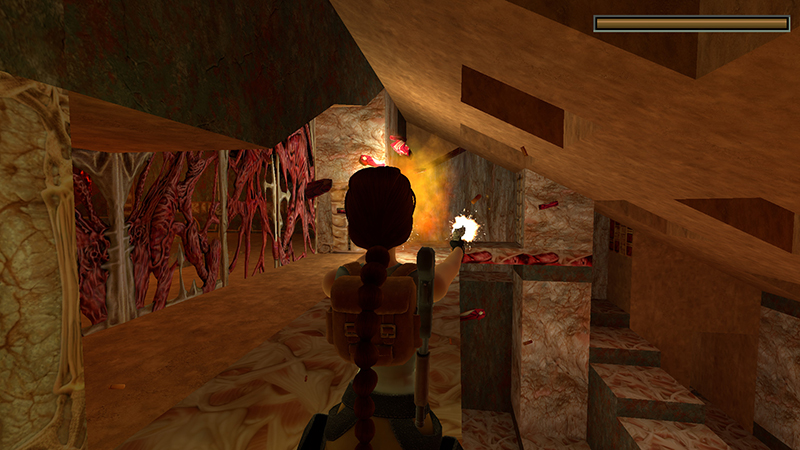
Boom!
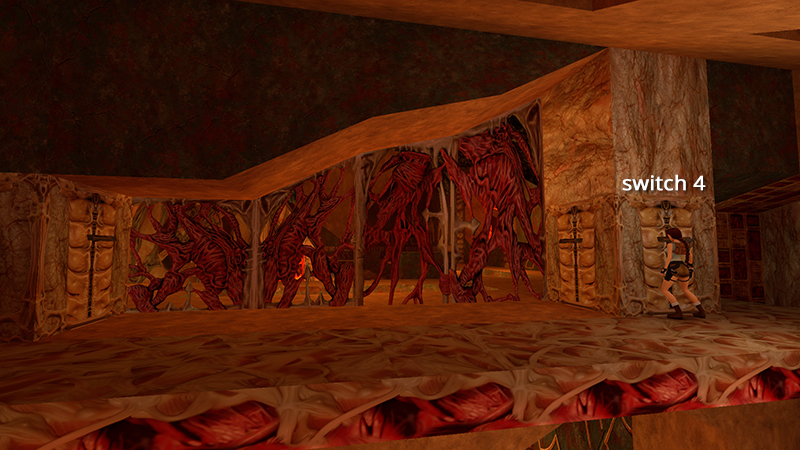
You might want to change it up a bit for the rightmost switch and the third mutant (13). I found if you use the switch...
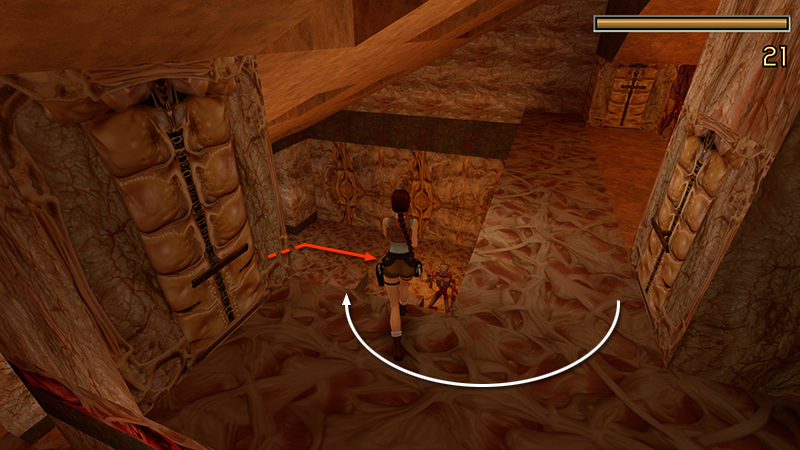
...draw the shotgun, and immediately make a U-turn to the right, so the top of the stairs is behind Lara and the first switch is on her left, you can target the mutant before it even reaches the stairs.
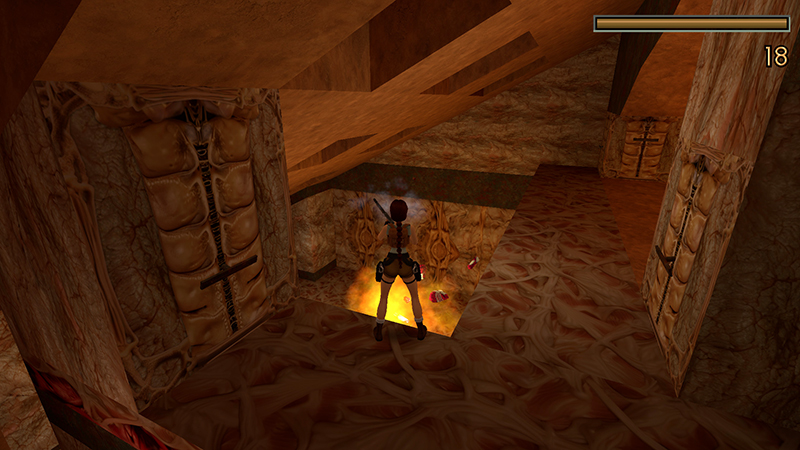
Three shotgun blasts should do the trick.
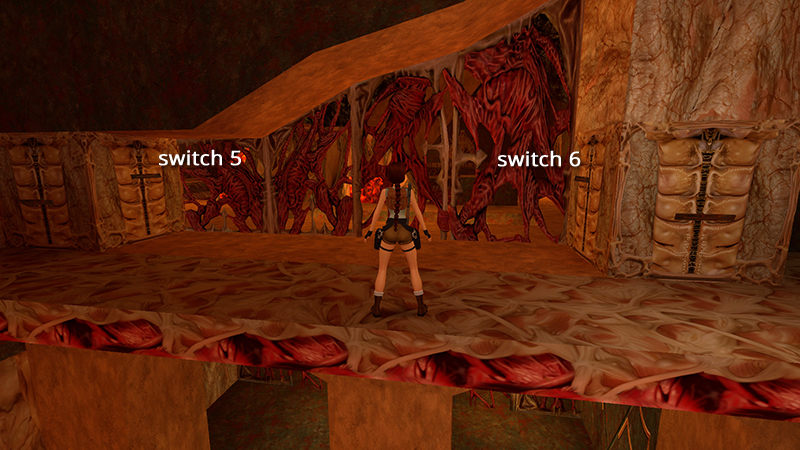
You'll also need to pull the two middle switches to proceed.
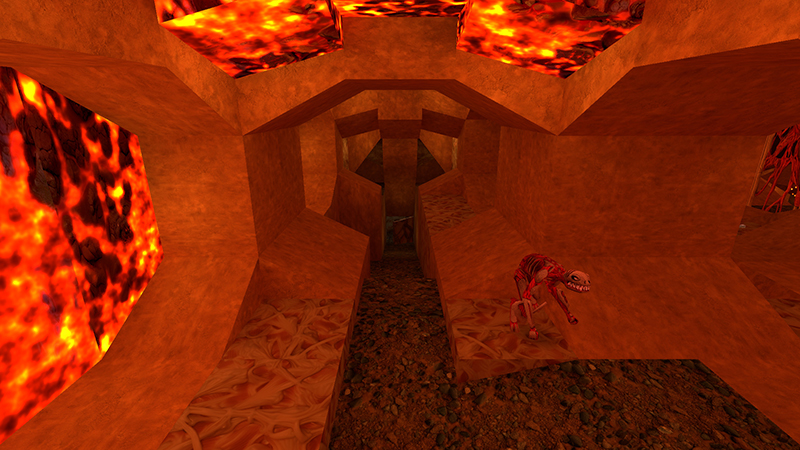
The fifth switch (middle left) opens the camouflaged door in the hallway outside this room. The cutaway may show live mutants there if you hatched them earlier.
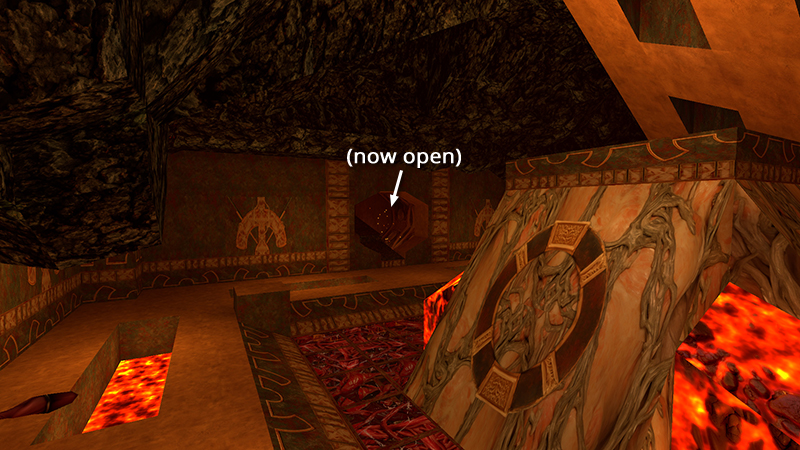
The sixth switch (middle right) removes the lattice window on the east side of the LARGE ROOM WITH PYRAMID & SEE-THROUGH FLOOR.
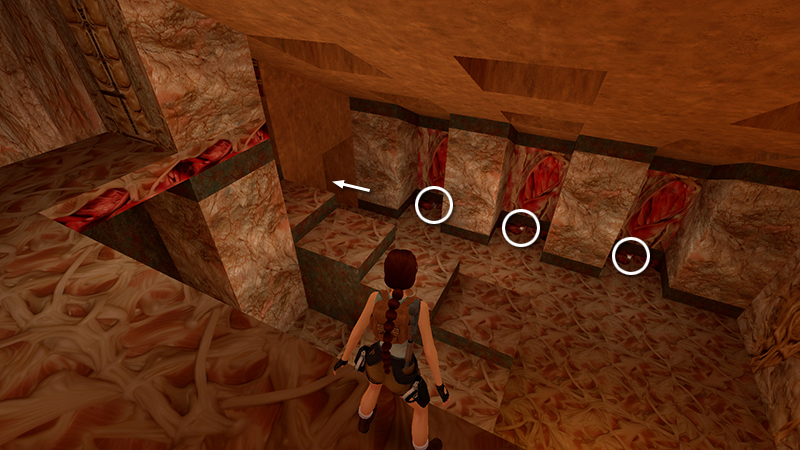
Drop back down to the lower level and pick up 2 boxes of shells and some magnum clips (20-22) from the alcoves where the mutants were. Exit the same way you came in.
DARK MODE: I plan to add optional dark mode for these pages, but my current priority is updating the walkthroughs. Meanwhile, may I suggest a reputable dark mode browser extension, such as Dark Reader? (Download only from trusted sites, like darkreader.org or your browser's web store.)
Walkthrough text and diagrams copyright © Stellalune (email ). Feel free to copy or print this walkthrough for personal use. By all means, share it with friends, but please include this credit line so people can send me their feedback. No part of this walkthrough may be reproduced on another site without permission.