Atlantean Stronghold - Beyond the Concealed Door
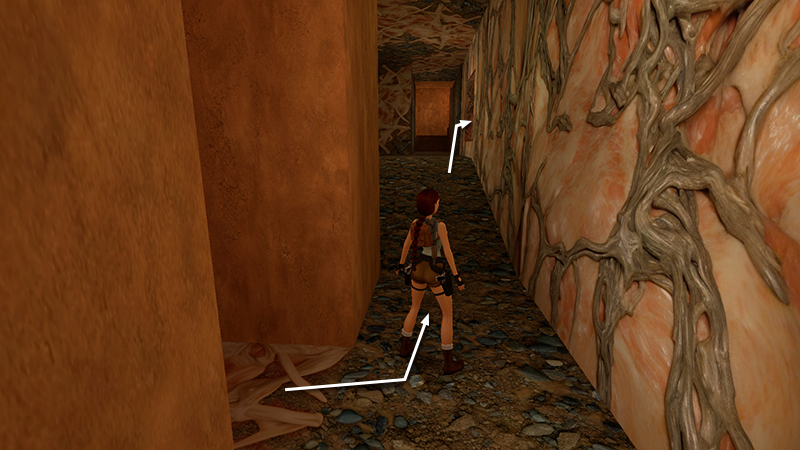
After using the various switches, as shown in the previous section, exit the BI-LEVEL ROOM WITH SIX SWITCHES the way you came and turn left. The concealed door you just opened is at the top of the short slope, on the right, before you reach the stairs. This area is optional but includes some nice pickups for minimal effort.
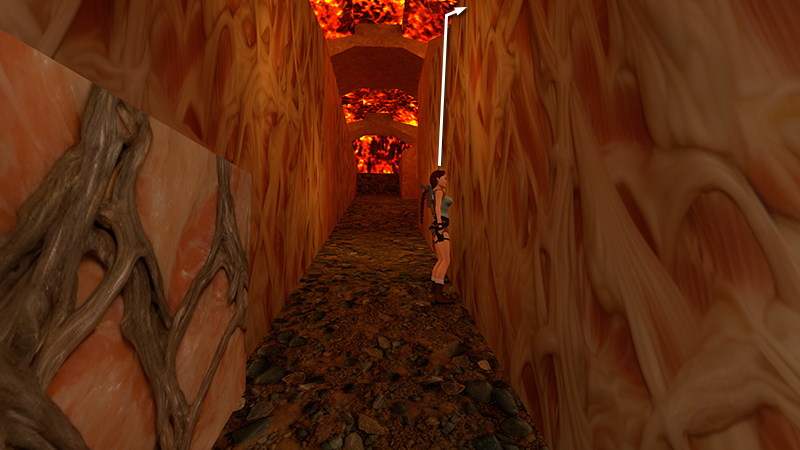
Enter and climb onto the ledge just inside on the right.
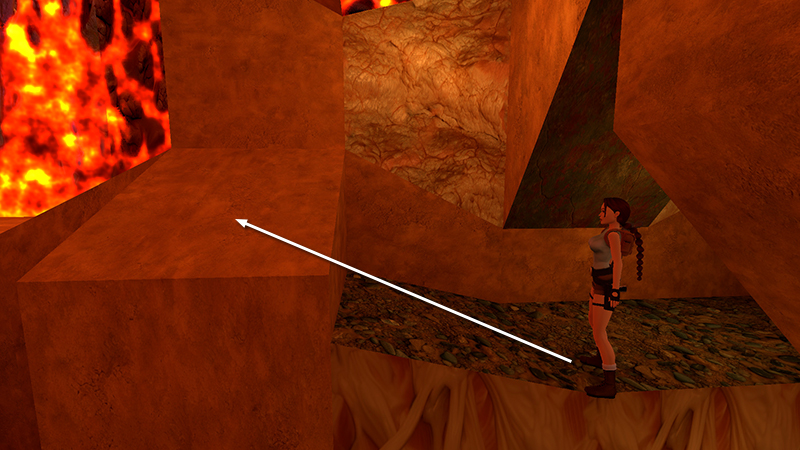
Turn left and jump up onto the sloping sandy colored block.
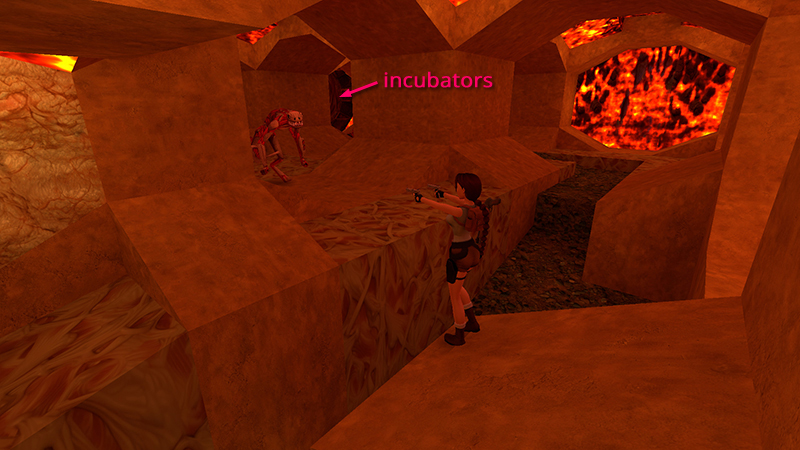
From here you can get a clear shot at the 2 mutants (14-15), assuming you hatched them earlier, and they can't reach Lara. (If you didn't hatch them before, this room is a bit more challenging. You'll have to approach the incubators in the southeast corner and do it now.)
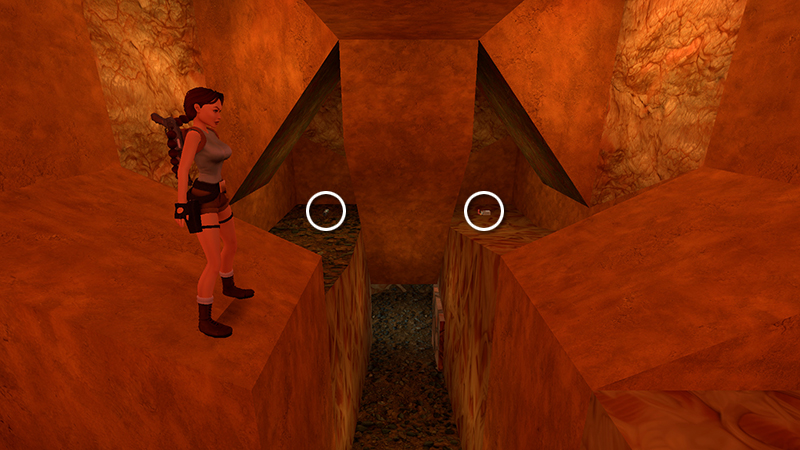
When you've taken care of both mutants, collect a small medi pack (23) and shotgun shells (24) on the ledges above each side of the entrance ramp.
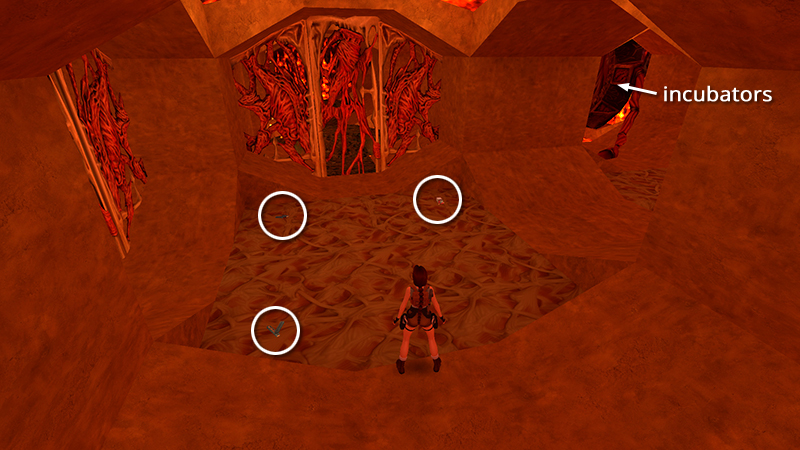
Then go into the room where the mutants were and pick up magnum clips, Uzi clips, and more shotgun shells (25-27).
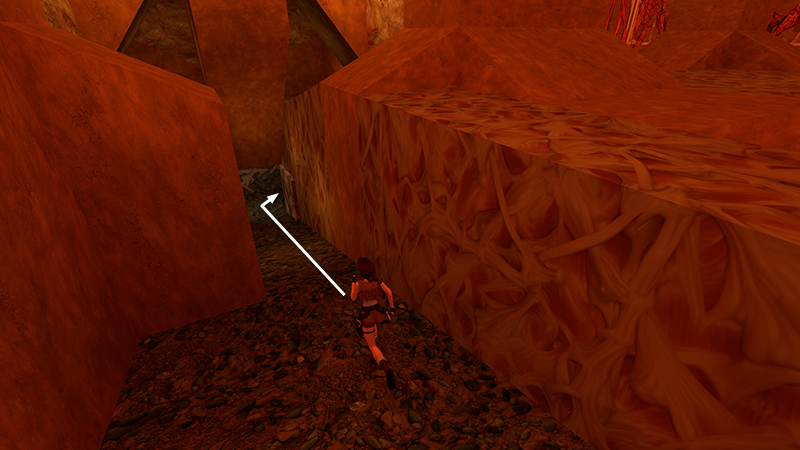
Return down the ramp and through the small door where you came in. Turn right...
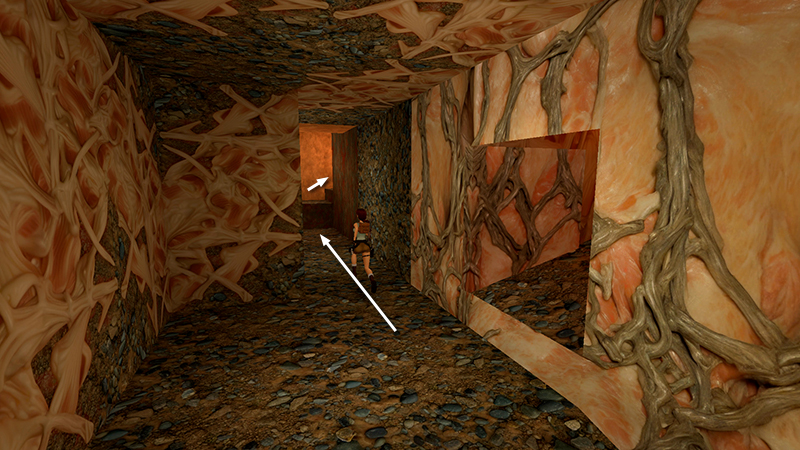
...and continue up the stairs to the to the ROOM WITH THE DART TRAP.
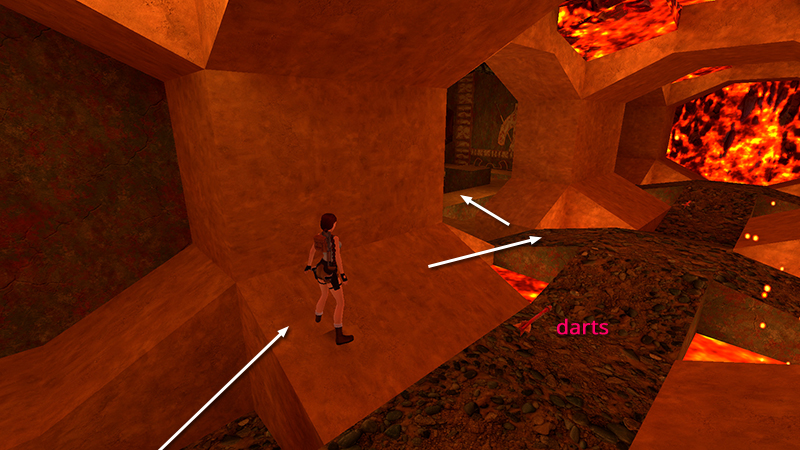
Exit through the doorway on the left into the LARGE ROOM WITH PYRAMID & SEE-THROUGH FLOOR.
DARK MODE: I plan to add optional dark mode for these pages, but my current priority is updating the walkthroughs. Meanwhile, may I suggest a reputable dark mode browser extension, such as Dark Reader? (Download only from trusted sites, like darkreader.org or your browser's web store.)
Walkthrough text and diagrams copyright © Stellalune (email ). Feel free to copy or print this walkthrough for personal use. By all means, share it with friends, but please include this credit line so people can send me their feedback. No part of this walkthrough may be reproduced on another site without permission.