Atlantean Stronghold - Deeper Into the Pyramid
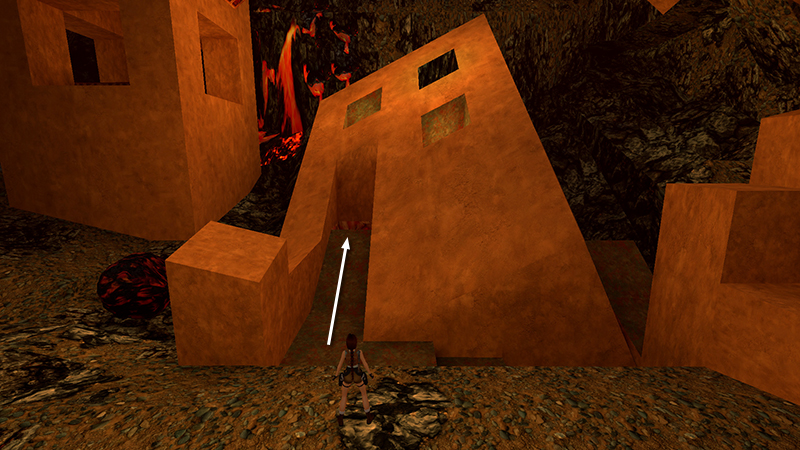
After exploring outside, as shown in the previous section, enter the honeycomb structure at the bottom left corner.
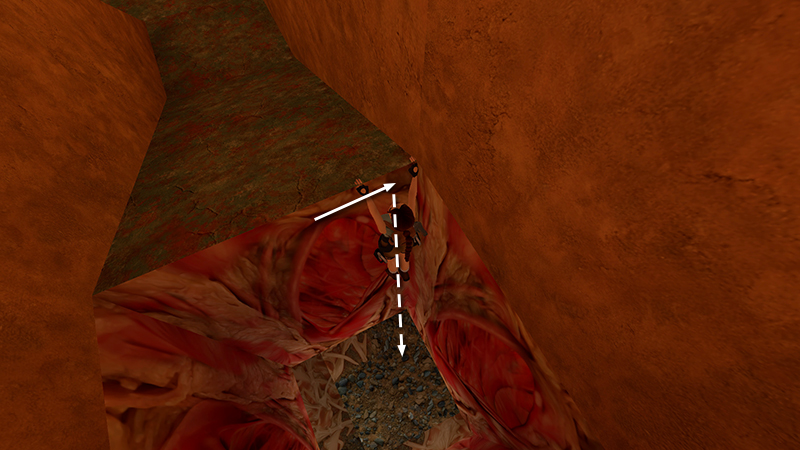
Turn around and grab the edge of the opening and traverse to the right before dropping down into the room below. (Lara takes a little fall damage, but this is minimized if you drop down where the floor is slightly higher.)
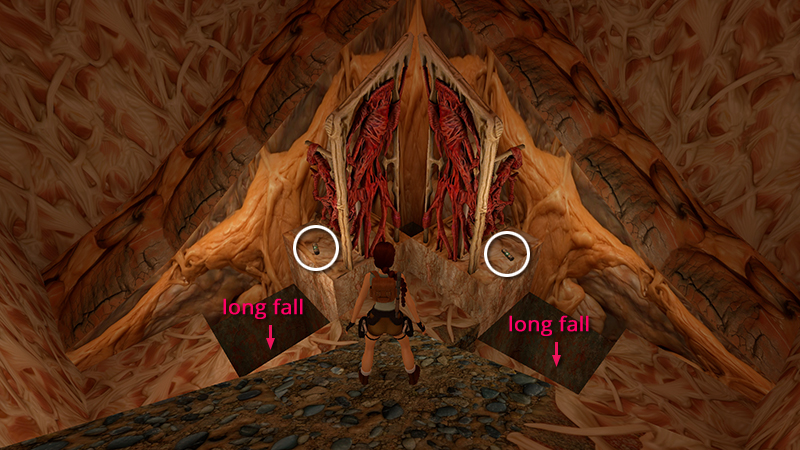
Retrieve 2 small medi packs (12-13) from the ledges, taking care not to fall through the holes in the floor. It's a long way down.
SHORTCUT 2: If you'd like to try another shortcut to the end of the level, there are two different methods for dropping down into the pyramid. Both are covered in the second footnote after the main walkthrough.
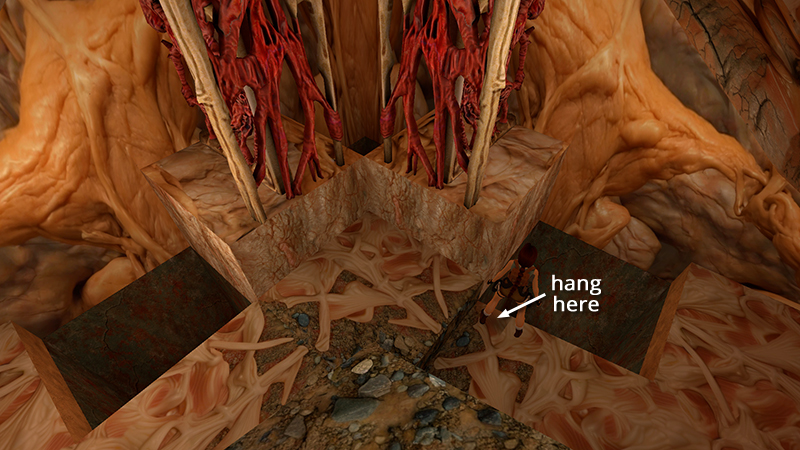
The usual route involves dropping down into the pyramid. Make sure Lara's health bar is more than half full beforehand, since she'll lose that much in the long fall. Hang from the lowest edge of the opening to the right of the red lattice structure.
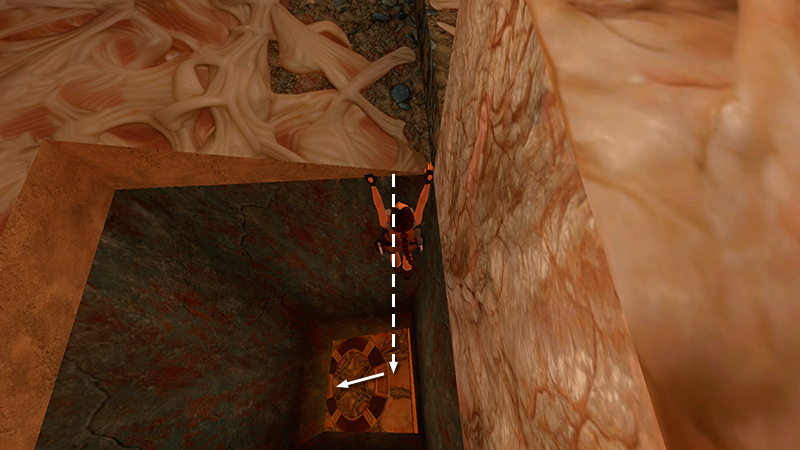
Safety drop onto the side of the pyramid below and slide to the floor. If you try and drop from any other location, the fall is too high, and Lara will die.
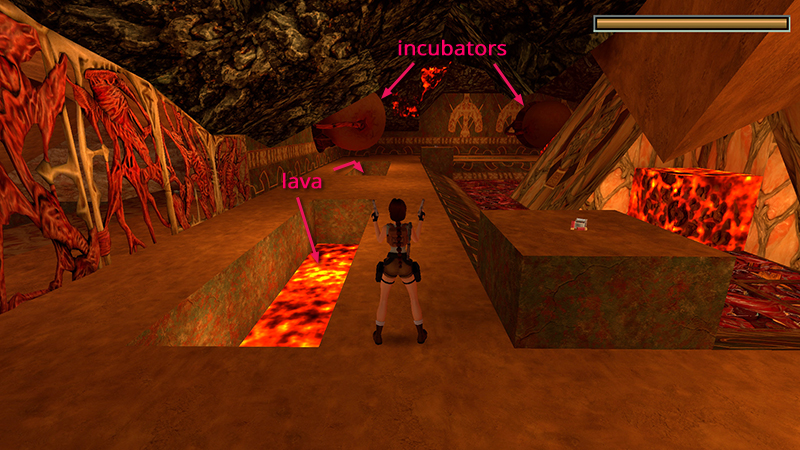
This large room has a red, webbed floor and a pyramid structure in the center. The room below is where we'll eventually end up, but there's no direct route to reach it. Along the north and west walls are 2 mutant pods waiting to hatch. There are also lava pits all around the perimeter.
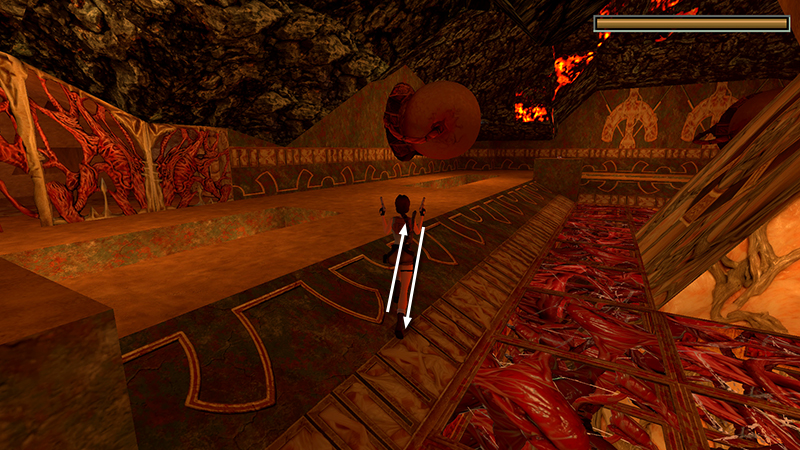
Approach the incubators one at a time and kill each of the 2 quadrupedal mutants (7-8) separately. If you approach on an angle, as shown here, you should be able to hatch the first mutant, backflip away...
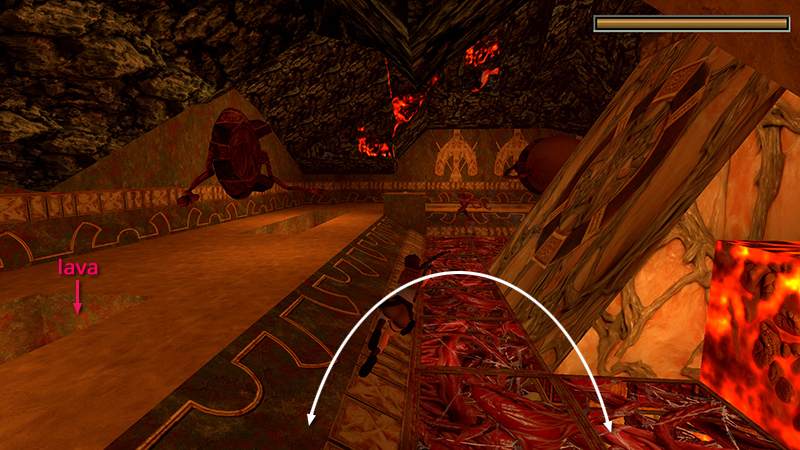
...then jump side to side while firing, without falling into the lava.
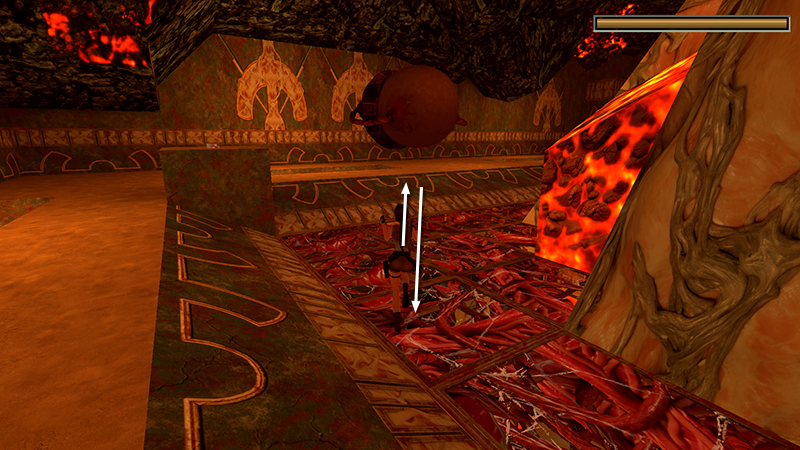
Same with the second mutant. Approach on a slight angle to hatch the egg. Then hop/flip back...
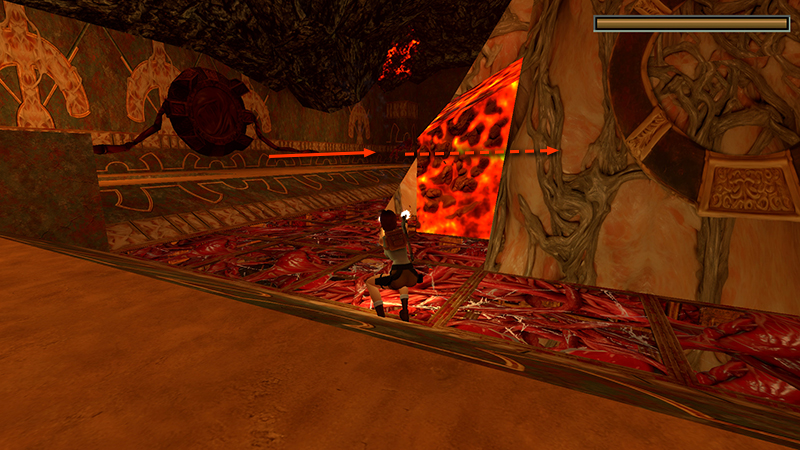
...and jump side to side while firing, if space permits. The second mutant may run around the other side of the pyramid. If you lock on with pistols...
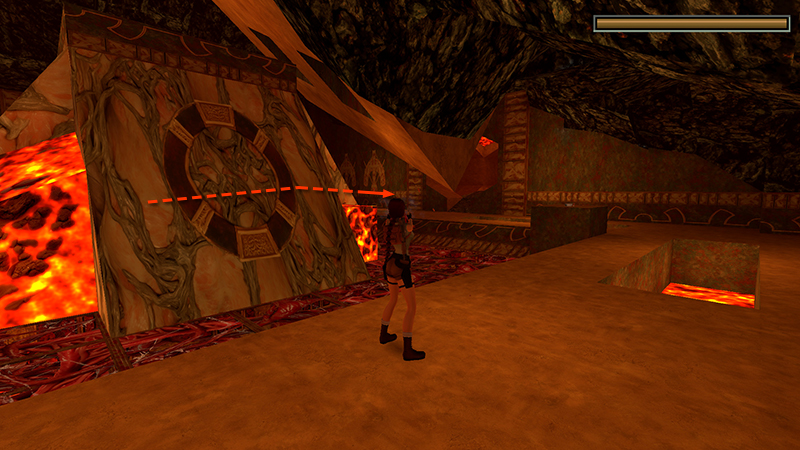
...you can track it...
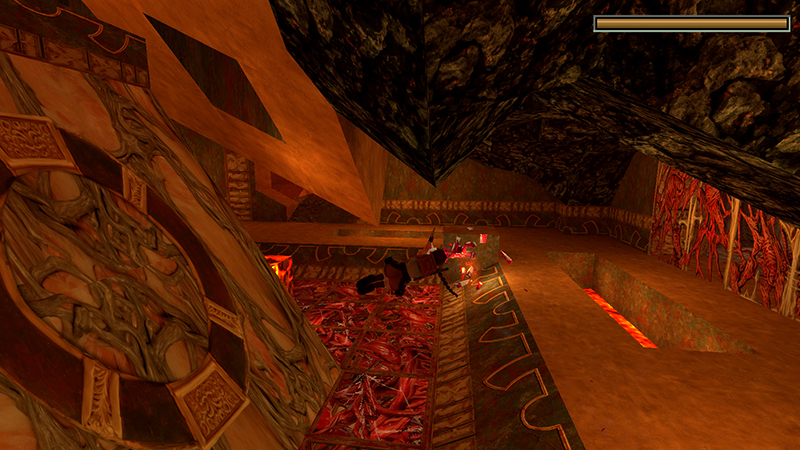
...and continue firing when it emerges.
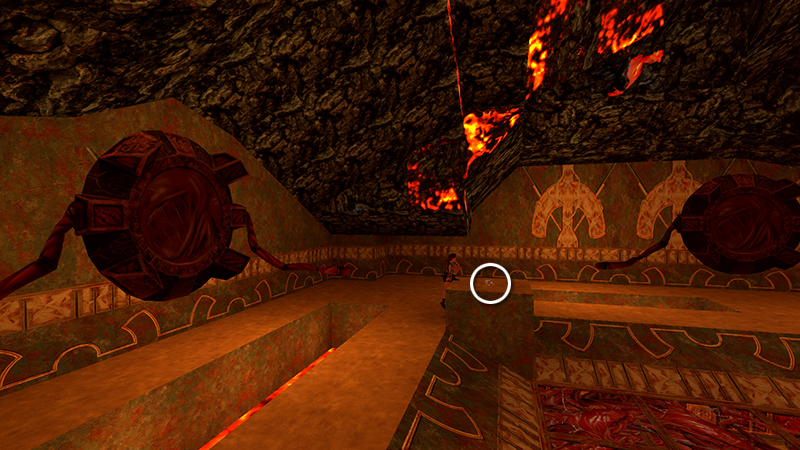
The low pedestals at the corners have goodies on them: a small medi pack and 3 boxes of shotgun shells (14-17). Picking up the shells in the northwest corner (between the two incubators)...
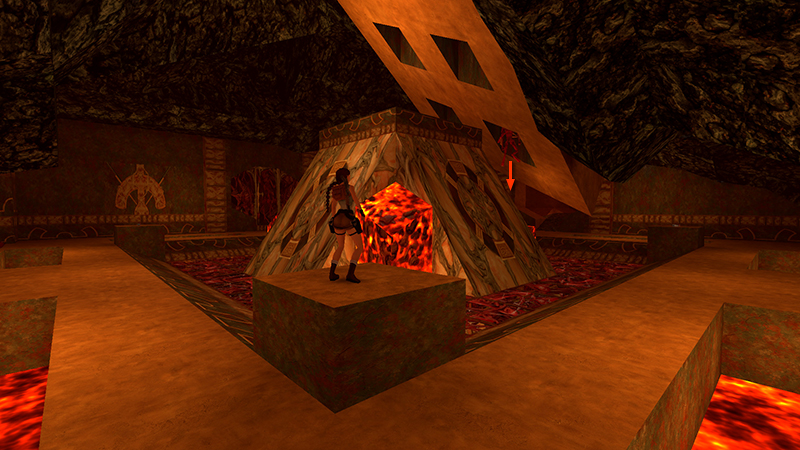
...spawns a third mutant (9) that drops down from a hole in the ceiling onto the far side of the pyramid.
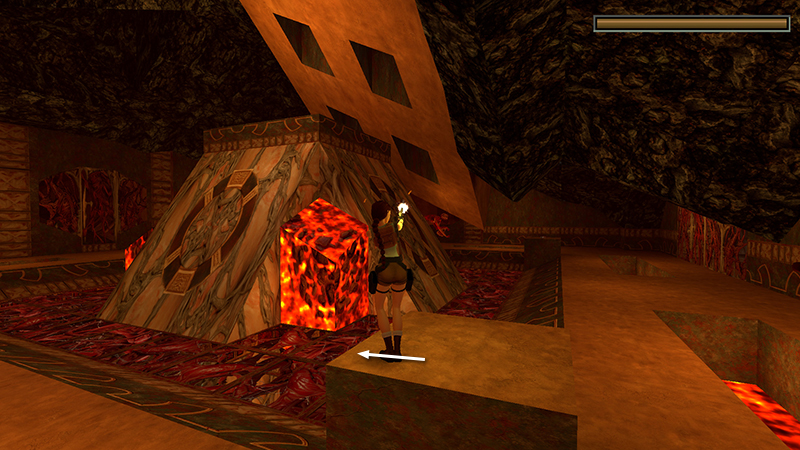
You can kill it from the pedestal. Just step to the left side to minimize the damage from its projectiles.
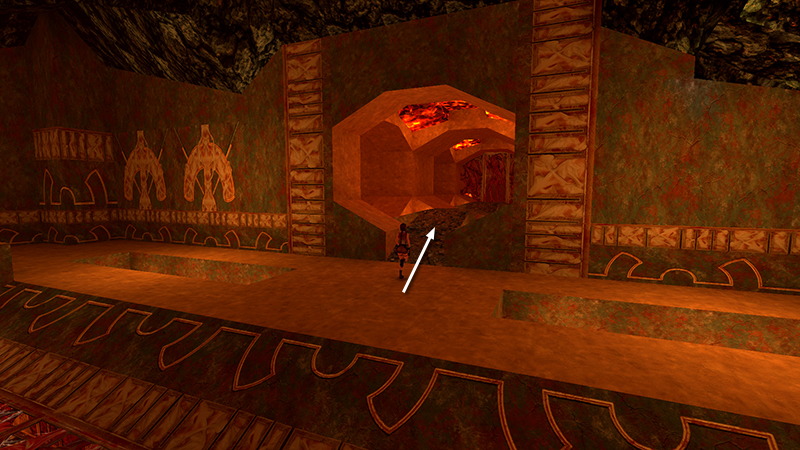
Enter the next room through the wide opening on the south side, taking care to avoid the lava pits and dart trap.
NOTE: If you enter this room without first destroying the 2 mutants (7-8) that hatch from the incubators in the previous room, they will hatch as you enter here and sneak up behind Lara.
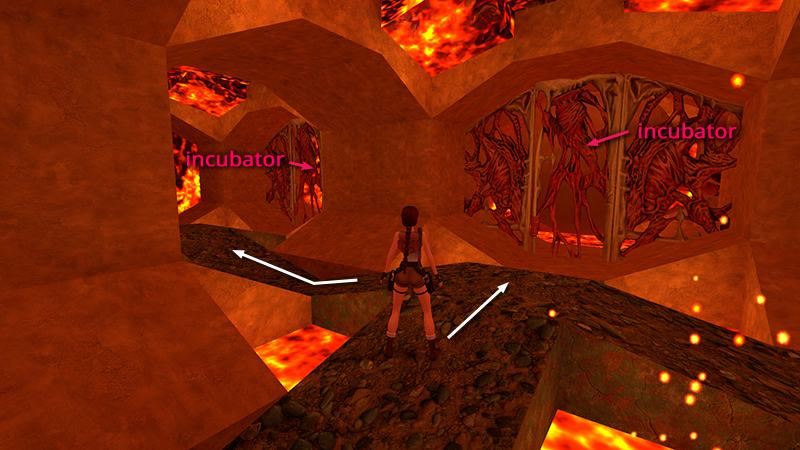
I recommend crossing this room and approaching the windows on the far (south) side to hatch the 2 mutants (counted later as 14-15) in the incubators beyond. They can't reach Lara through the lattice, and doing this will enable you to kill the mutants from a safer position later on.
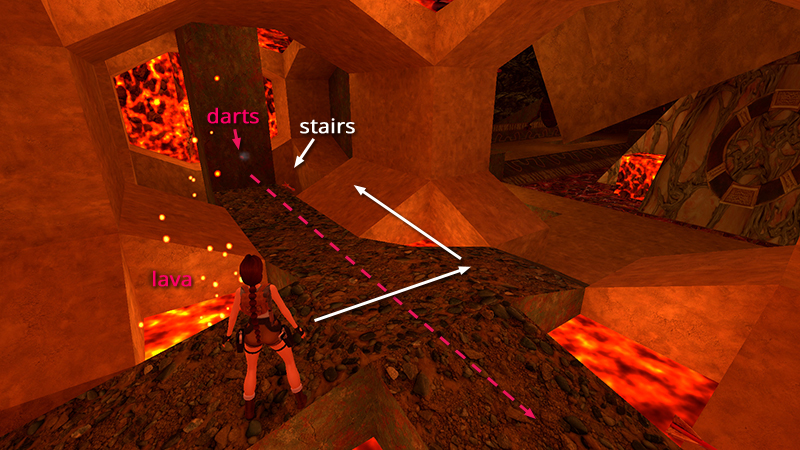
Now head for the northwest corner, where the darts originate, and go down the twisting staircase.
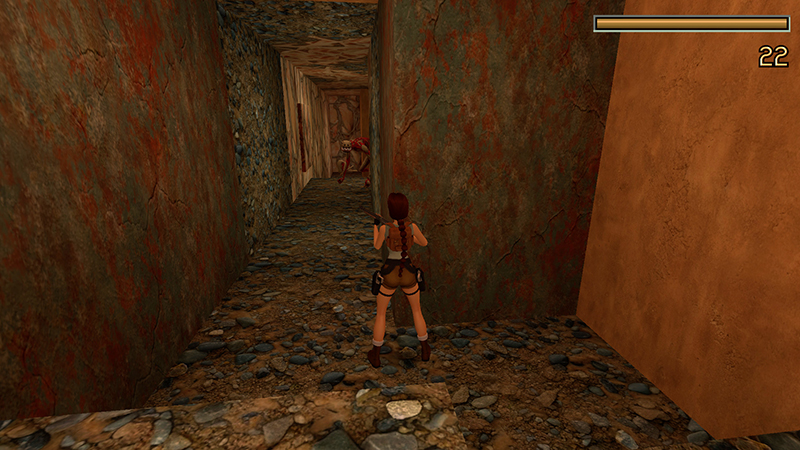
Kill the mutant (10) you meet in the hallway below. If you advance cautiously and use the doorway for cover...
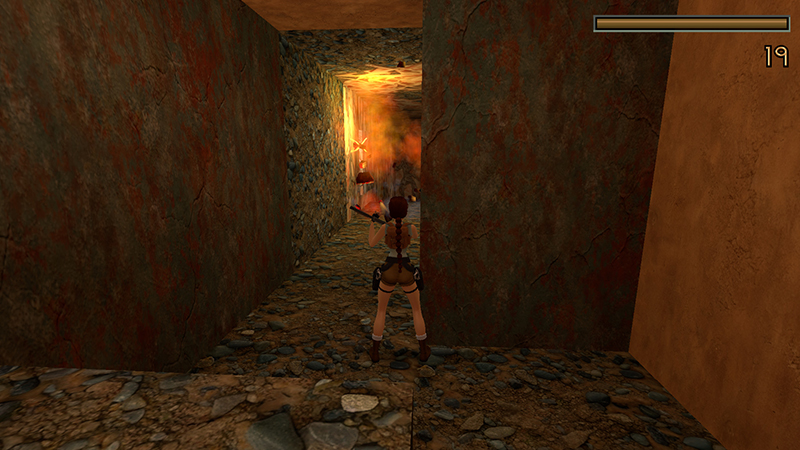
...you can probably kill it with the shotgun without taking any damage.
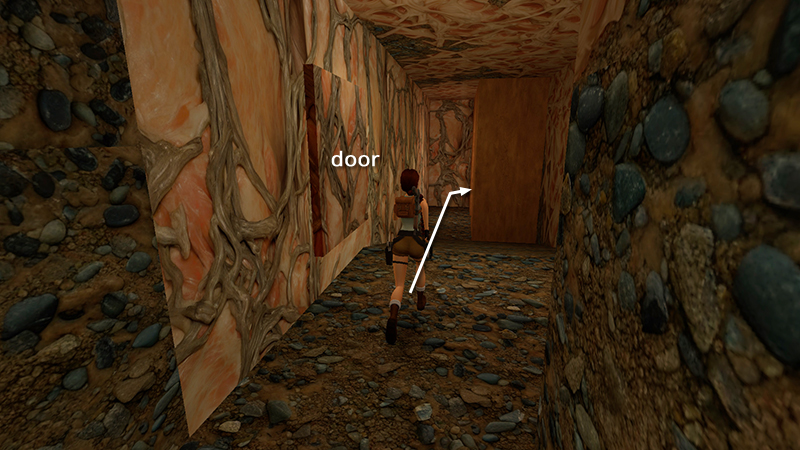
Continue, noting the closed door on the left that nearly blends in with the fleshy wall.
DARK MODE: I plan to add optional dark mode for these pages, but my current priority is updating the walkthroughs. Meanwhile, may I suggest a reputable dark mode browser extension, such as Dark Reader? (Download only from trusted sites, like darkreader.org or your browser's web store.)
Walkthrough text and diagrams copyright © Stellalune (email ). Feel free to copy or print this walkthrough for personal use. By all means, share it with friends, but please include this credit line so people can send me their feedback. No part of this walkthrough may be reproduced on another site without permission.