The Hive - Behind the Gold Doors - "Ben Hur" Achievement/Trophy
In order to unlock this achievement/trophy, you must kill the 2 centaurs (17-18) in the next room, with pistols, without taking damage, and you must do it "in the arena" (i.e., out in the open), rather than hiding in the doorway. Here's one possible strategy:
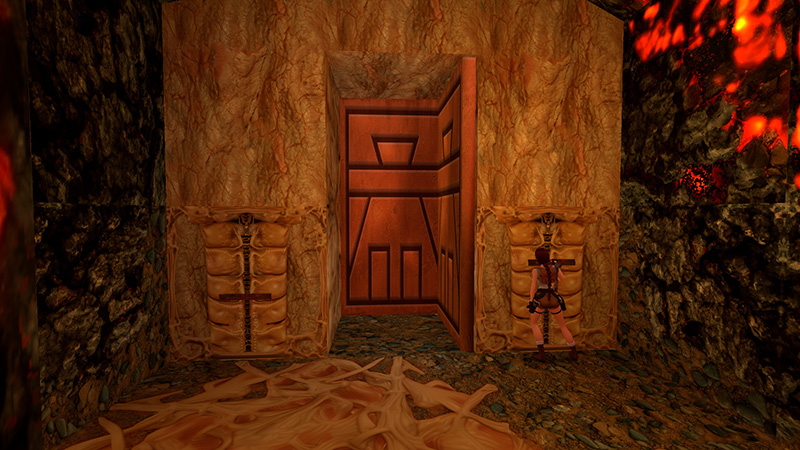
After using the 2 switches to open the gold doors, as shown in the previous section, enter the room beyond.
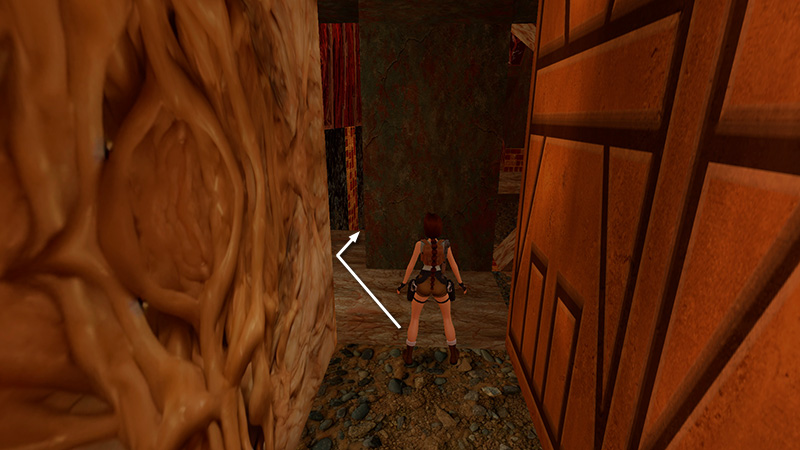
Move past the dark stone pillar into the room, staying in the near left (northeast) corner for now.
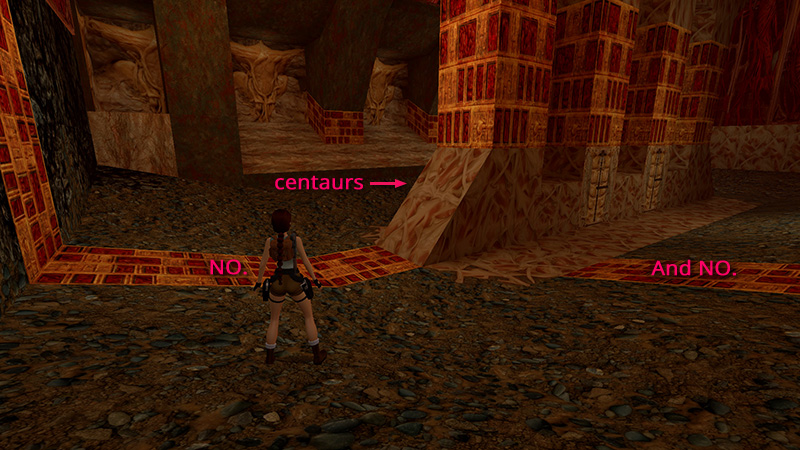
Do not advance onto the red-and-gold tiled strips on the floor yet, in order to avoid triggering the centaurs.
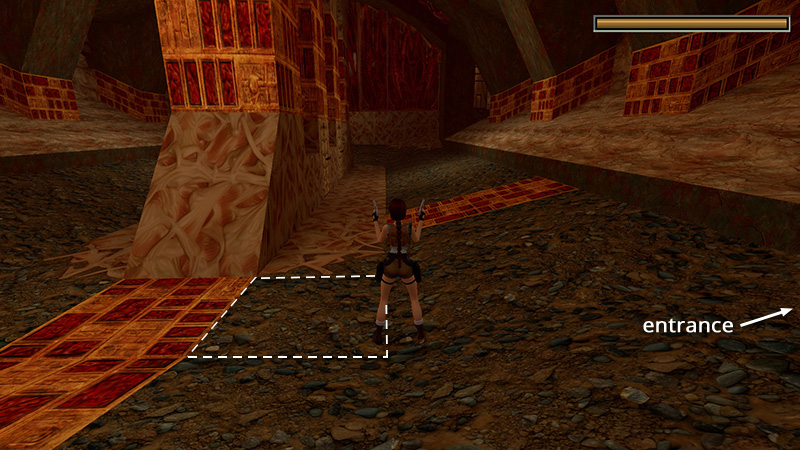
Turn right (west) so the central pillars are ahead on Lara's left and the gold doors where you came in are on her right. Then position Lara as shown in the screenshot above. If you have medi packs to spare, top up your health. Then it'll be easier to notice if Lara takes damage during the fight. Ready pistols and save the game.
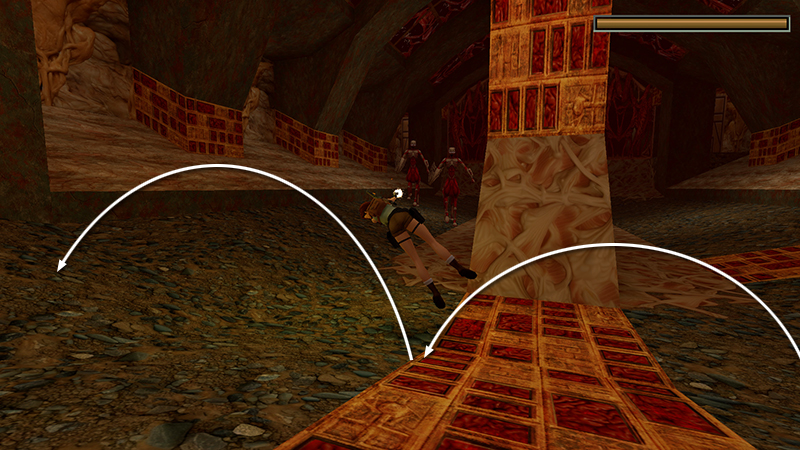
Now side flip twice to the left to animate the centaurs and immediately get a pistol lock on one of them.
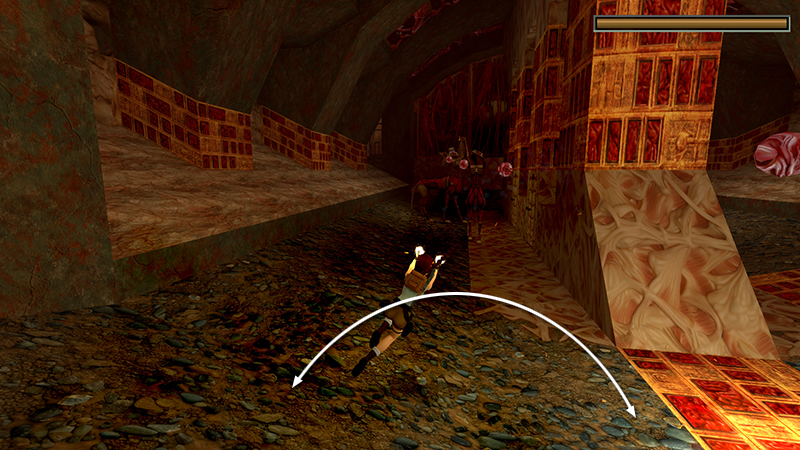
Continue firing as you flip left to right.
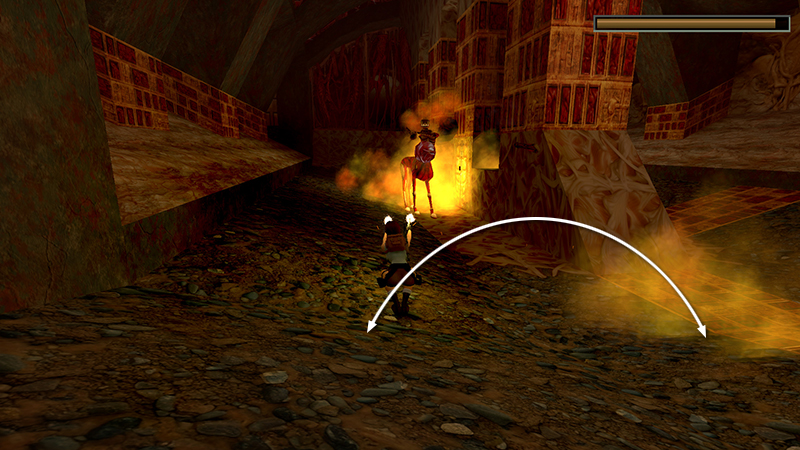
When the first centaur explodes, release and re-press Action to target the second, and continue flipping back and forth while shooting.
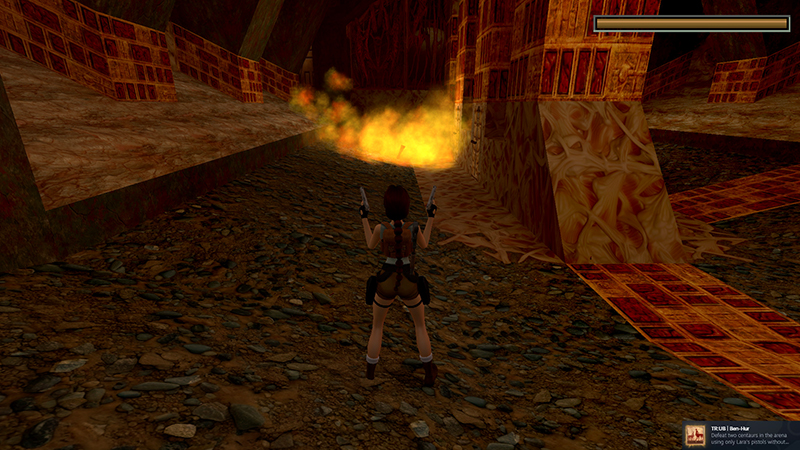
If the RNG spirits are favorable, you'll destroy both without getting clipped by a fireball, and the achievement/trophy will pop. If not, reload and try again.
- OR -
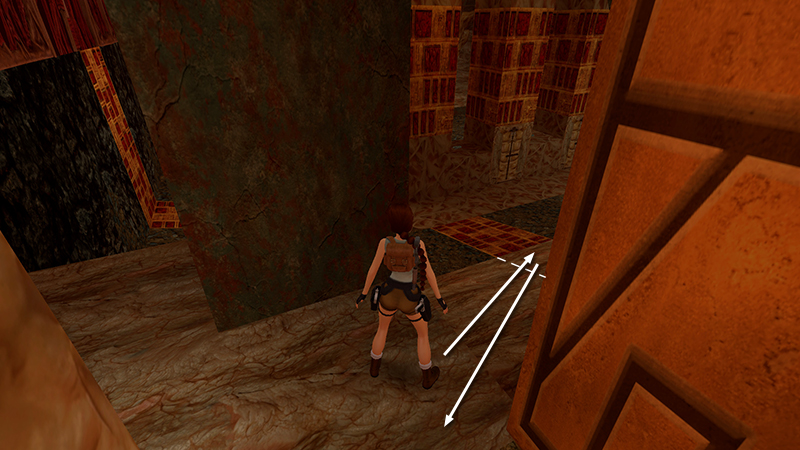
Alternatively, if you don't care about achievements, or already have this one, you can run into the room to get the centaurs' attention. Then rush back to the doorway.
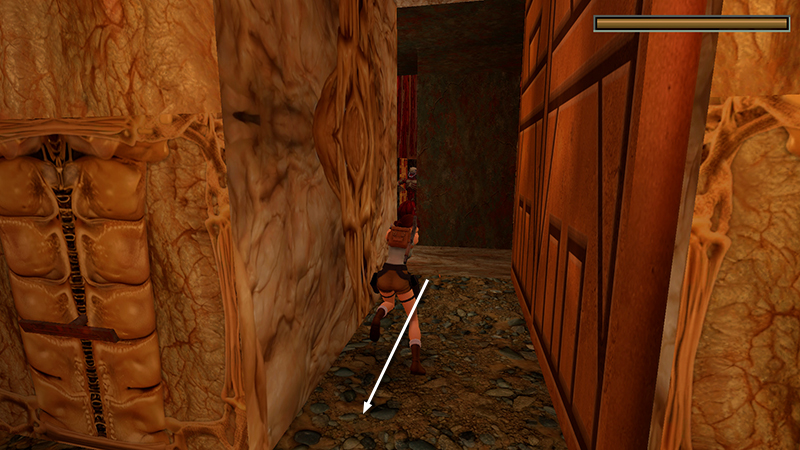
Step out just far enough to get a lock on either one. Hold Action to maintain the lock as you hop back to relative safety.
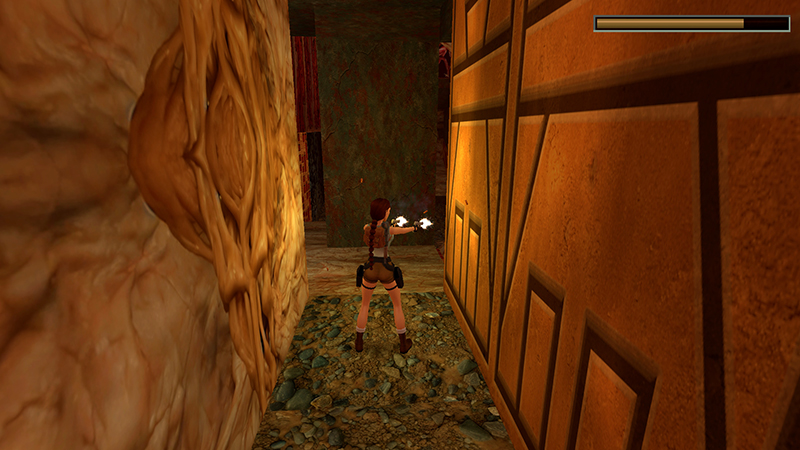
Step out to shoot, hop back, and repeat until both have been destroyed.
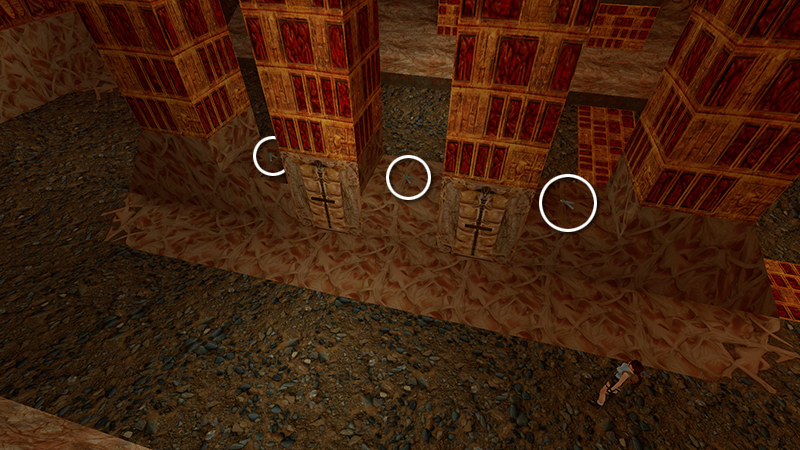
In the raised niches between the switches are 3 sets of Uzi clips (30-32).
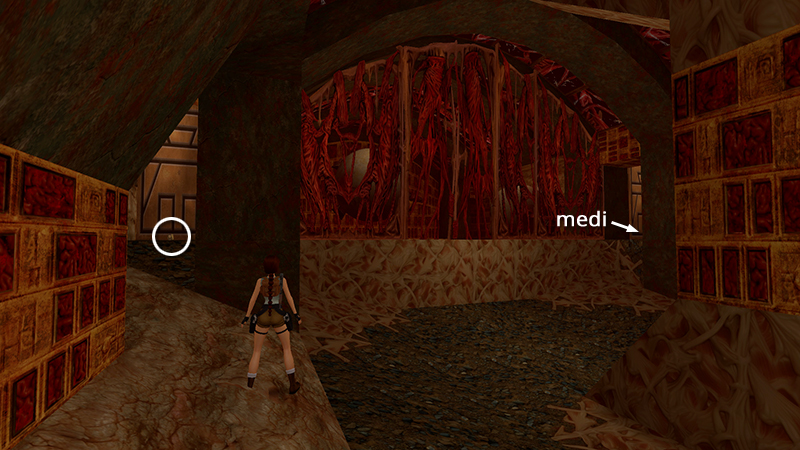
Near the gold doors at the far corners of the room (i.e., northwest and southwest) are 2 large medi packs (33-34).
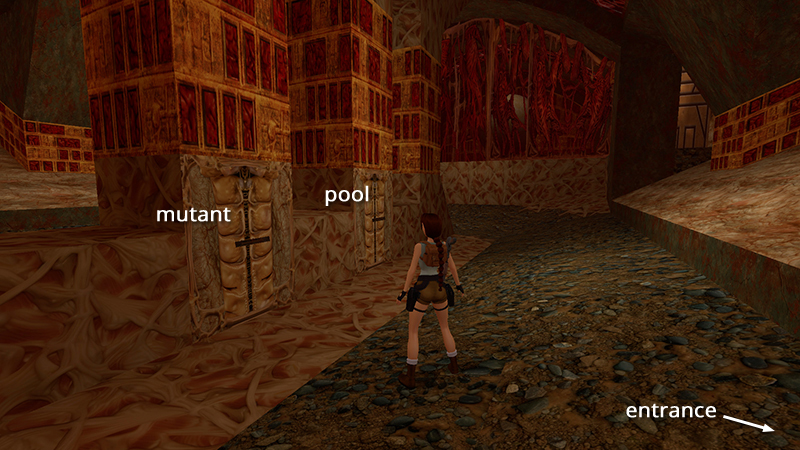
There are 4 switches, two on each side of the central pillars. You can use them in any order, but we'll start with the two on the north side (nearer the entrance). First use the switch on the left to open the gold door in the southwest corner.
NOTE: If you don't care about all kills, pickups, and achievements/trophies, you can take a shortcut here. Use only the right switch to open one of the doors above the pool. Then return there through the gold door where you entered this area and avoid the small hatchery and underwater rooms altogether. Skip ahead to the CAVE WITH POOL & PYRAMID-LIKE STRUCTURE (again), here.
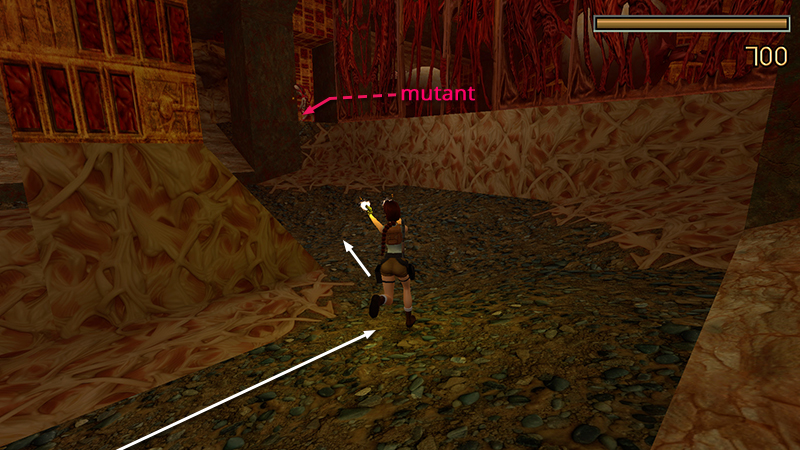
This releases a mutant (19). You may need to approach the door to get its attention.
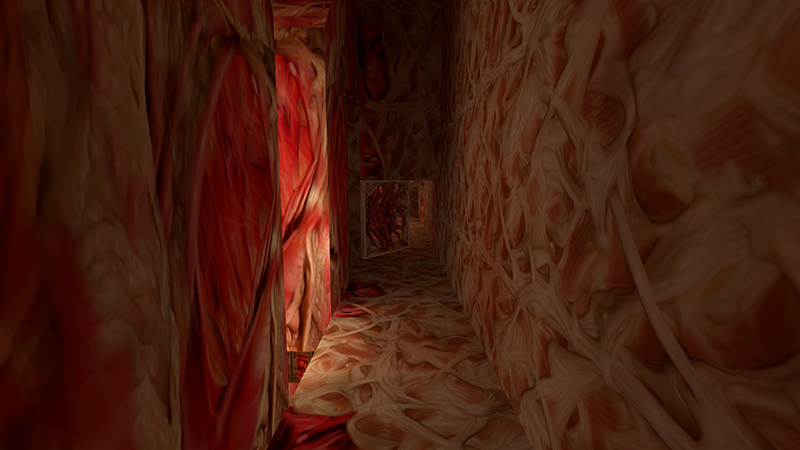
The second switch opens a door at the top of the tan stone structure in the middle of the pool in the previous area.
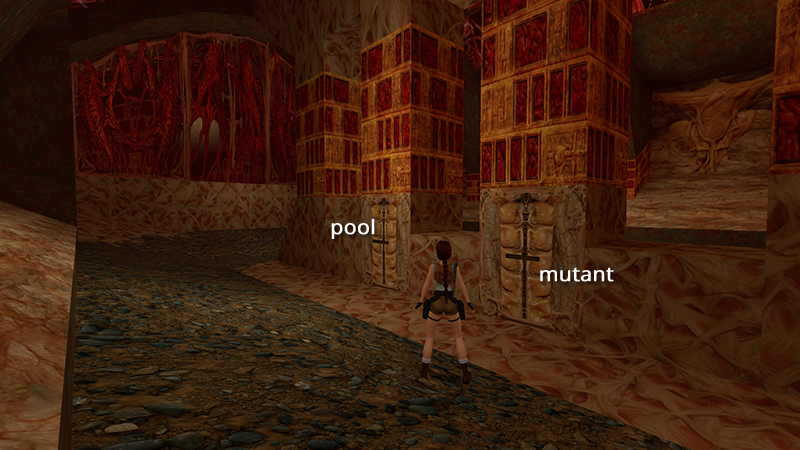
On the other side of the pillars, the right switch opens the northwest gold door...
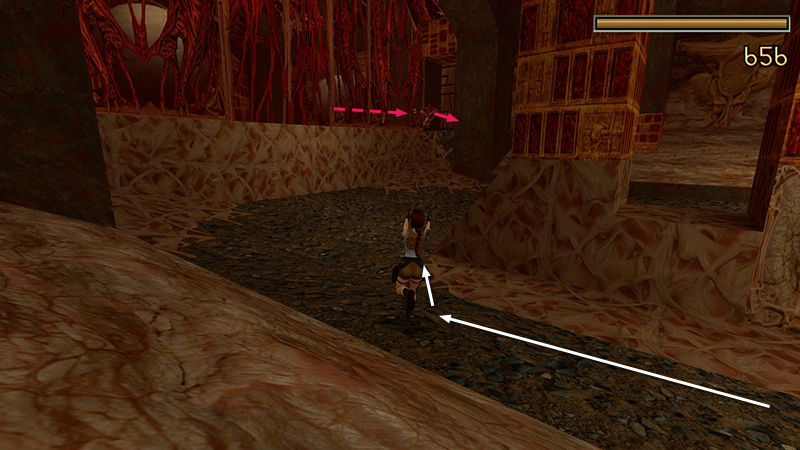
...releasing another mutant (20).
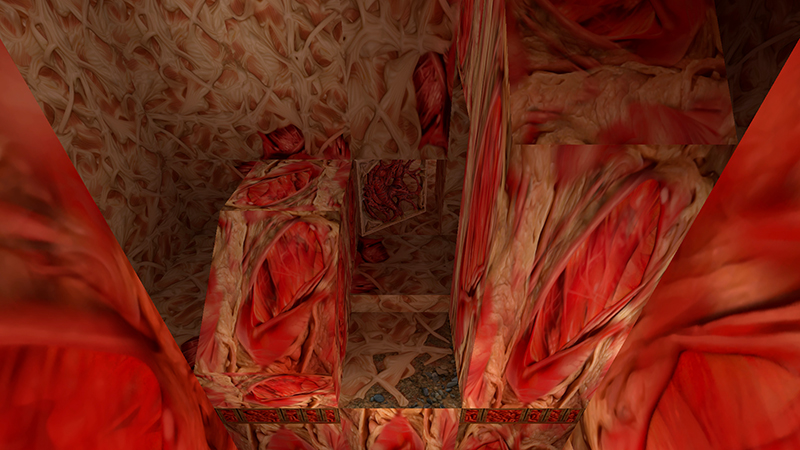
The left switch opens another door inside the stone structure above the pool.
[Previous | Next | Hive Walkthrough]
DARK MODE: I plan to add optional dark mode for these pages, but my current priority is updating the walkthroughs. Meanwhile, may I suggest a reputable dark mode browser extension, such as Dark Reader? (Download only from trusted sites, like darkreader.org or your browser's web store.)
Walkthrough text and diagrams copyright © Stellalune (email ). Feel free to copy or print this walkthrough for personal use. By all means, share it with friends, but please include this credit line so people can send me their feedback. No part of this walkthrough may be reproduced on another site without permission.