The Hive - Entering the Pyramid-Like Structure
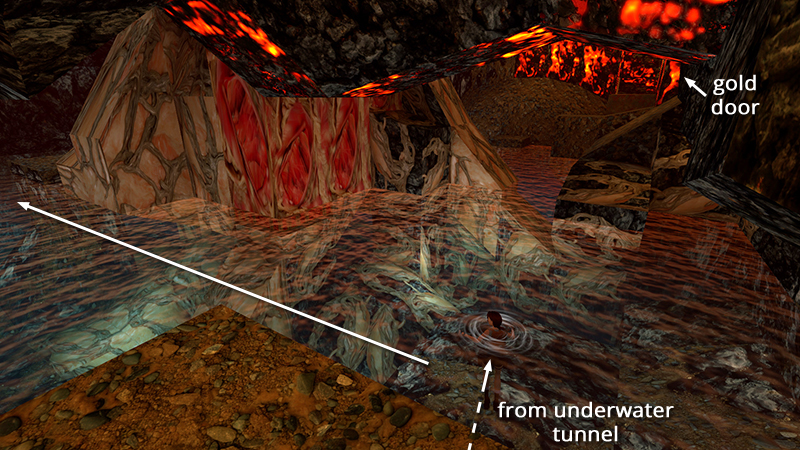
After retrieving the items in the flooded rooms, as shown in the previous section, you re-emerge in the cave with the central structure. Swim to the near left (northwest) corner of the pool.
NOTE: If you took the shortcut and re-entered this area through the gold door, you can swim around or underneath the central structure to reach the ledge in the northwest corner.
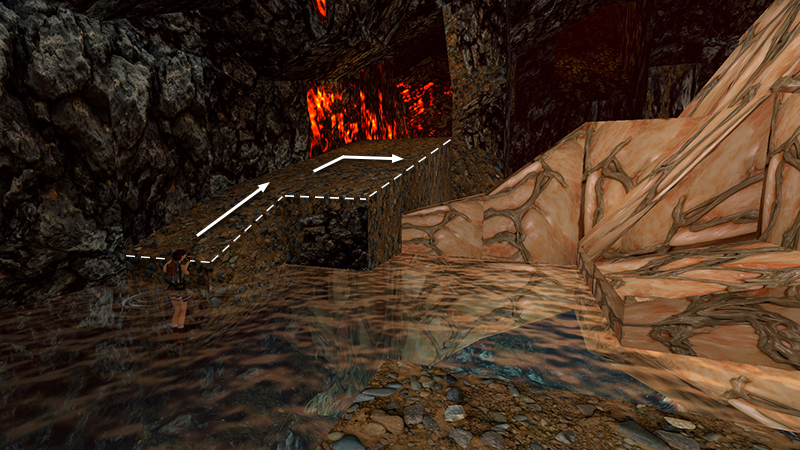
Climb out onto the base of the sloping walkway that runs along the north wall. Go up the walkway and turn right where the tan stone structure connects to the walkway.
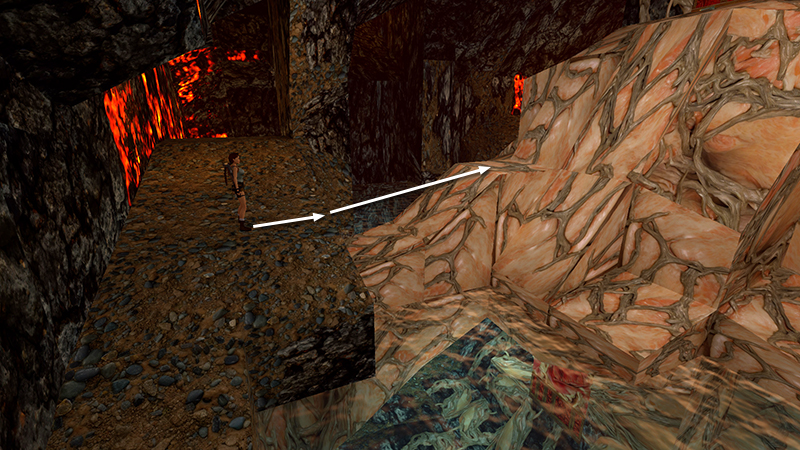
Take a running jump over to the flat spot at the top of the steep, tan slope.
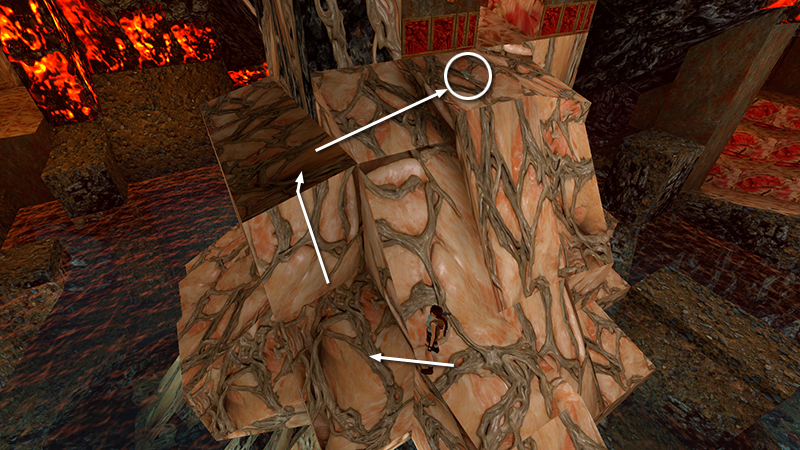
Turn left and take a standing jump (or run across at the corner) onto the small ledge ahead on the left. Climb onto the ledge above, turn right, and grab the Uzi clips (46) on the highest ledge.
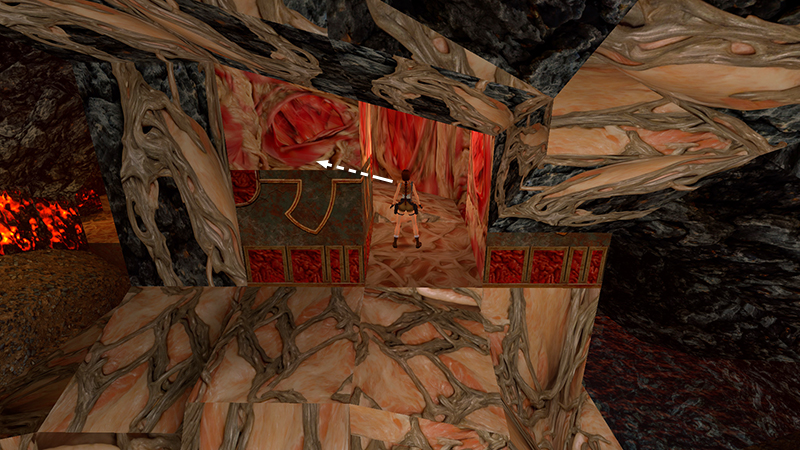
Enter the central structure and go up the ramp to the left.
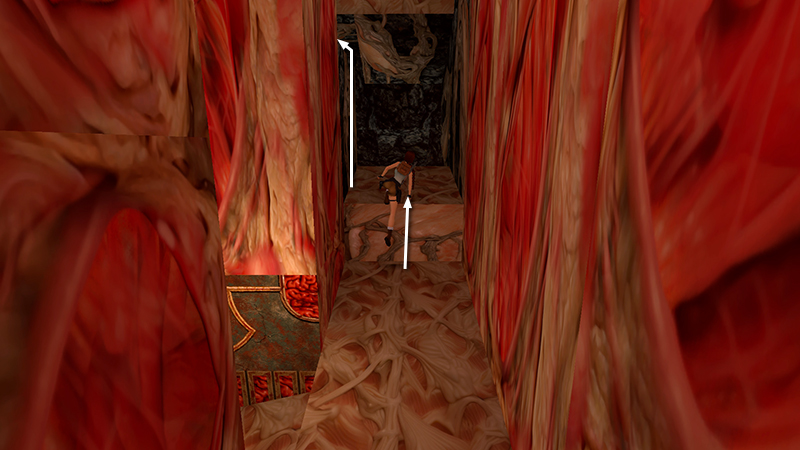
Vault onto the low, tan step at the top of the ramp, turn left and climb onto a slightly higher and darker block.
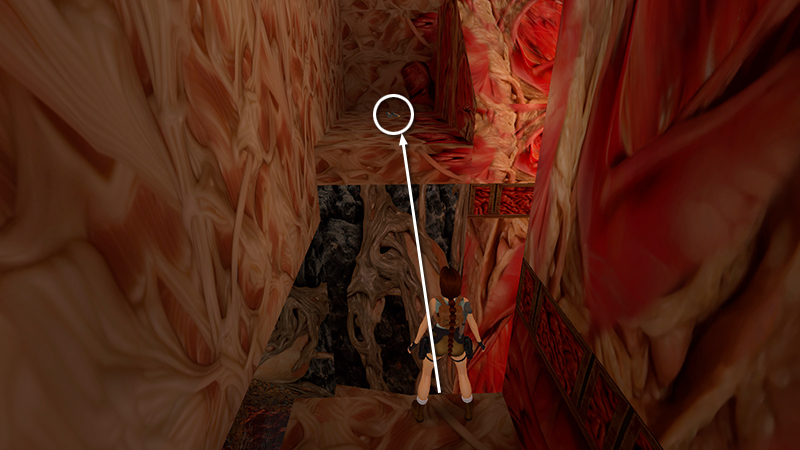
Turn around, walk to the edge, and take a standing jump over to the ledge with the magnum clips (47).
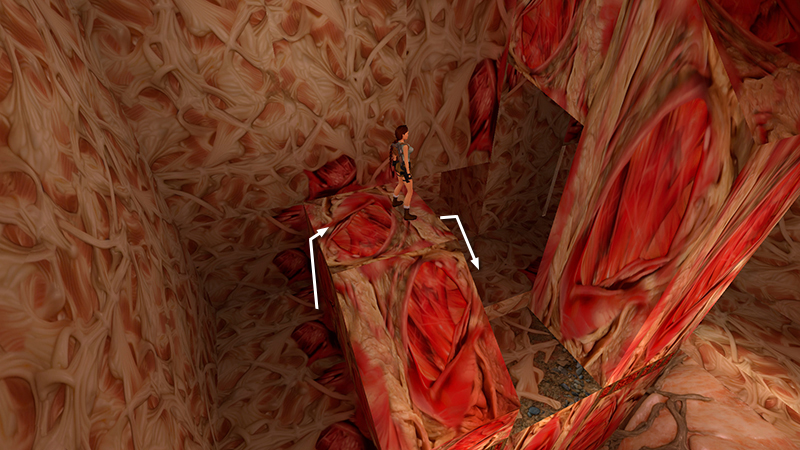
Then climb over the fleshy ledge on the right and drop down near the two small doors you opened earlier.
NOTE: If you took the shortcut and only pulled one of the switches back in the room with the 2 centaurs, BEHIND THE GOLD DOORS, only one of these doors will be open. That's fine. Both lead into the same room. If you missed the switches entirely, you'll need to climb down and swim to the southeast corner of the pool. Climb out of the water, go through the gold door, and re-enter the centaur room to use at least one of the door switches. Then return to the pool and climb back up the pyramid structure. Follow the main walkthrough if necessary.
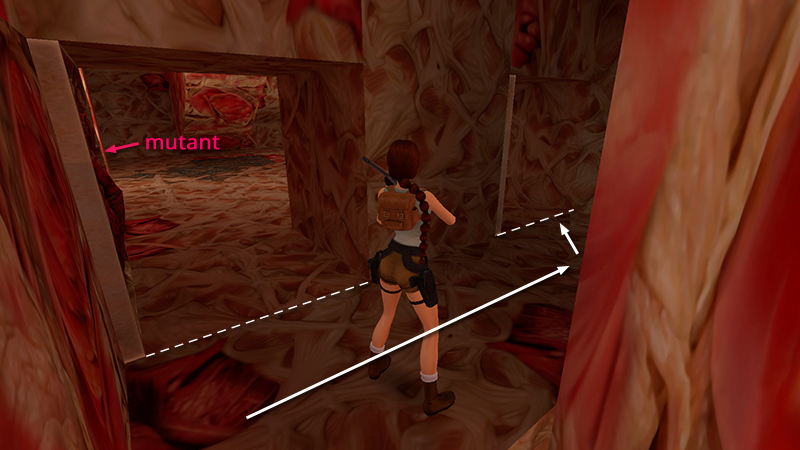
Both doors lead into the same room. There's another mutant (24) just inside on the left. Draw weapons, (the shotgun is especially effective here), move past the first door...
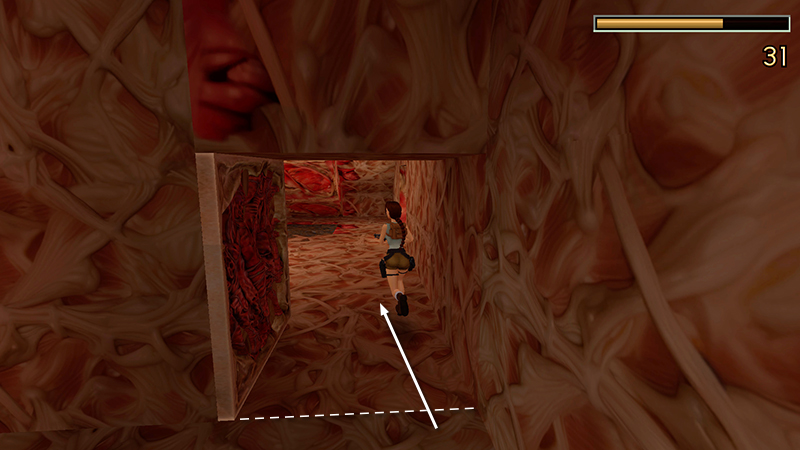
...and go through the second door. Immediately turn left and start shooting.
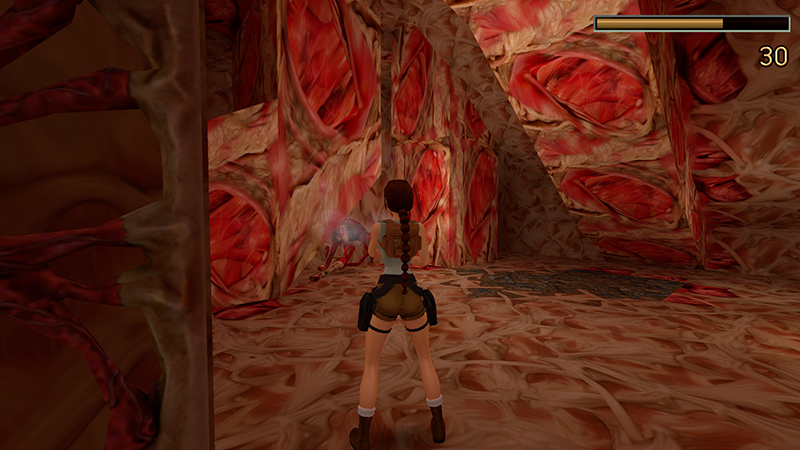
Entering through the second door, instead of the first, puts a little more distance between Lara and the mutant. Two or three shotgun blasts should take it down. If it gets close...
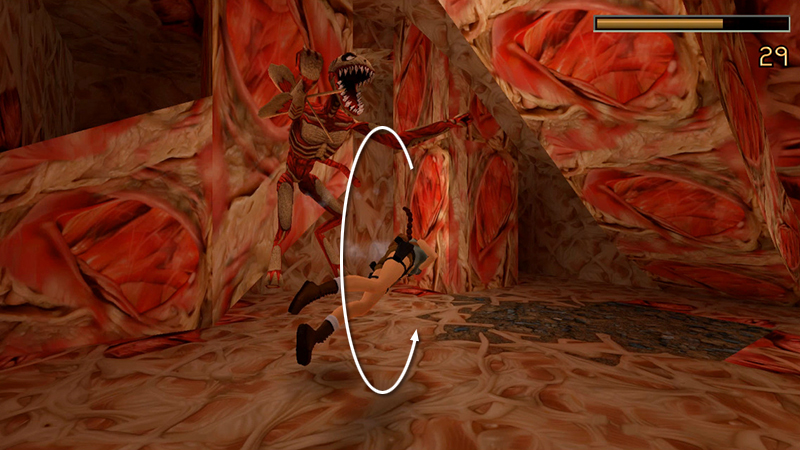
...roll to get past it...
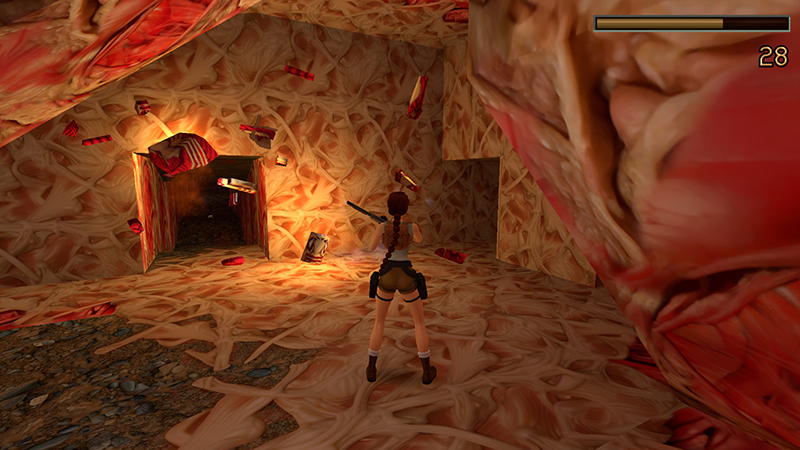
...and continue firing until it explodes.
- OR -
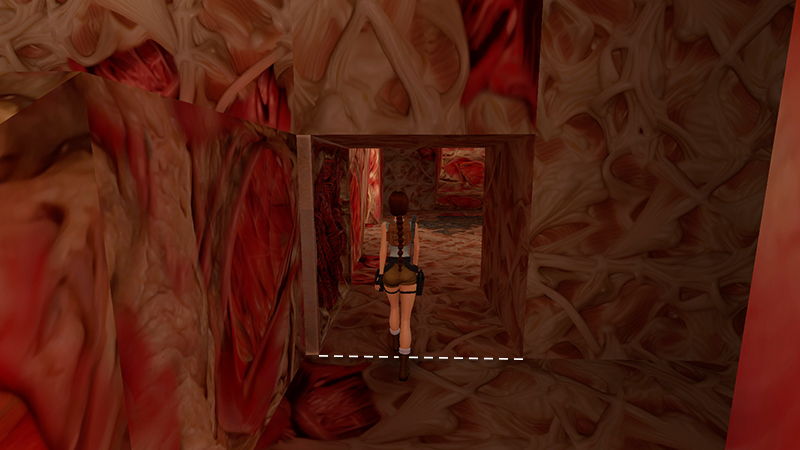
Alternatively, face the left door, step forward just into the doorway to trigger the mutant.
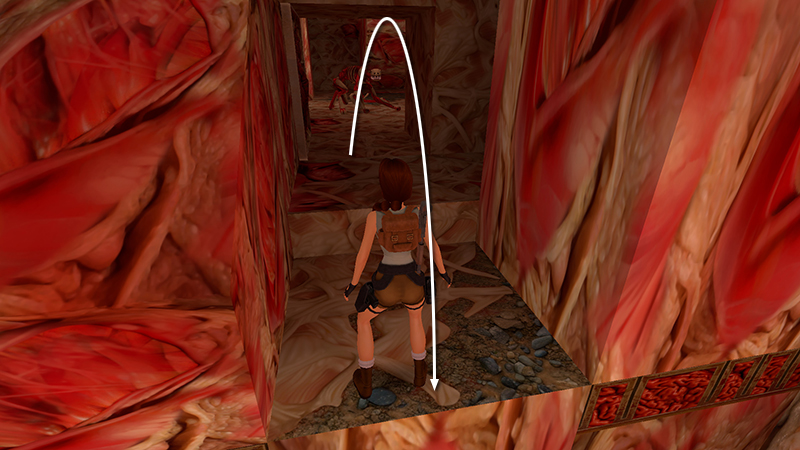
Quickly backflip once.
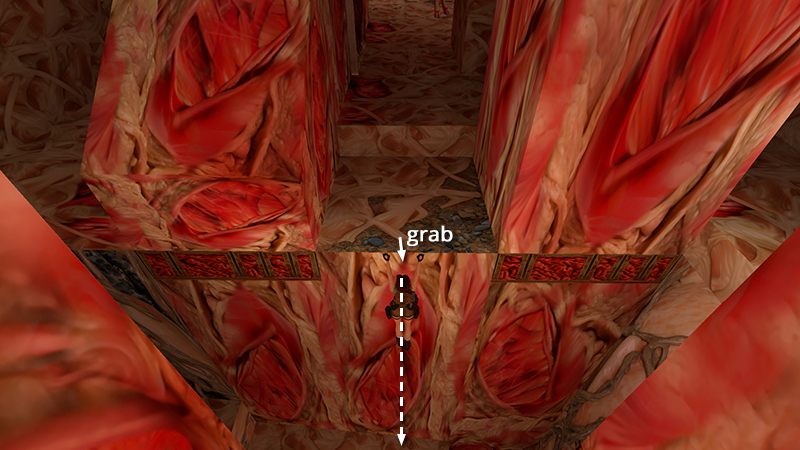
Then hop back and grab the edge of the ledge. If you're quick, the mutant won't reach Lara before she can drop and hang. Drop down onto the ramp.
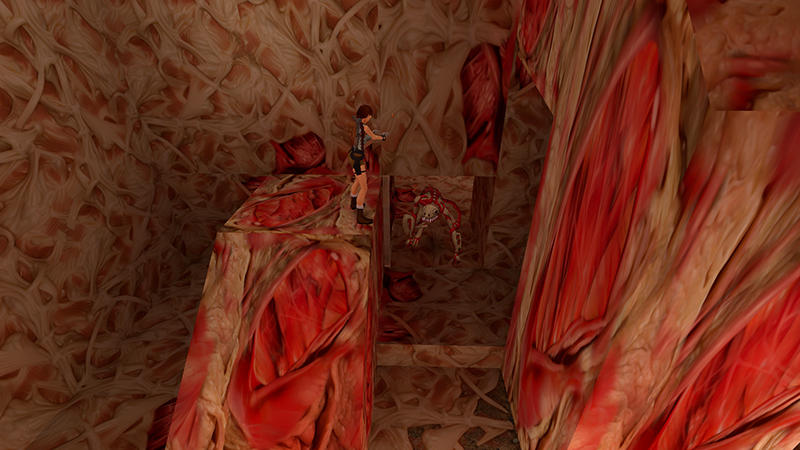
Climb back up to the ledge where you found the magnum ammo. Pull up onto the fleshy block to the right, and shoot the mutant from here with your weapons of choice. You may need to dangle Lara from the edge near the doorway to get the mutant's attention, but if you pull up quickly, it will do little or no damage. When it's dead, enter the room where it came from.
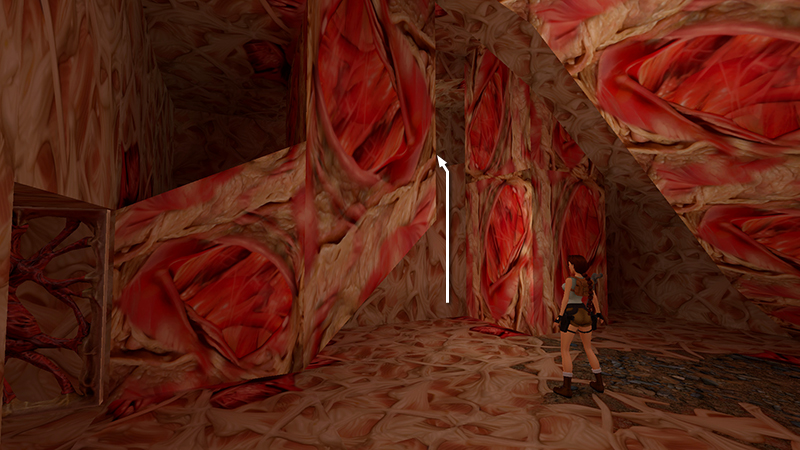
Get the small medi pack (48) on the high ledge on the left (east) side of the room...
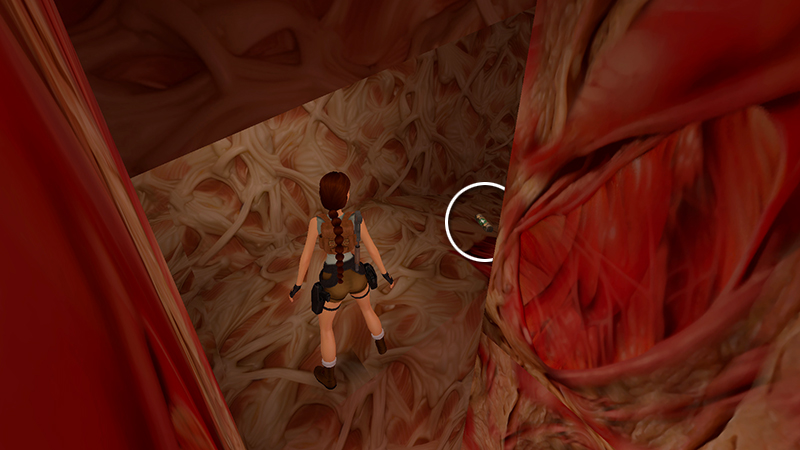
...above and to the right of the alcove where the mutant originated.
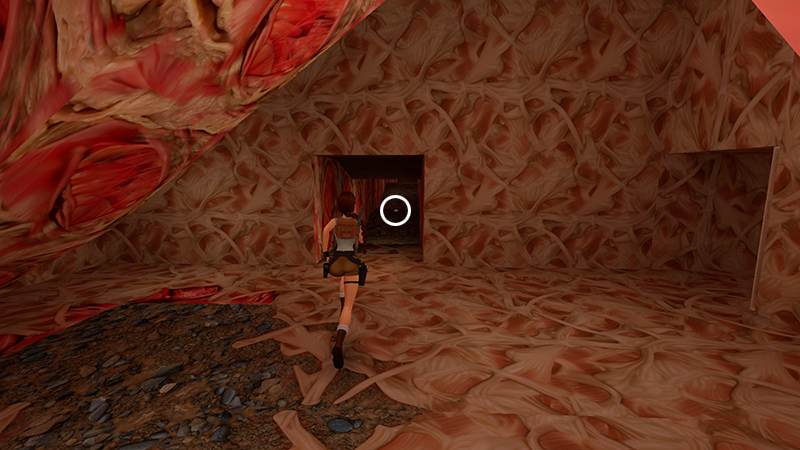
Then drop down and follow the long, low-ceilinged corridor to the west, picking up 2 boxes of shotgun shells (49-50), shown here...
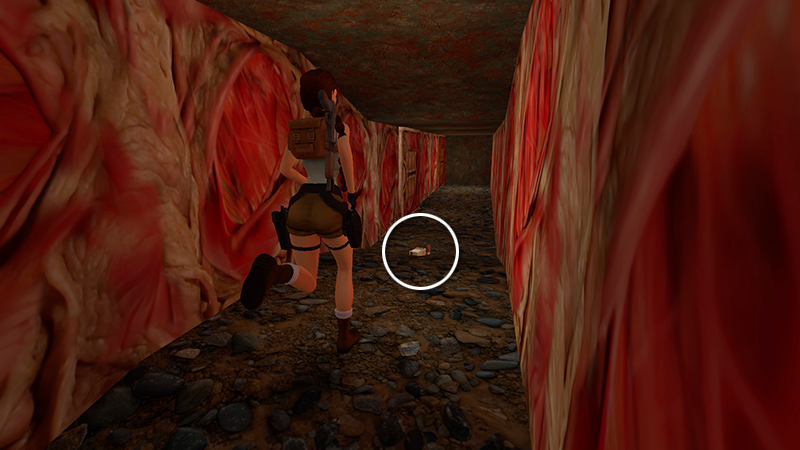
...and here.
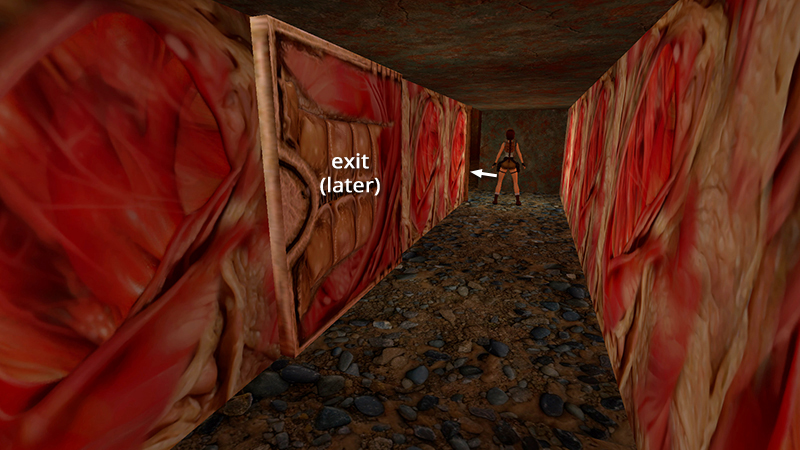
Continue to the end and go through the second door, which opens as you approach. Make a mental note of the first door. This is where you'll exit after completing the next room.
[Previous | Next | Hive Walkthrough]
DARK MODE: I plan to add optional dark mode for these pages, but my current priority is updating the walkthroughs. Meanwhile, may I suggest a reputable dark mode browser extension, such as Dark Reader? (Download only from trusted sites, like darkreader.org or your browser's web store.)
Walkthrough text and diagrams copyright © Stellalune (email ). Feel free to copy or print this walkthrough for personal use. By all means, share it with friends, but please include this credit line so people can send me their feedback. No part of this walkthrough may be reproduced on another site without permission.