The Hive - Large Square Room with Pillars and Standing Mutants
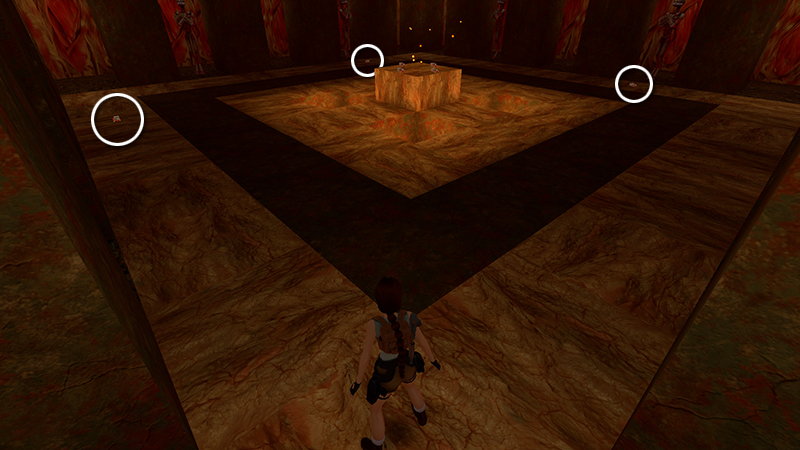
Between the pillars around the edges of the room stand 8 mutants (25-32). They don't animate yet, so you can safely pick up the 3 boxes of shotgun shells (51-53) on the light-colored walkway.
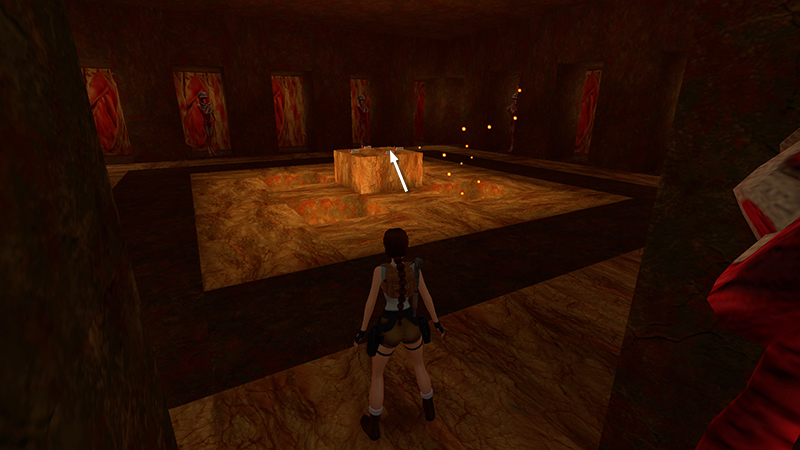
Climb onto the low pedestal in the center of the room, avoiding the lava pits, of course.
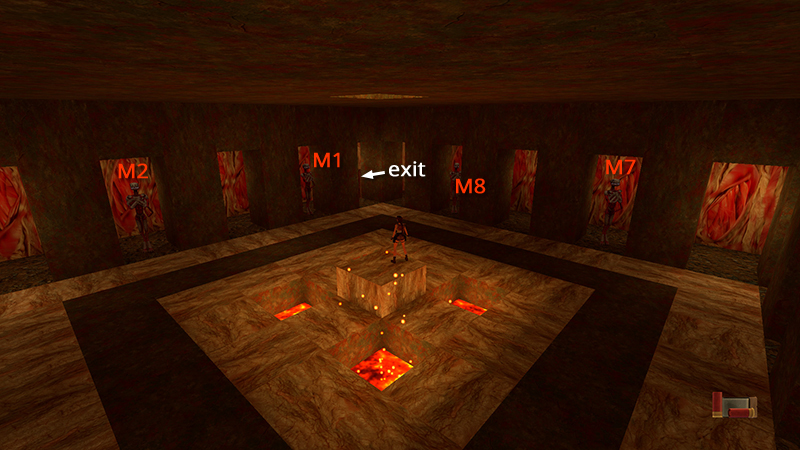
You can then pick up all but one of the 4 boxes of shells (54-57) without activating the mutants; however, you won't be able to continue until you pick up the fourth box, so you might as well take them all.
When you take the box on the east side of the pedestal, the camera pulls back for a wide-angle view of the room, indicating that the mutants are ready to be triggered and the door to the next area is open. It's the one you passed passed on the way in, just outside the entrance and around the corner to the right.
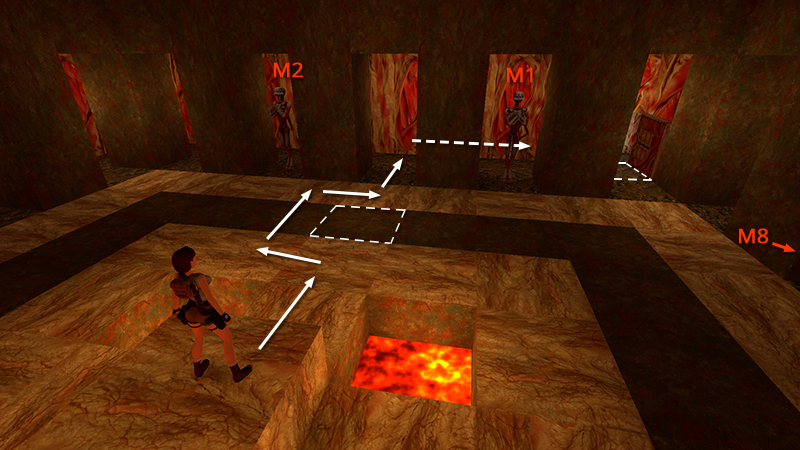
If you don't care about getting all kills, it is possible to escape the room without activating any of the mutants. Step down off the north side of the pedestal (i.e., the entrance/exit is ahead and to the right). Move forward but don't step on or jump over the brown trigger tile directly ahead, since this will trigger mutant #8. Instead, go around it on the left side, then continue through the gap between the two middle pillars toward the north wall. Turn right and go behind the pillars and and mutant #1. Do not step on the trigger tile in front of the doorway.
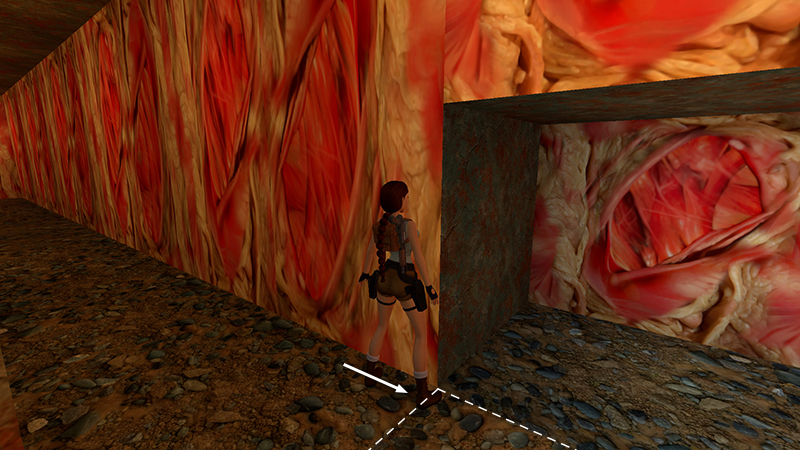
Face the north wall with the doorway on Lara's right. Sidestep just far enough so Lara's right foot is on the seam between the safe tile and the trigger tile to the right.
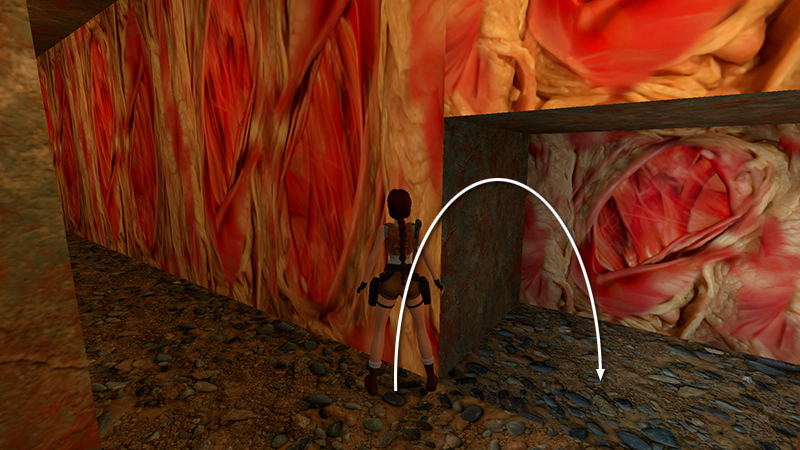
Pivot about 45 degrees to the left. Then side flip into the hallway. If you've positioned Lara correctly, she won't trigger the mutants. If she does, you'll know pretty much right away.
- OR -
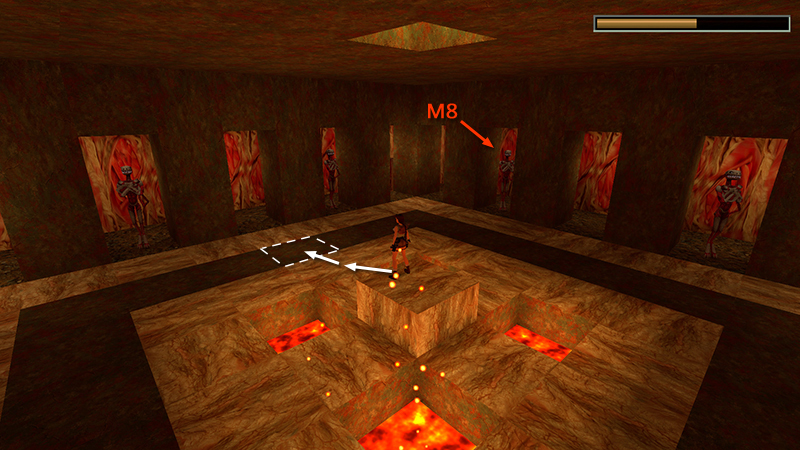
Alternatively, if you want all kills, and the achievement/trophy for getting them, you can trigger the mutants carefully, and dispatch them with little or no damage. Refer to the diagram of the trigger tiles in the main walkthrough to avoid animating more than one or two mutants at a time. Just keep in mind that jumping over a square with a trigger will activate any mutants connected to that trigger. For example, here, Lara moves onto the brown tile you avoided in the previous strat, animating mutant #8, just to the right of the entrance.
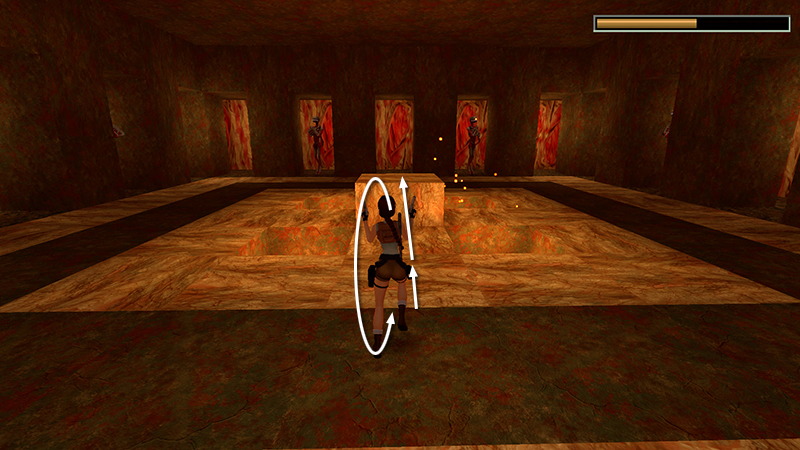
Roll, run, and jump back onto the pedestal...
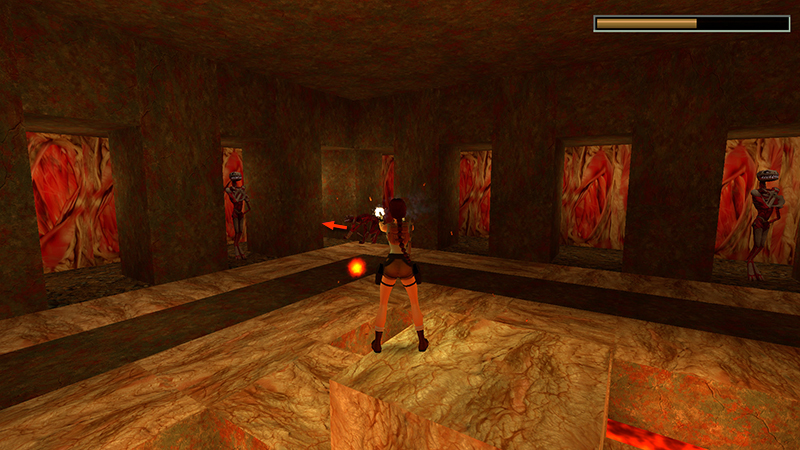
...then fire away with pistols or heavier weapons. The mutant won't climb up on the pedestal or throw projectiles, but after it's taken a little damage, it may run out into the hallway.
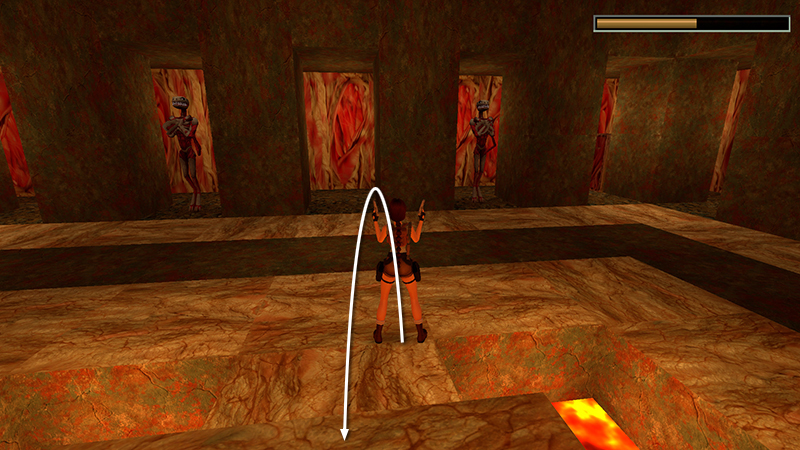
You'll have to come down from the pedestal to draw it back into the room. Then jump/climb back onto the pedestal...
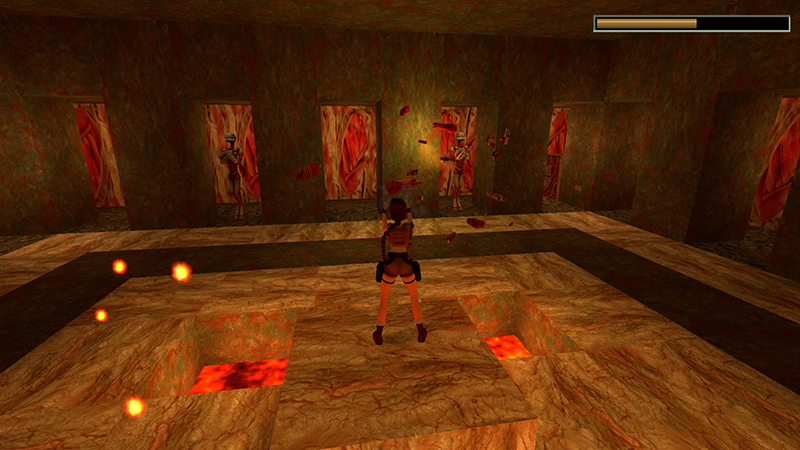
...and continue firing until the mutant explodes. Repeat until you've destroyed all 8 mutants (25-32).
[Previous | Next | Hive Walkthrough]
DARK MODE: I plan to add optional dark mode for these pages, but my current priority is updating the walkthroughs. Meanwhile, may I suggest a reputable dark mode browser extension, such as Dark Reader? (Download only from trusted sites, like darkreader.org or your browser's web store.)
Walkthrough text and diagrams copyright © Stellalune (email ). Feel free to copy or print this walkthrough for personal use. By all means, share it with friends, but please include this credit line so people can send me their feedback. No part of this walkthrough may be reproduced on another site without permission.