Trenches - Misty Trenches with Flamethrower and Steam Pipes (part 1)

Hop down off the low step and round the corner to the right.
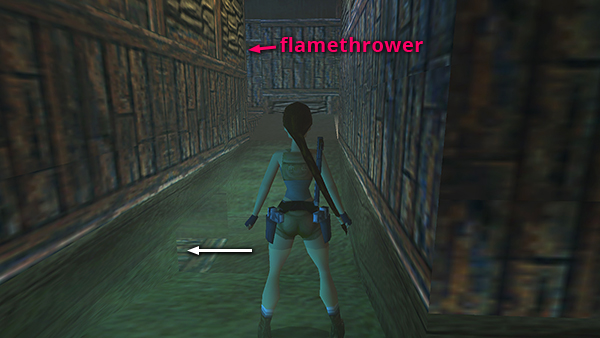
Do not continue forward or you'll run into a flamethrower mounted on a tripod. Instead crawl into the low opening on the left.

There are oscillating steam pipes on either side of the crawlspace...
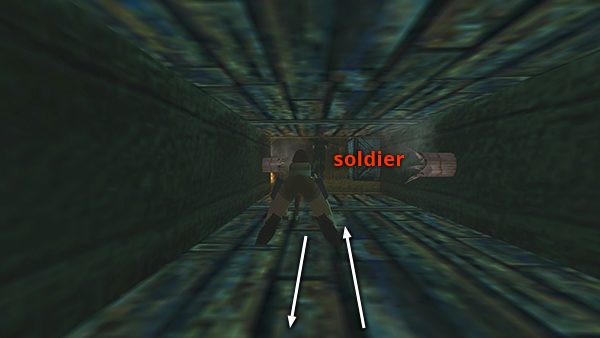
...and a soldier in the next room. If you like, you can crawl forward just as far as the first pipe, in order to trigger the appearance of the soldier. Then quickly crawl backward before he can target Lara.
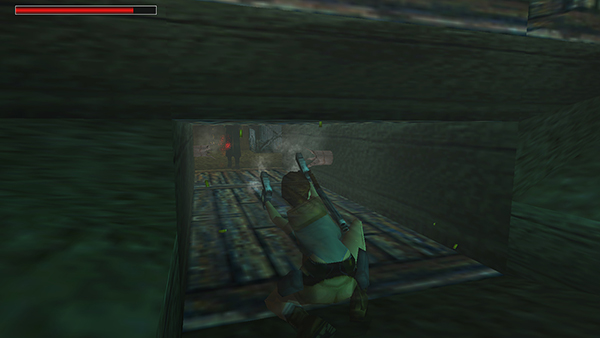
Crouch in the opening and shoot the soldier in the knees with pistols.

Then crawl carefully past the steam pipes. If you pause just before the first pipe, wait for it to cycle off...

...then immediately crawl forward without stopping, the second pipe should cycle off as you approach, so you can pass without injury. Avoid the open flame in the next room.
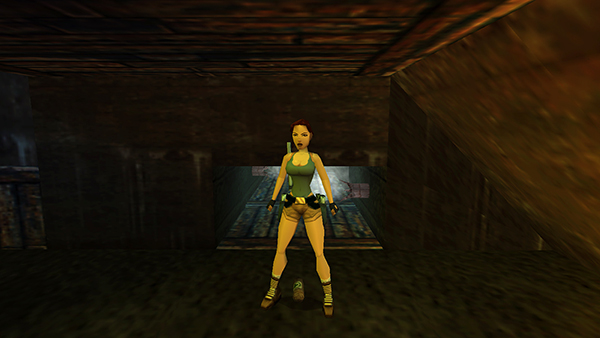
The soldier drops a small medipack.
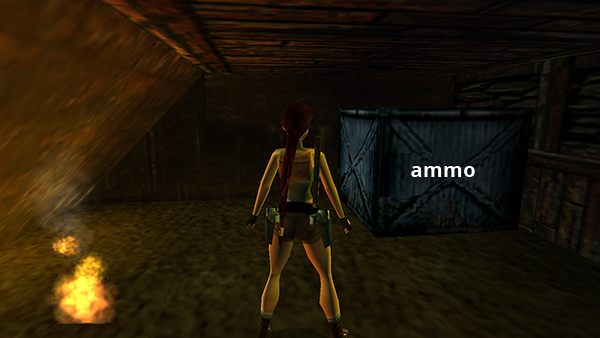
Shoot the wooden crate, if you didn't already do so by accident. There are wideshot shells inside.
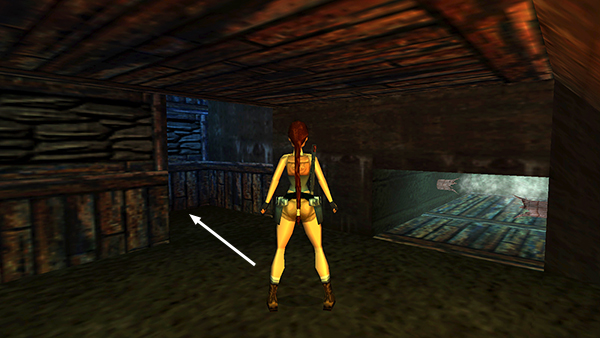
Now to disable that flamethrower. Go into the alcove to the left of the crawlspace.
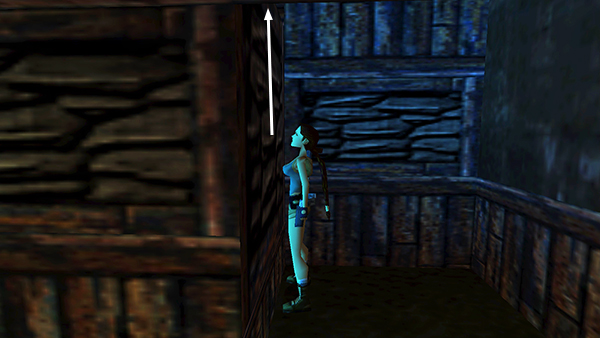
Climb onto the ledge on the left.
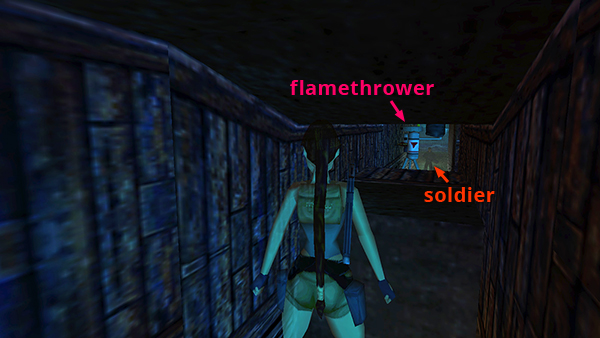
Then turn around to face the smaller opening on the other side of the alcove.
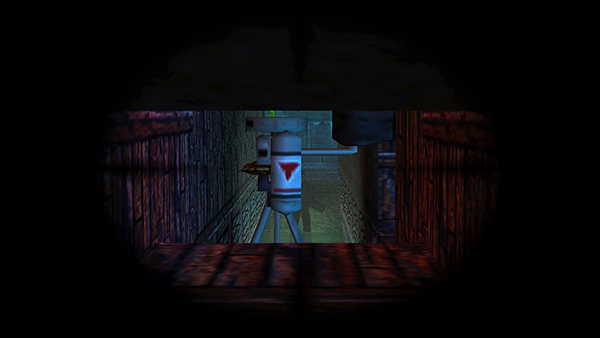
Use the revolver combined with the laser sight to shoot the red triangle on the back of the flamethrower.
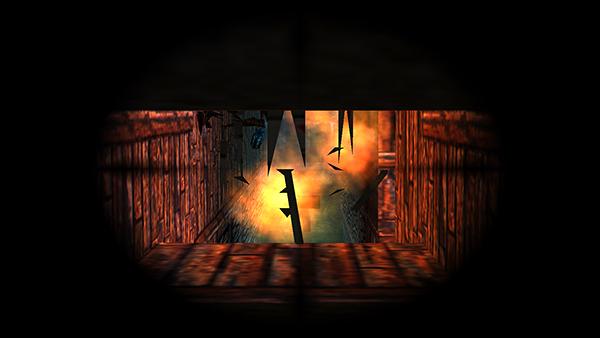
Done.
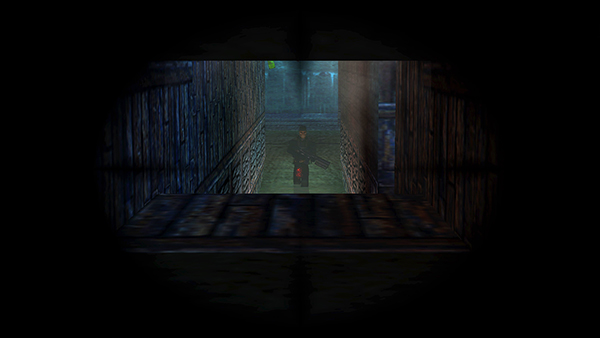
Once the weapon is destroyed, you can target the soldier in the road beyond. Since he's not activated yet, you'll need to aim at his legs or groin, but two revolver rounds will do. If you try to shoot pistol rounds with the laser sight bug, he'll get angry—which is totally understandable—and start shooting back. If all else fails, you can leave him for now and deal with him shortly. Don't bother climbing into the raised crawlspace, since Lara can't drop down on the other side of the opening.
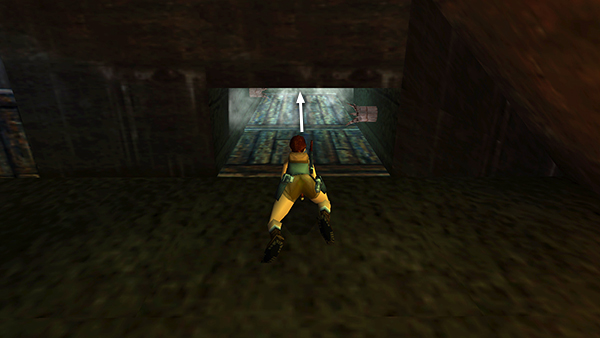
Instead, return through the crawlspace with the steam pipes to the street. Again, if you crawl in and stop just before the first pipe, wait for it to cycle off, then immediately crawl forward without stopping, you should clear both pipes with little or no injury.
Copyright © 1999- - Stellalune ( ). All rights reserved. Feel free to copy or print this walkthrough for personal use. By all means, share it with friends, but please include this credit line so people can send me their feedback. No part of this walkthrough may be reproduced on another site without permission. Follow this link for details about this site's advertising and privacy policy.