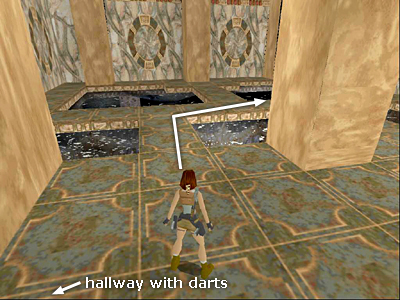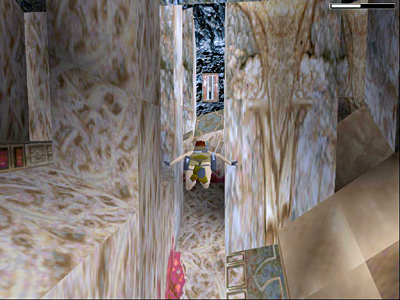
After dealing with the 2 mutants hiding behind the pillars, head for the water-filled opening near the back (east) wall on the right.

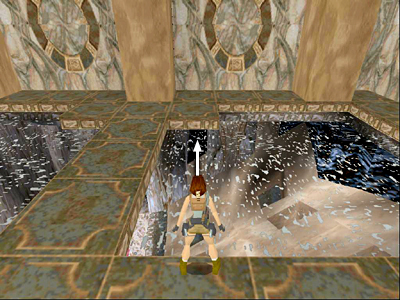
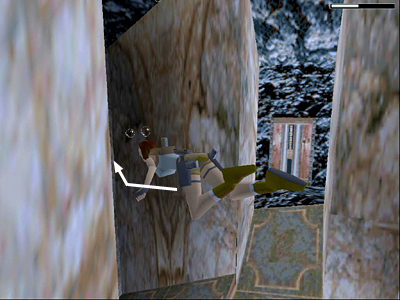
If you stand Lara at the left side of this pool facing the back wall, the first lever will be straight ahead. Dive down and swim toward it.

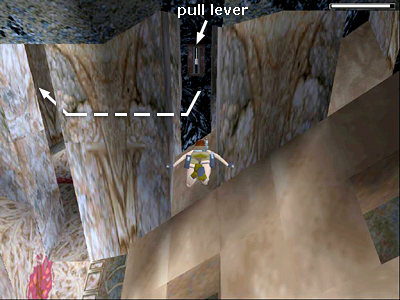
Pull the lever. Then either swim back to the surface for air, or swim around to the left to the second lever.

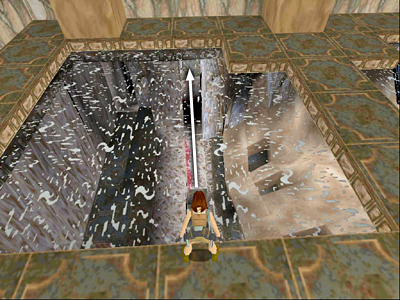
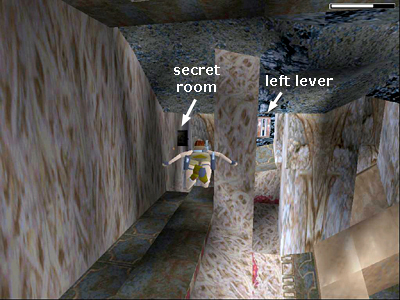
If you're having any trouble locating the second lever, it's below the water-filled opening on the left, straight ahead if Lara is standing just to the right of the center of the pool, as shown above.

Swim down and pull that second lever.

Using both levers opens the 2 doors blocking the passageway to the secret room.

If you have enough air left, swim around the corner to the left to the door you just opened.

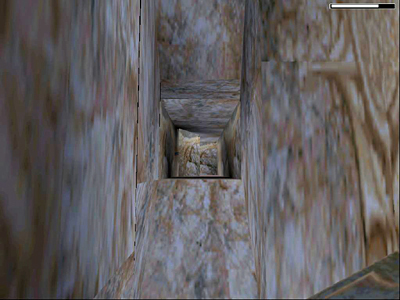
Otherwise, swim back to the surface. Then swim down along the left wall to the far left (northeast) corner and enter the secret passageway.

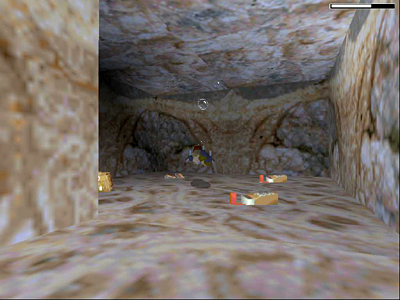
Follow the passageway around to the left to a small room filled with goodies: a large medi pack, magnum clips and 2 boxes of shotgun shells.
[Return to the Walkthrough]
Walkthrough text and diagrams copyright © 1998- Stellalune (email ). All TR1 screenshots were made using Glidos and Fraps. Feel free to copy or print this walkthrough for personal use. By all means, share it with friends, but please include this credit line so people can send me their feedback. No part of this walkthrough may be reproduced on another site without permission. Follow this link for details about this site's advertising and privacy policy.
|
