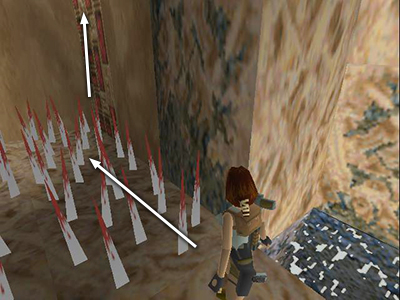
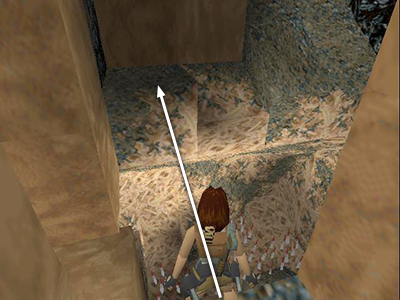
After retrieving the MAGNUMS and returning to the room with the spikes, as shown in the previous sequence, you'll need to climb up and out.

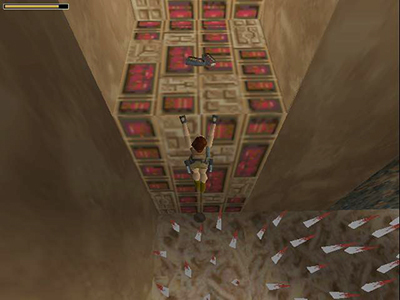
Walk through the spikes to the red-and-gold raised block on the right.

Pull up onto it and retrieve some magnum clips.

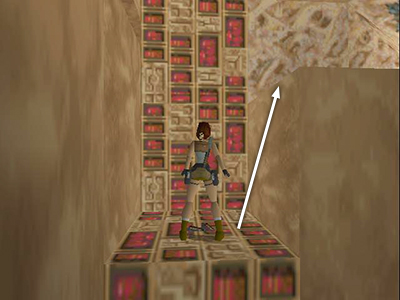
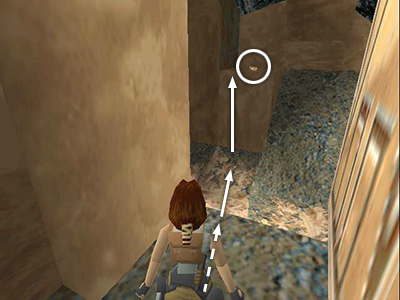
Climb onto the higher block to the right (the tan one with the low ceiling above it).

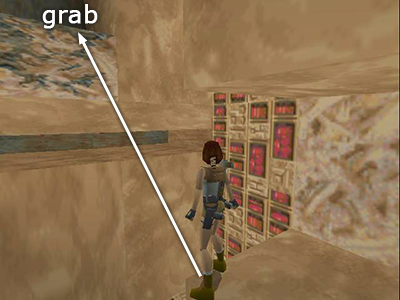
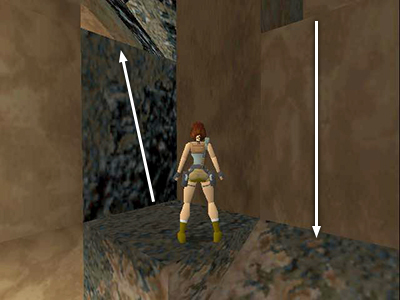
Turn around so Lara is facing the wall with the horizontal crevice. Step to the outer left corner of the block and angle Lara slightly to the left. Then jump forward to grab the edge of the alcove above the horizontal crevice. (If you miss, hopefully Lara will grab the crevice instead of landing in the spikes. You can then traverse to the right, drop down, climb up and try again.) Pull up and pick up more magnum clips.

Turn around and take a running jump across the gap to the opposite ledge.

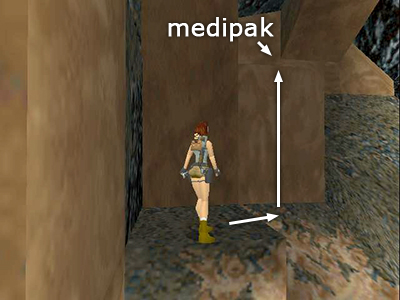
****SHORTCUT 4: If you've taken the fourth shortcut and entered this area through the third gold door, take a running jump across the gap to the slightly sloped ledge below the block with the small medi pack, as shown above. Continue following the main walkthrough from here.

Climb onto the tan block ledge above and to the right, where you'll find a small medi pack.

Drop back down and climb up into the opening to the left.
[Return to the Walkthrough]
Walkthrough text and diagrams copyright © 1998- Stellalune (email ). All TR1 screenshots were made using Glidos and Fraps. Feel free to copy or print this walkthrough for personal use. By all means, share it with friends, but please include this credit line so people can send me their feedback. No part of this walkthrough may be reproduced on another site without permission. Follow this link for details about this site's advertising and privacy policy.
|
