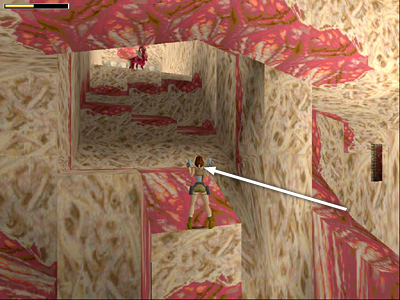
The Hive - Room with Uneven Ledges & Incubators
(Entrance through Timed Door on Left)
If you entered this room through the timed door on the right, see the alternate set of screenshots.
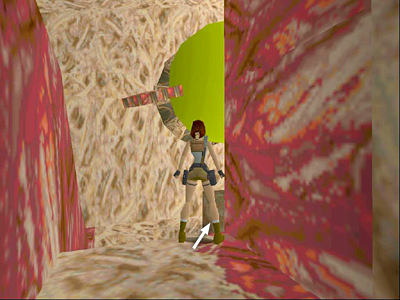
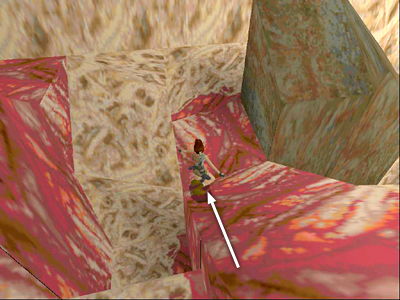
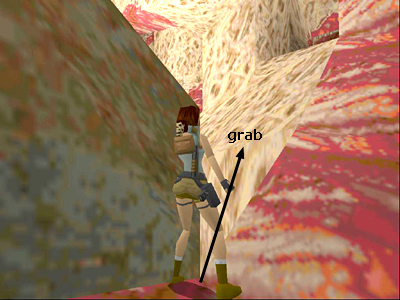
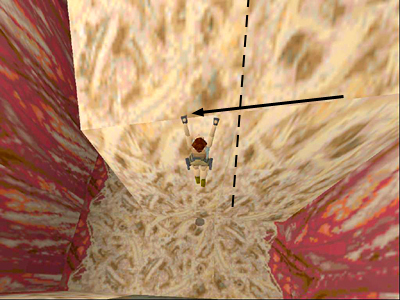
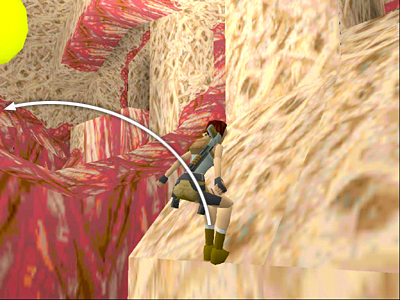
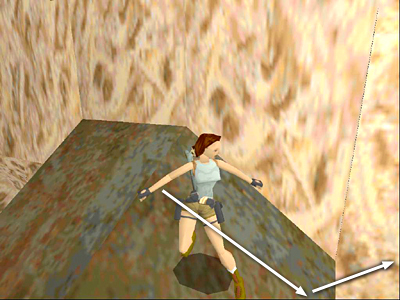
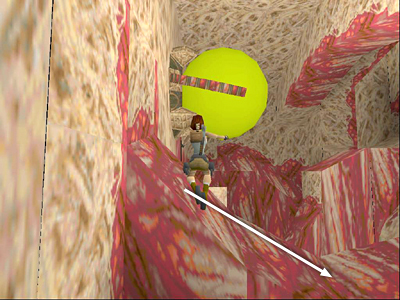
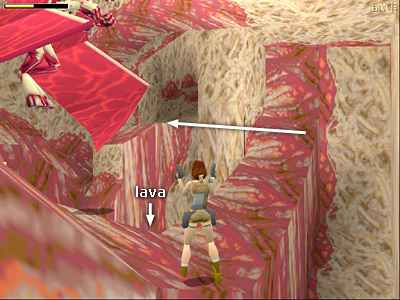
After you've killed the mutants, move to the end of the wall farthest from the incubators. Turn left and take a running jump (without pressing Action) to land on the jutting, fleshy ledge below the exit.
Walkthrough text and diagrams copyright © 1998- Stellalune (email ). All TR1 screenshots were made using Glidos and Fraps. Feel free to copy or print this walkthrough for personal use. By all means, share it with friends, but please include this credit line so people can send me their feedback. No part of this walkthrough may be reproduced on another site without permission. Follow this link for details about this site's advertising and privacy policy. |
