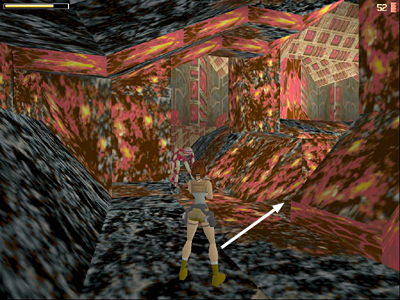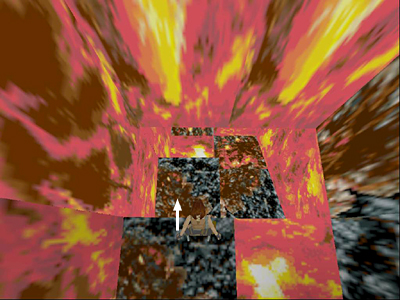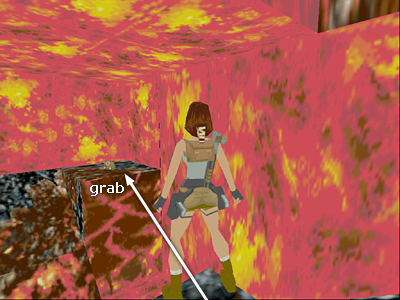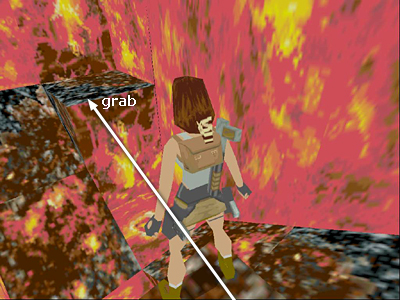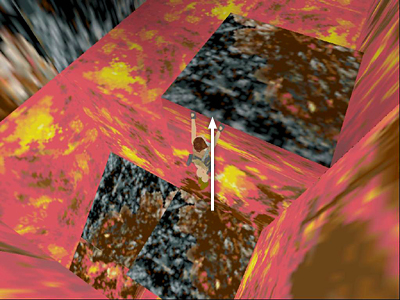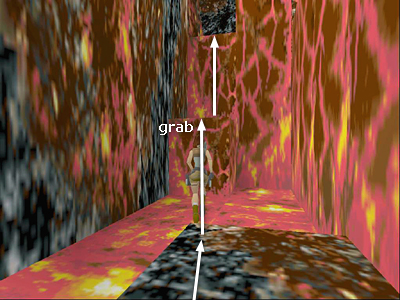
After killing the first mutant in this area, approach the spot where it emerged and look to the right. There's a gap in the sloping stone wall here with a low, flat step (indicated by the arrow in the screenshot above).

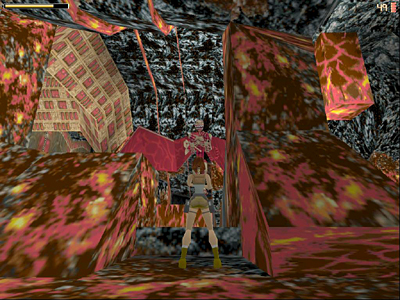
When you move toward the gap, a flying mutant rises out of the lava pool ahead. If you keep the shotgun ready, you can take it down with three blasts just as it appears.

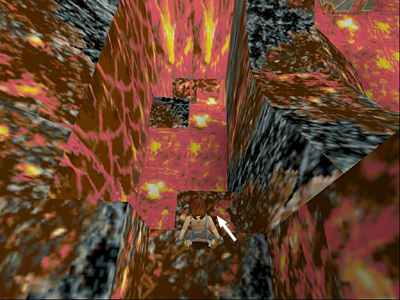
If you move to the edge of the step and look down, you can see a small cave on the other side of the lava pool. Step off the edge (or hang from the edge and drop) to land on the flat block just below.

Move to the outer corner of the block and take a standing jump across the lava to the next safe block.

Step carefully off the edge or hang and drop onto the ledge below.

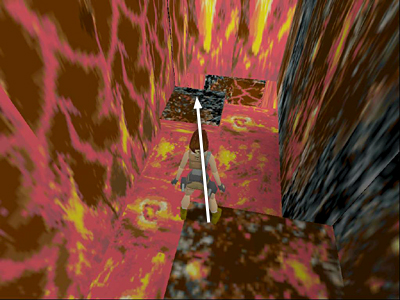
Position Lara at the outer corner of this block and angle her toward the block in the opposite corner of the cave, where there's a large medi pack. Hop back and then take a running jump to grab the edge of the block. Pull up and take the medi pack, which is this level's only SECRET.

To get back out, retrace your steps: First, turn around, move to the outer corner of the block and angle Lara toward the block you just came from. Hop back and then take a running jump to grab the edge of the block. Pull up.

Climb back onto the ledge above.

Now take a running jump across the lava to grab the edge of the block where you first dropped down. Climb back up to the rim of the pit.
[Return to the Walkthrough]
Walkthrough text and diagrams copyright © 1998- Stellalune (email ). All TR1 screenshots were made using Glidos and Fraps. Feel free to copy or print this walkthrough for personal use. By all means, share it with friends, but please include this credit line so people can send me their feedback. No part of this walkthrough may be reproduced on another site without permission. Follow this link for details about this site's advertising and privacy policy.
|
