Tomb Raider Anniversary Time Trial Tips - Level 14: Final Conflict
The following walkthrough was created by Eldin to help other gamers who might be having trouble beating the Anniversary time trials.
Before you start, be sure to review the General Time Trial Tips & Strategy if you haven't done so already. You can also find the regular walkthrough for this level here.
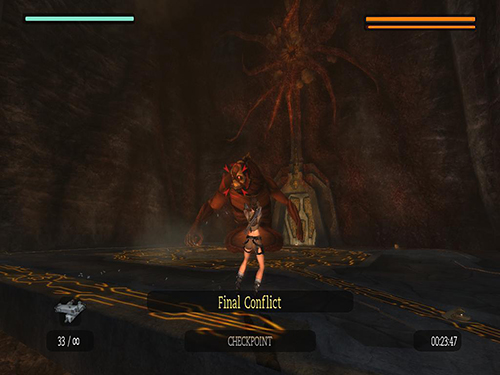
Time Limit: 23:50 At the beginning of the level make sure to turn on cheats, as you can see in this picture. Now we won't have to worry about Lara's health or running out of ammo.
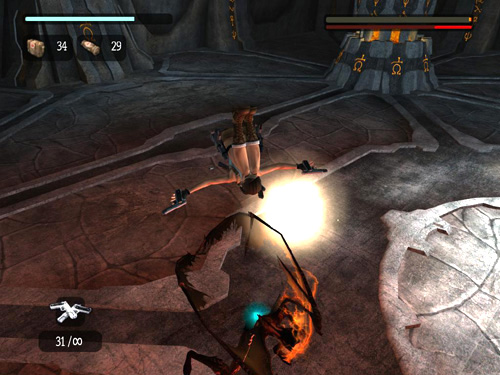
At the beginning of this level, as you know, you need to fight the Abomination. Make sure to use your most powerful weapons, the SMGs, because they will make him angry fast. Then you can use the adrenaline dodge to quickly send him over the edge and destroy his hand so he can't hang on. If you need to review, this is covered in the main walkthrough and the last few minutes of the video tutorial.
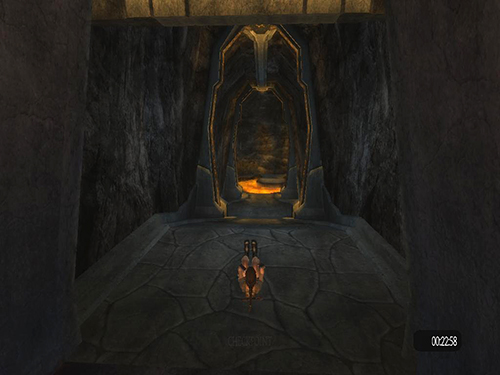
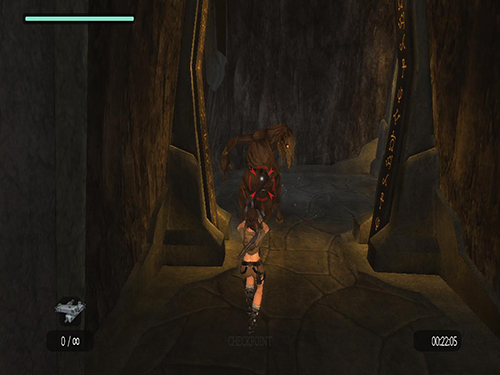
Once the battle is over, follow the hallway, using "Swan Dive Jumps" all the way down to the lava room.
In the room with the switches and lava pits, it's not safe safe to run from the enemies. Wherever you go they will find you, and even with unlimited health, they will knock Lara over and slow her down. So make sure to kill all the monsters in your way.
There's a possible shortcut for this area involving the movable cage (shown below and detailed in the main walkthrough). Some players have had trouble making this work, though. So be sure to practice it beforehand to make sure you can do it. If not, stick to the longer but more reliable route.
In general, this area is fairly linear. There's no need to detour for artifacts and items; just fight the monsters and focus on your main task: opening the underwater gates and getting out of here.
While you are in the water make sure to swim faster in order to save time.
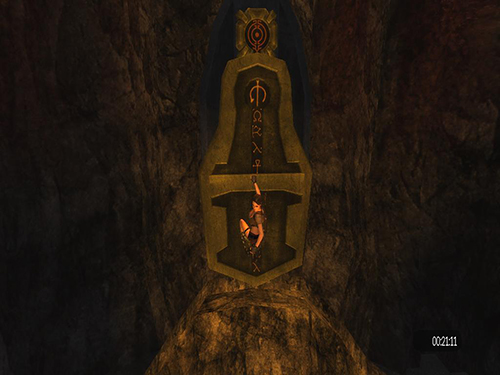
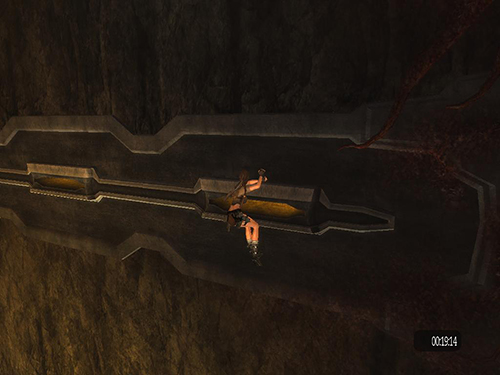
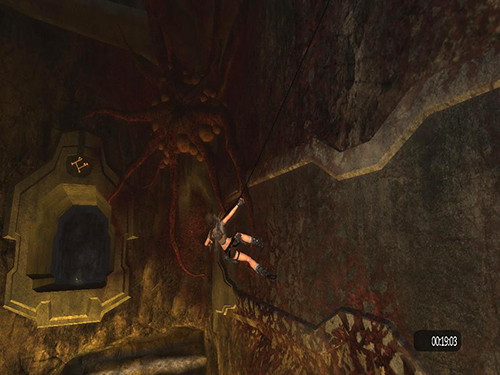
While on the wall make sure to use "Fast Traverse" along ledges.
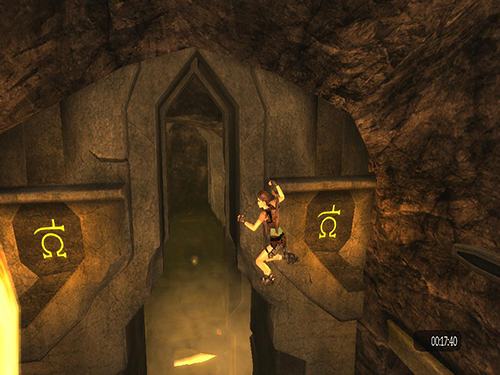
I always suggest to try to jump on the first swing, well not here. In this particular wall run, it's not easy to jump after the first swing. Here you should take the time to swing back and forth a few times so Lara can make the long jump to the corner ledge. Better safe than sorry.
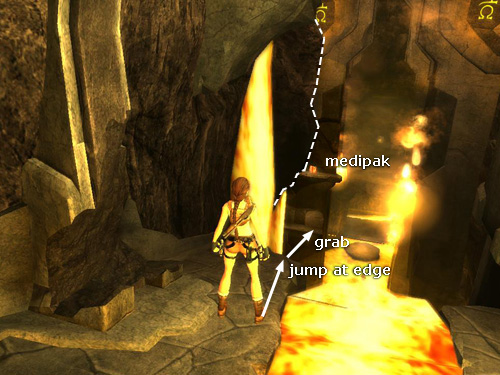
After swimming through the flooded passage (with Infinite Breath cheat on to make things easier), you come to the next lava stream. There's another shortcut here, which is shown in the screenshot below and detailed in the main walkthrough. Again, it's tricky, so practice beforehand to make sure you can do it. Otherwise, stick to the normal route, which is longer but more reliable.
In general, this area is fairly linear. Just follow the path, which you will have practiced before, and go as quickly as you can while still being careful not to die. By the time you reach the final hallway, you will hopefully have quite a bit of time left.
Now it is time for Natla. In the first stage you need to shoot at her wings. If you use the SMGs, with infinite ammo enabled, it won't take long to destroy both wings and trigger the cutscene. Refer to the main walkthrough if you need any tips.
The second stage is all about the adrenaline dodge. Again use SMGs with unlimited ammo, and remember to dodge forward or backward instead of side to side, and you shouldn't have too much trouble with her.
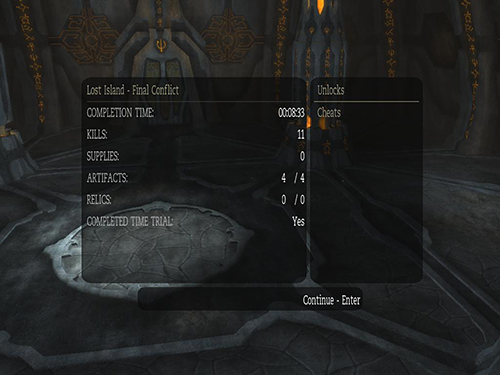
Time trial—and game—completed!
|
Time trial walkthroughs copyright © 2012 Eldin Mostic. Stella's Tomb Raider Site copyright © Stellalune (). All rights reserved. The TRA screenshots included here were made using Fraps. Feel free to copy or print this walkthrough for personal use. By all means, share it with friends, but please include this credit line so people can send me their feedback. No part of this walkthrough may be reproduced on another site without permission. Follow this link for details about this site's advertising and privacy policy. .

