Tomb Raider Anniversary Time Trial Tips - Level 4: Tomb of Qualopec
The following walkthrough was created by Eldin to help other gamers who might be having trouble beating the Anniversary time trials.
Before you start, be sure to review the General Time Trial Tips & Strategy if you haven't done so already. You can also find the regular walkthrough for this level here.
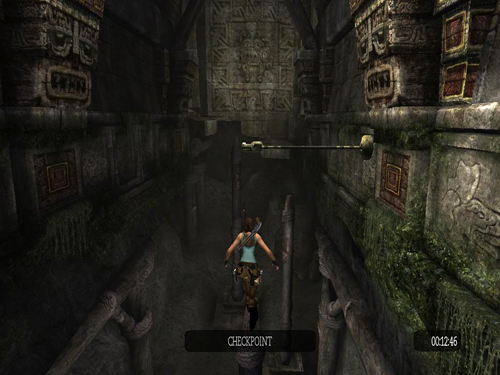
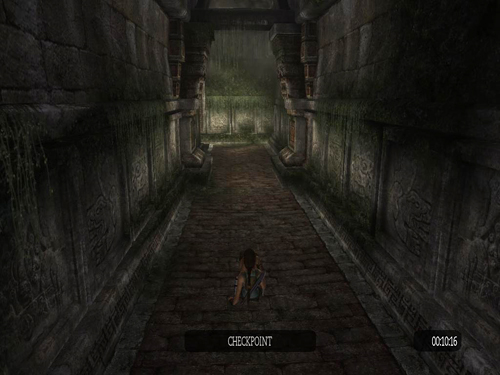
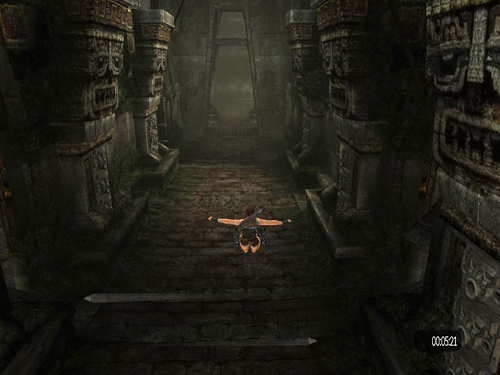
Time Limit: 13:00 At the beginning of the level start by doing a series of "Swan Dive Jumps" through the cave.
When you come to the pit with the vertical posts, try not to fall down here, obviously. Focus and jump to the first perching pole and continue on. If you fall, you can reload the Time Trial from the beginning since you are not very far into the level yet.
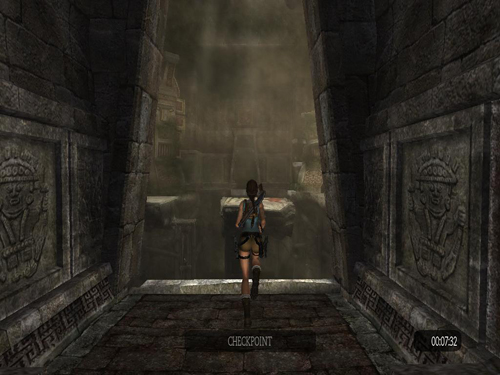
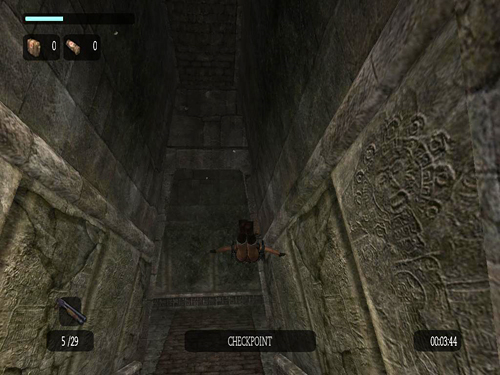
Continue on, using the "Swan Dive Jump" maneuver in order to cover more ground, until you reach the ramp with the rolling boulder.
As soon as boulder starts to come down, drop into the area below and use the medpack to restore Lara's health. This is the fastest way to get down, and the small medpack will recover all the health Lara loses in the fall.
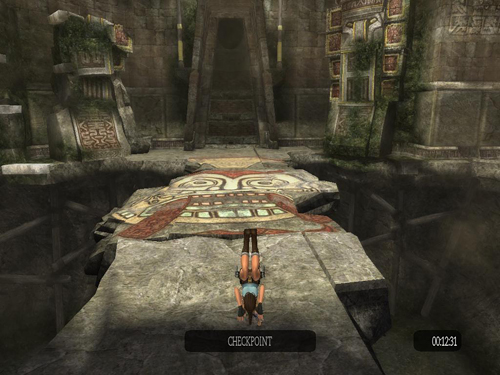
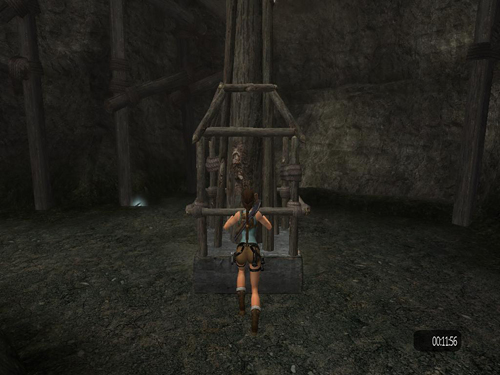
Grab onto the base of the tall, wooden support pillar and pull it into the gap between the painted floor and the doorway above on the left side (i.e., left when facing the side of the room with the boulder ramp). Make sure to move the smaller box/cage toward the handholds on the wall bellow the entrance to this area.
Now, what you need to do here is to go to the upper level first in order to pull the switch above the entrance to open the first gate. You will soon realize why this is the best option.
When trying to cross here, try to jump higher so that you can grapple the second ring. This will save a few seconds.
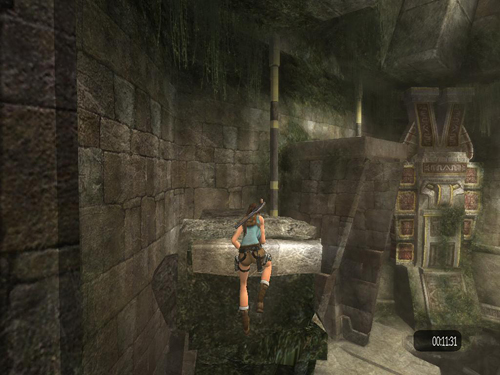
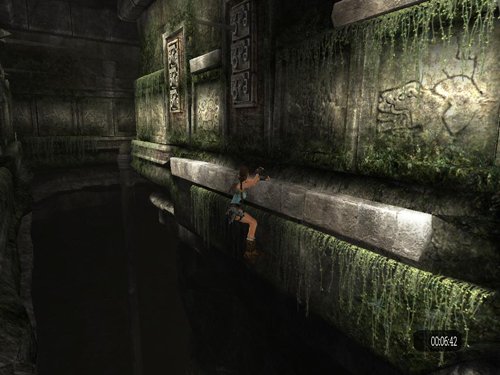
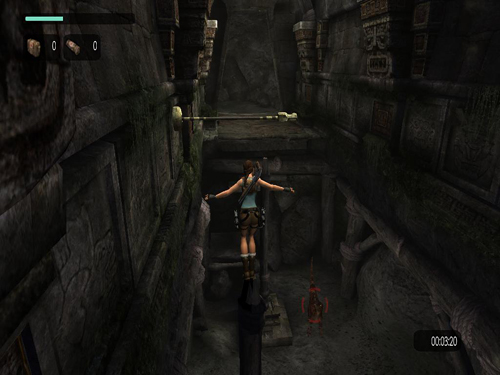
After pulling the switch in the alcove comes the fun part—and at the same time a very hard one. What you need to do here in order to save a lot of time is to grapple the first ring. Then, while hanging from the cable, turn right to face the wall with the hallway leading to the room with the wolves, and extend the cable as far as it will go. Aim for the ledge to the left of the doorway (just below and in front of Lara in the picture below). Swing back and forth several times, so Lara is swinging as high as possible. Then jump to land on that ledge. This can be very hard because sometimes Lara won't land there, she will fall down and die, but if you can make it, this is the great way to save a lot of time.
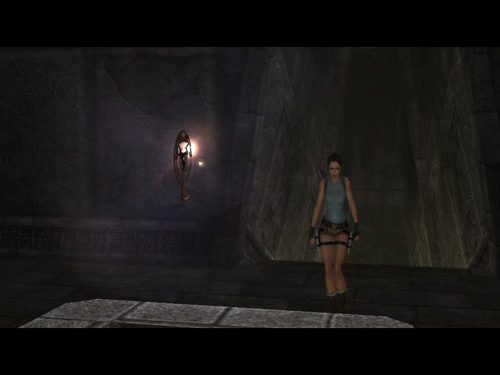
If you did it right, you will land here, as you can see in the picture. Maybe you won't be able to do it on the first try, but if you can manage it, this will save a lot of time since you won't have to move the wooden support pillar to this side of the room.
In the halls, use the "Swan Dive Jump" as before.
Now, choose your best weapon in order to kill the wolves down here, as you know they are annoying and we don't have time to play with them right now.
After using the switch in the wolf area, return to the main room. Drop down and climb back up on the other side to enter the last hallway. (Now you see, thanks to that shortcut with the grapple, you will be able to open all three gates without moving both wooden support pillars.)
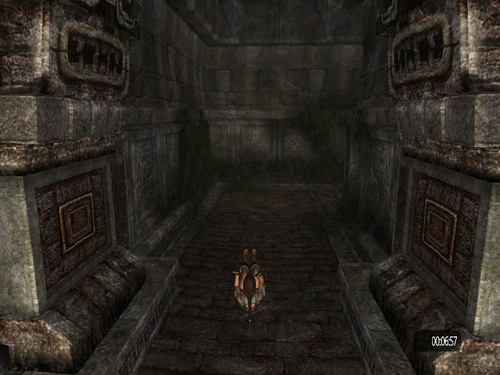
"Swan Dive Jump" through this hall as well.
This part can be hard, and I know that you will start to panic here, but try to relax and just focus. Do not think about how much time is left. Just concentrate on getting past the traps. You don't want to die here; you want to win, and you are a winner so think positive.
Use "Swan Dive Jump" here as well, but be careful traps are everywhere, try to focus on traps and jump when you feel it is safe.
When you've reached the part where Scion is and the cutscene, do not skip it. Remember that the clock stops running during the cutscenes, so watch it and relax for a moment. It was hard back there and you need some time to relax.
Just a little more and everything will be over. "Swan Dive Jump" in order to cover more ground.
Try not to fall into the pit, because you don't want to deal with the raptor now. But even if you do fall down, don't worry; you have a lot of time to finish this level, thanks to that shortcut back there.
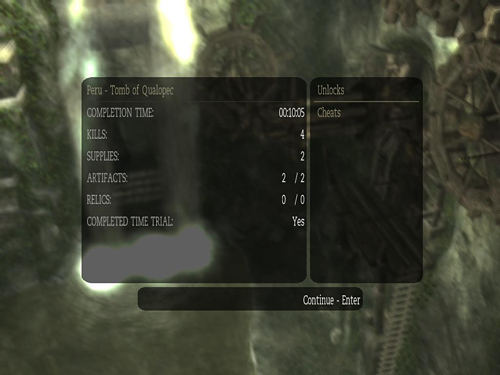
Time trial completed!
|
Time trial walkthroughs copyright © 2012 Eldin Mostic. Stella's Tomb Raider Site copyright © Stellalune (). All rights reserved. The TRA screenshots included here were made using Fraps. Feel free to copy or print this walkthrough for personal use. By all means, share it with friends, but please include this credit line so people can send me their feedback. No part of this walkthrough may be reproduced on another site without permission. Follow this link for details about this site's advertising and privacy policy. .

