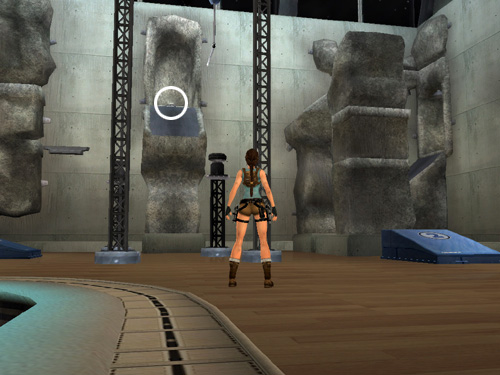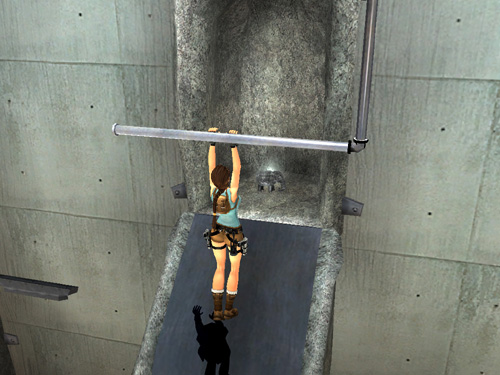
This is where you're headed. The artifact in the alcove is circled in the screenshot above.
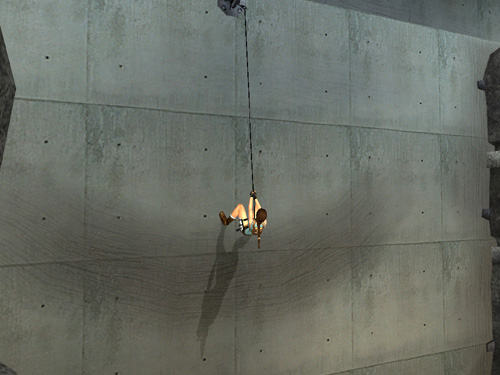
The first part of this sequence—from ramp #3 to the wall run area—is the same as the one for reaching the second button, shown in the first two screenshots on this page.

This time, once you get Lara hanging from the grapple cable, climb up or down the cable if necessary (hold Interact and press Forward/Back direction keys) so Lara's feet are just above the wear marks on the wall.

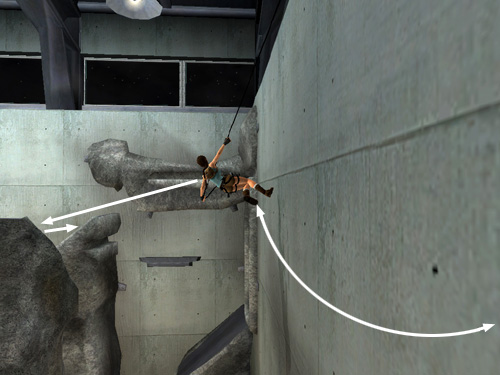
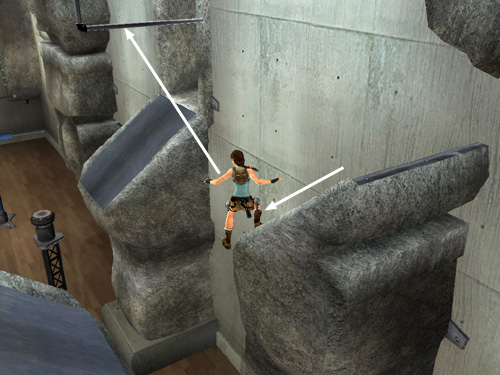
Start wall running from side to side. Then, when Lara is running in a sufficiently long arc, instead of jumping to the left as you did the last time, jump back to land on the slope on top of the free-standing rock column. Slide briefly and quickly jump to the slope ahead.
If you're having difficulty nailing this jump, it may help to move the camera as far as possible to the right, toward the wall, so you're looking at Lara almost side-on (as in the screenshot above). When she runs all the way toward the corner, release the direction controls for a moment, then press Left + Jump to make her spring off the wall and land on top of the column.
Alternatively, move the camera behind Lara as she runs back and forth along the wall. Then, when she runs all the way to the left, briefly release the direction controls, then press Back + Jump to make her jump to the column.

After landing on the first column and jumping onto the second, slide and quickly jump to grab the L-shaped bar, which pivots 90 degrees to the left. (If the bar is set at the wrong angle to swing into the alcove, you missed something. Redo the previous section where you wall-swing to the corner alcove and press the button, as explained here.)

While hanging from the bar, turn around, swing and jump into the alcove. Pick up the silver elephant, Artifact #7. Slide down the ramp to the floor.
[Return to the Croft Manor Walkthrough]
Copyright © 2007- Stellalune (). All rights reserved. The TRA screenshots included here were made using Fraps. Feel free to copy or print this walkthrough for personal use. By all means, share it with friends, but please include this credit line so people can send me their feedback. No part of this walkthrough may be reproduced on another site without permission. Follow this link for details about this site's advertising and privacy policy.
|
