Final Conflict - Abomination/Torso Boss - Part 2
Strategy for fighting this creature is detailed in the walkthrough and in this video walkthrough. After using the adrenaline dodge to lure the giant mutant over the edge of the platform, as described in Part 1, continue as follows:
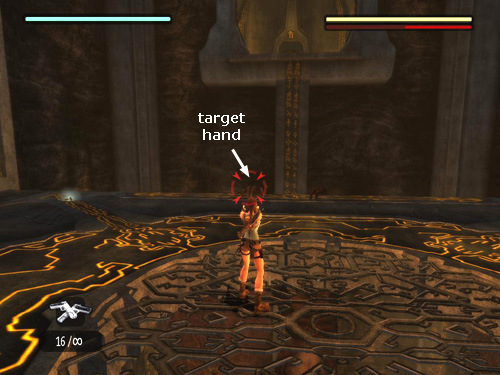
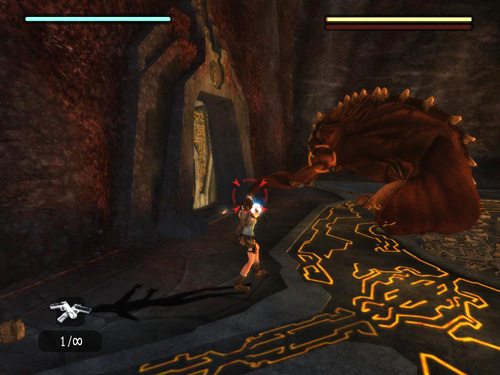
Continue shooting at the mutant until it becomes enraged once more. Again, try to do this quickly and move toward the back wall (the one with the closed door) as you do. When the enemy charges, repeat the adrenaline dodge maneuver.
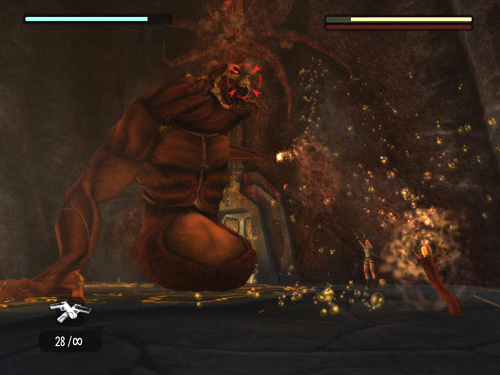
As you shoot, the mutant pounds its right hand on the floor, causing a series of tremors. If you jump just before each pound, Lara won't be knocked over.
Continue shooting the mutant so it becomes enraged. As you do, move toward the edge of the platform. Then repeat the adrenaline dodge maneuver to lure the mutant over the edge again.
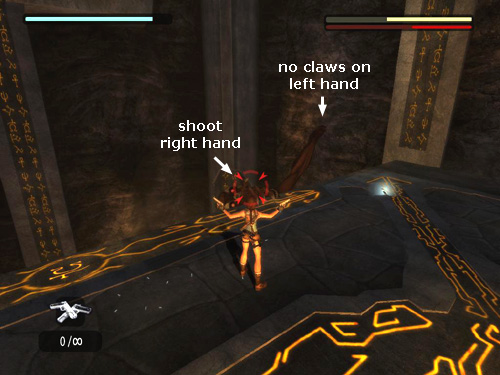
Repeat the process, alternating between luring it to the back wall—so its left hand gets stuck in the floor and you can shoot it—and luring it over the edge. The goal is to destroy both of the claws on its left hand.
[Part 1 | Return to the Final Conflict Walkthrough] Copyright © 2007- Stellalune (). All rights reserved. The TRA screenshots included here were made using Fraps. Feel free to copy or print this walkthrough for personal use. By all means, share it with friends, but please include this credit line so people can send me their feedback. No part of this walkthrough may be reproduced on another site without permission. Follow this link for details about this site's advertising and privacy policy. |


