Mountain Village - Remaining Village Collectibles - Part 2
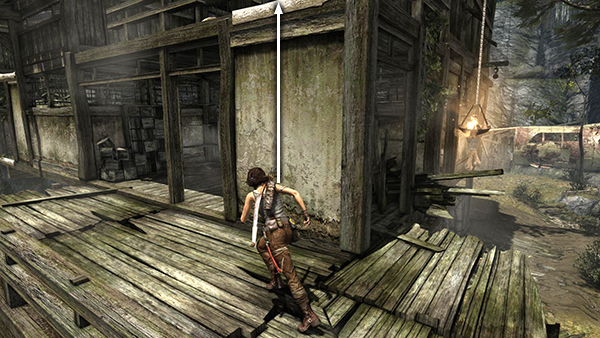
After swinging the lit burner into the salvage net, scramble up the outer wall to the top floor of the building.
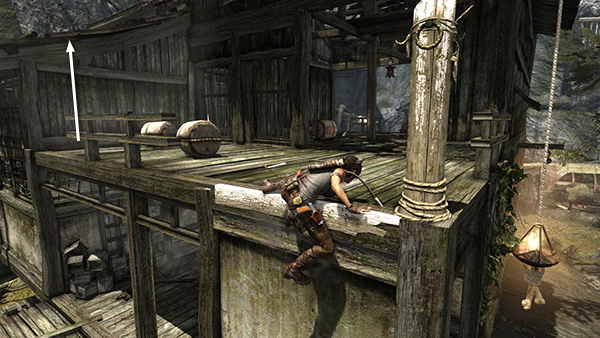
Turn left and climb onto the roof.
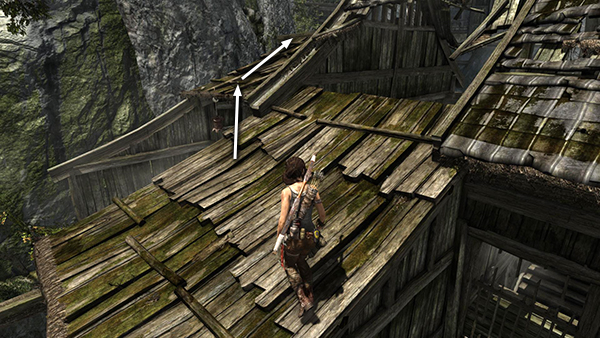
Hop over to the next section of roof ahead on the right.
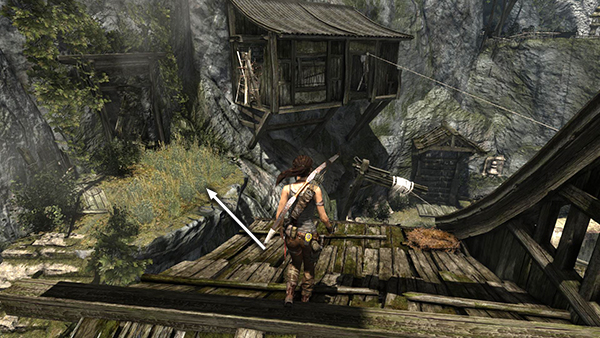
Jump down onto the grassy ledge on the left.
NOTE: The 1st Egg Poacher nest and 3rd and 4th GPS caches are here in case you missed them the first time. See Part 1 for details.
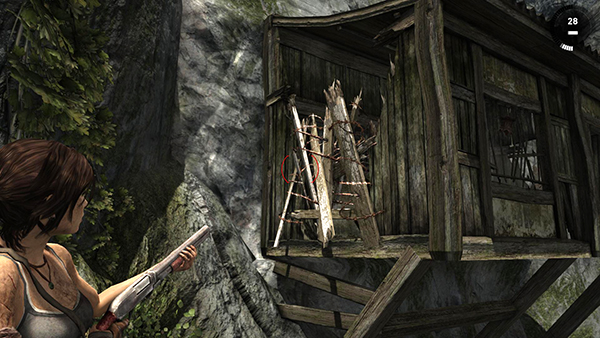
Shoot out the plank barrier in the doorway of the elevated hut on the right.

Jump to grab the doorway and pull up to find 2 salvage crates inside.

Shoot out the other barrier and jump down onto the roof of the little enclosure ahead. Pick up the GPS cache (5/15) sitting on the roof if you missed it before.
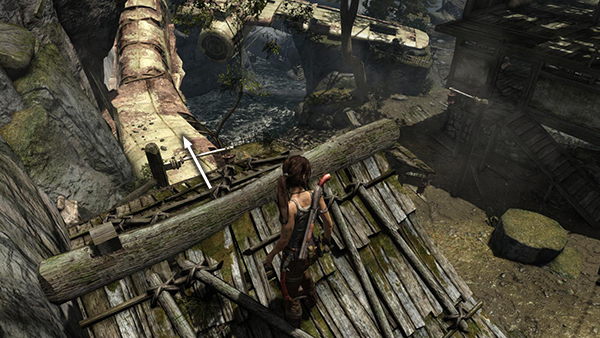
Then jump down onto the fuselage of the first crashed plane and from there to the ground.
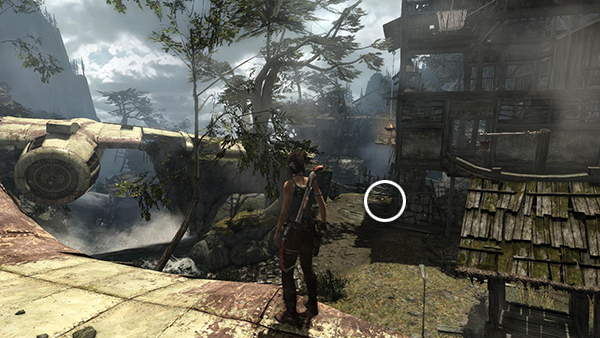
Go around to the side of the THREE-STORY BUILIDNG and crack open the salvage crate from the net you burned earlier.
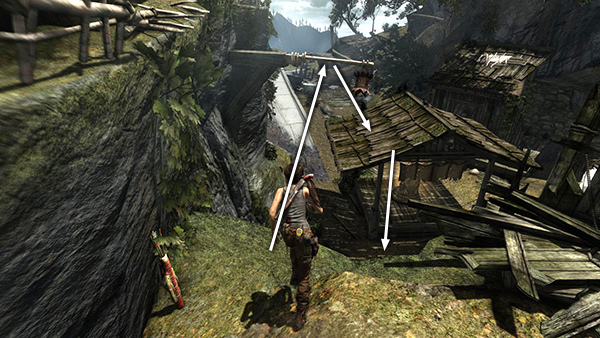
Then use the horizontal pole holding the lantern to swing over to the roof of the enclosure where you lit the 1st Illumination Challenge statue. Drop down to the ground.
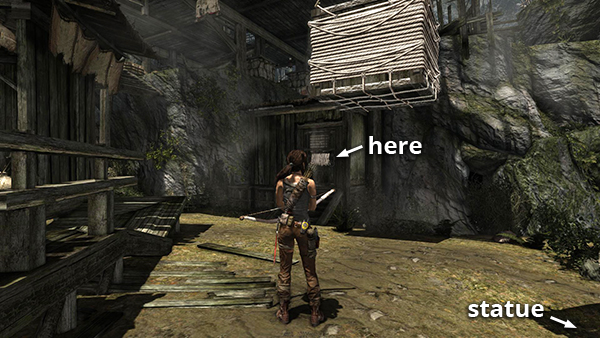
Turn around to face the large building. Shoot a rope arrow into the rope-wrapped door on the basement level and pull it open. Inside is a relic (6/6), Dried Gobo Root from the Kanpo Herbs set, plus a salvage crate and rifle/SMG ammo.
[Part 1 | Part 3 | Return to the Mountain Village Walkthrough]
Copyright © 2013- - Stellalune (). All rights reserved. The screenshots and videos included here were made using Fraps. Feel free to copy or print this walkthrough for personal use. By all means, share it with friends, but please include this credit line so people can send me their feedback. No part of this walkthrough may be reproduced on another site without permission. Follow this link for details about this site's advertising and privacy policy.