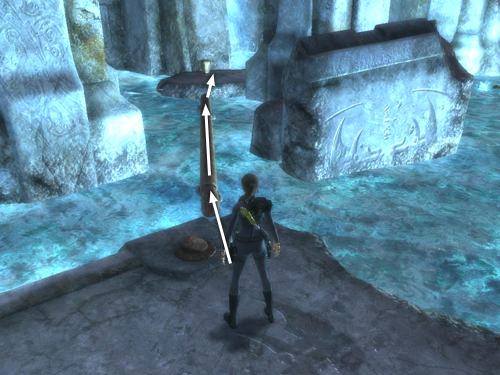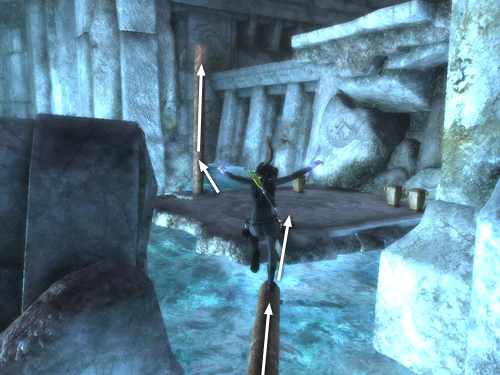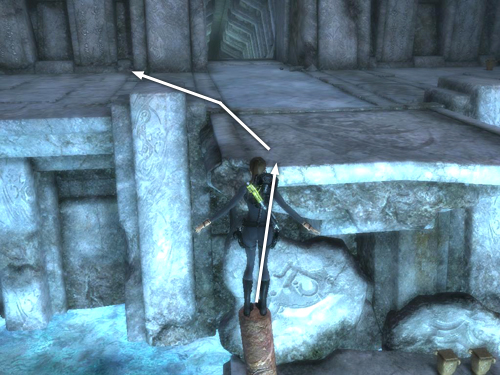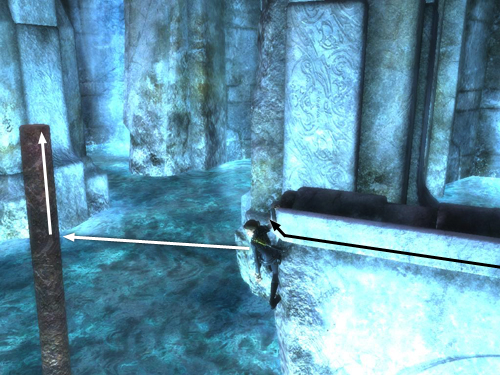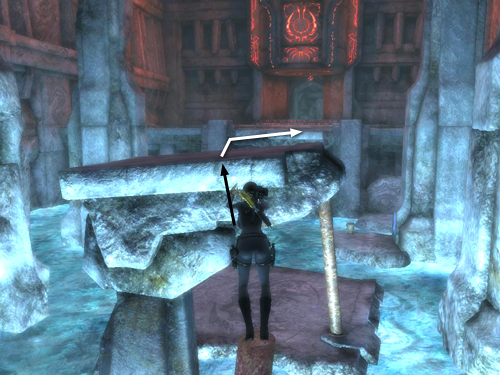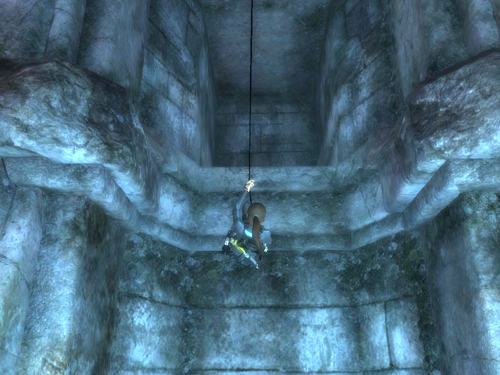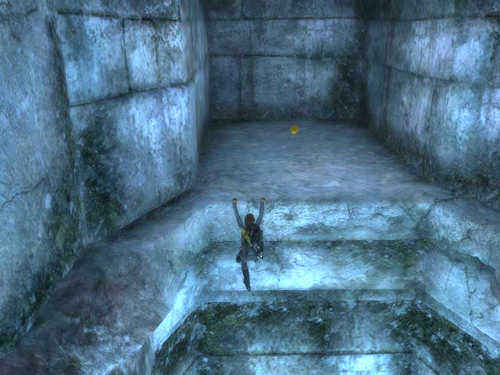
Turn right and go to the edge of the ledge. Jump onto the fallen column that leads to the little island near the wall. To cross it quickly either sprint or jump forward. Then make one final jump to land on the little island.

Turn right and activate the third symbol. As soon as you regain control of Lara, move to the right and jump forward onto the fallen column.

Cross it quickly—again either sprint or jump forward to go faster—and jump back to the ledge below the entrance. Run forward and jump to grab onto the vertical column. Climb to the top, tapping Interact to go faster.

Once Lara is standing on top of the column, pivot to the right so she's squarely facing the ledge ahead. Then jump forward. When Lara pulls up onto the ledge, sprint toward the right side of the door frame.

Activate the fourth symbol. When all four symbols are activated, the falling eitr in front of the alcove with the relic stops.

Turn back toward the pool and sprint to the edge of the ledge.

Jump from the edge of the ledge to perch on top of the column you climbed up earlier. Point the camera toward the low wall and jump forward to grab it.

Climb to the left end of the wall, again tapping Interact to move faster. Carefully position Lara at the corner before jumping back to grab the column behind her. Quickly climb to the top.

If necessary, pivot to face the tilted platform. Then jump to grab the edge, pull up and turn right.

If you don't see any falling water ahead, you'll know you've made it in time. Step to the edge, grapple the ring above and jump forward.

Swing back and forth a couple of times to build momentum and then, when Lara swings toward the alcove. . .

. . . jump forward to release the cable and grab the edge. Pull up and take the final RELIC of the game. Whoo hoo!
Again, this sequence is also shown in this gameplay video in case you'd like to see it in action.
[Part 1 | Return to the Yggdrasil Walkthrough]
Copyright © 2008- - Stellalune (). All rights reserved. The screenshots and videos included here were made using Fraps. Feel free to copy or print this walkthrough for personal use. By all means, share it with friends, but please include this credit line so people can send me their feedback. No part of this walkthrough may be reproduced on another site without permission. Follow this link for details about this site's advertising and privacy policy.
|
