Von Croy's Apartment - Finishing the Cleaner
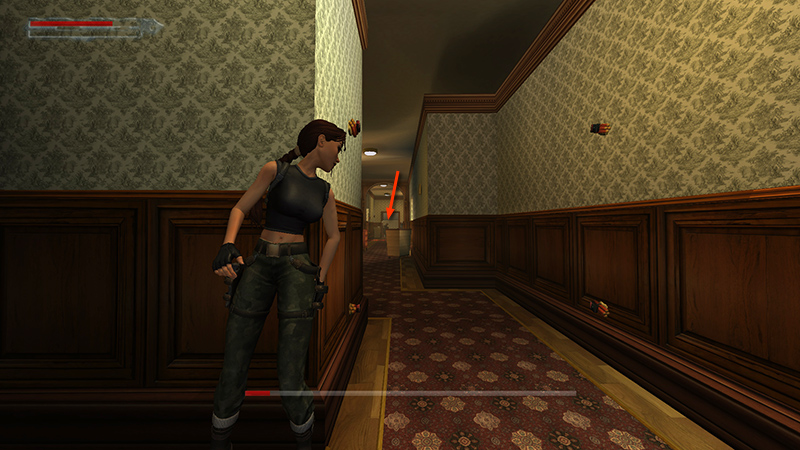
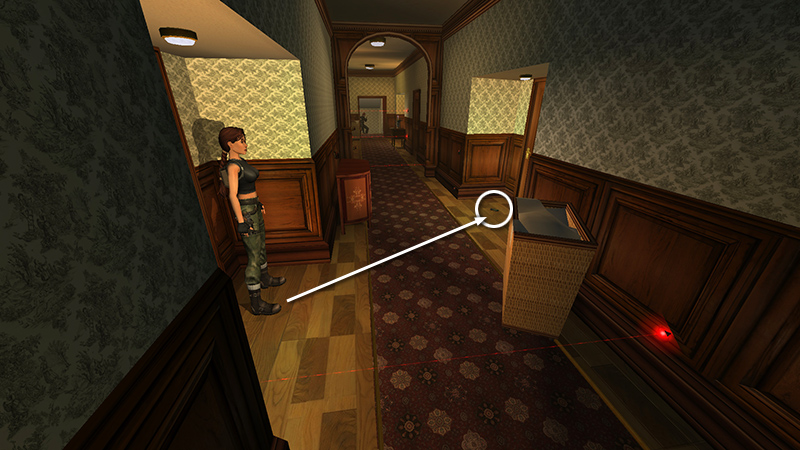
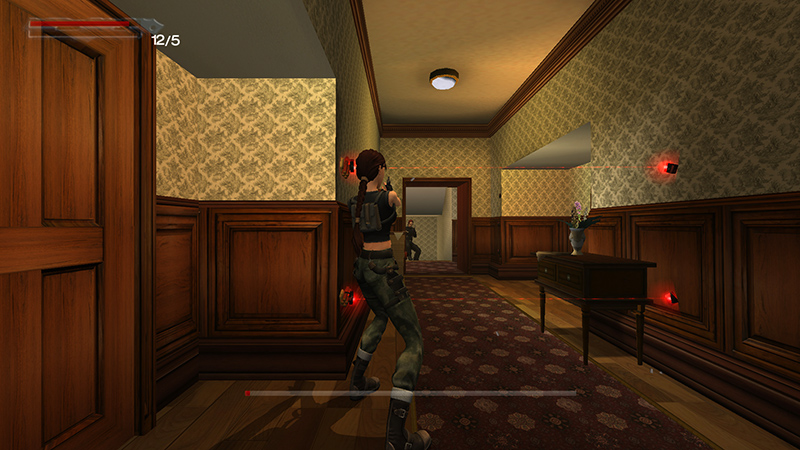
In the last section, Lara made her way through the burning building collecting supplies and searching for The Cleaner. As you enter the final hallway, you'll notice more explosives mounted just around the corner, and The Cleaner's health bar reappears. If you hug the wall (Stealth then Action) and lean out to the right, you can spot him at the end of the hallway. (Or just use Photo Mode to scout ahead.)
Keep your weapon stowed ad you advance to the next corner, just ahead on the right. When you pass the first set of explosives, the tripwires are armed, and you can't go back.
Pick up the Viper clip (34) on the floor just to the left. (The Cleaner should ignore Lara for now.) Then run along the hallway into the first doorway on the left side.
Pick up a Rigg clip (35) here.
When you do, the tripwire behind you activates, so you can't retreat. Run across the hall to the next doorway, where you'll find more Rigg ammo (36).

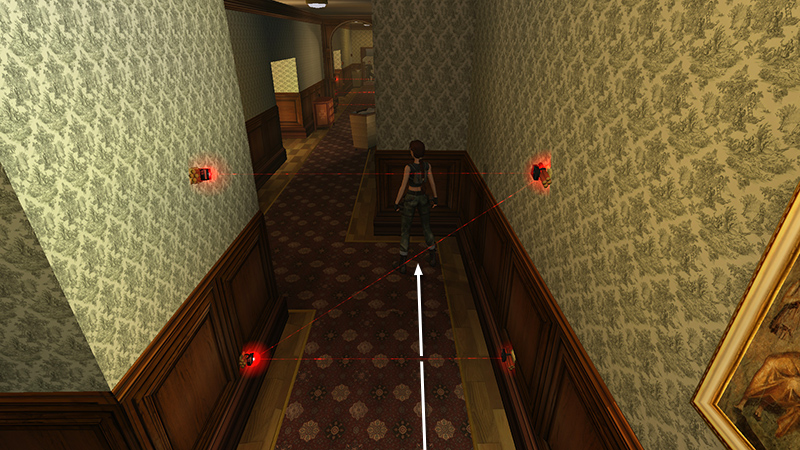
Step back a bit, while still staying in the cover of the doorway, and scope out the lasers ahead: A set of two beams, then a set of three. Notice how the first set cycles on and off, as do the top two lasers in the second set.
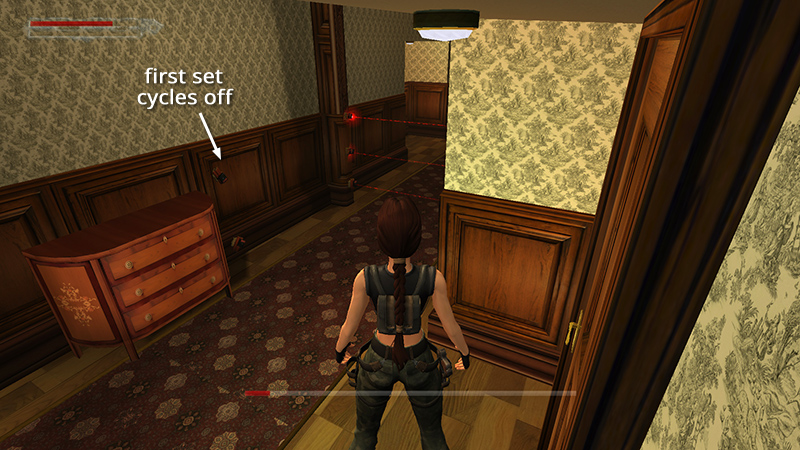
When the first set of lasers turns off, get ready to move.
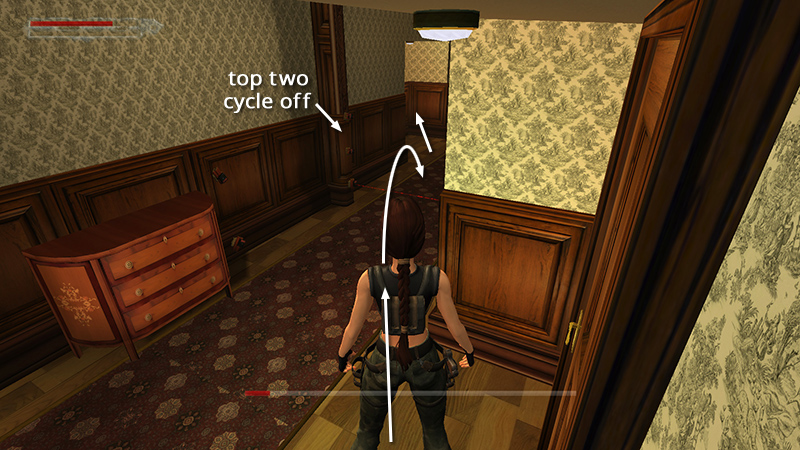
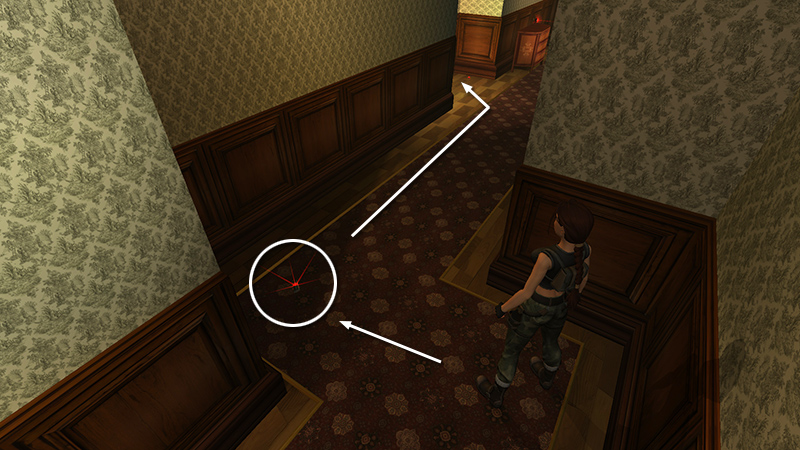
As soon as the top two lasers in the second set go off, take a running jump to clear the bottom laser. The Cleaner opens fire now, so run on into the doorway on the left.
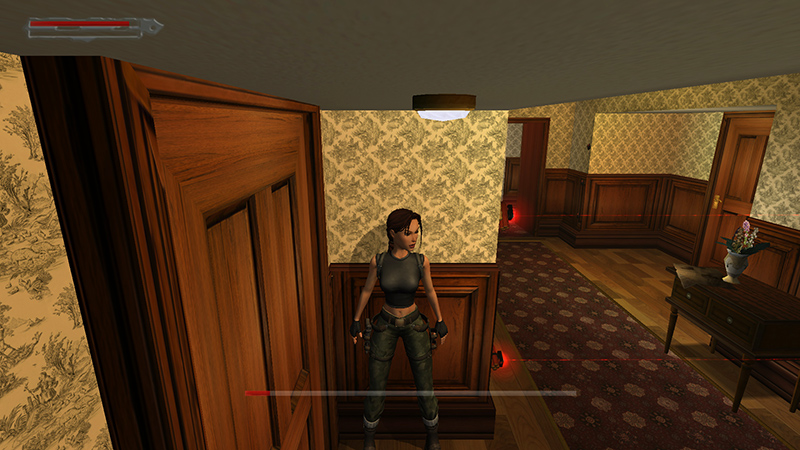
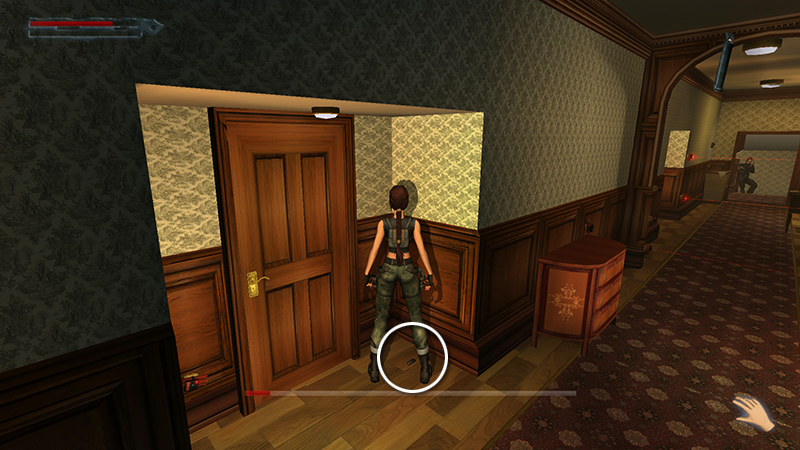
He's set more tripwires ahead, but you can take him out fairly easily from here. If you have plenty of health left, just step out and open fire. Or, if you want to play it safe, without drawing a weapon, go into Stealth mode, then press Action to hug the wall to the right of the door.
Draw the Rigg, lean out to the right, and start shooting. Just a few rounds should finish him off.
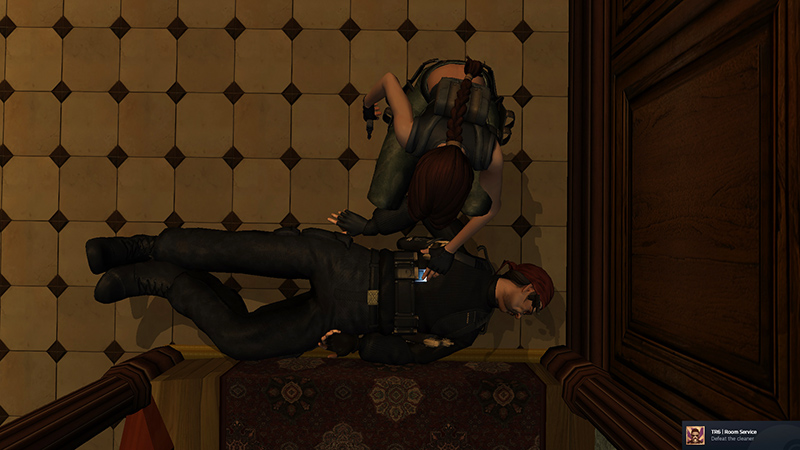
Defeating The Cleaner unlocks the "Room Service" achievement/trophy.
DARK MODE: I plan to add optional dark mode for these pages, but my current priority is updating the walkthroughs. Meanwhile, may I suggest a reputable dark mode browser extension, such as Dark Reader? (Download only from trusted sites, like darkreader.org or your browser's web store.)
Walkthrough text and diagrams copyright © Stellalune (email ). Feel free to copy or print this walkthrough for personal use. By all means, share it with friends, but please include this credit line so people can send me their feedback. No part of this walkthrough may be reproduced on another site without permission.