Hall of Seasons - Elemental Doors
These screenshots show how the buttons, doors, and levers work. Specific strategies for each side area, and for dealing with the undead knights, are covered separately.
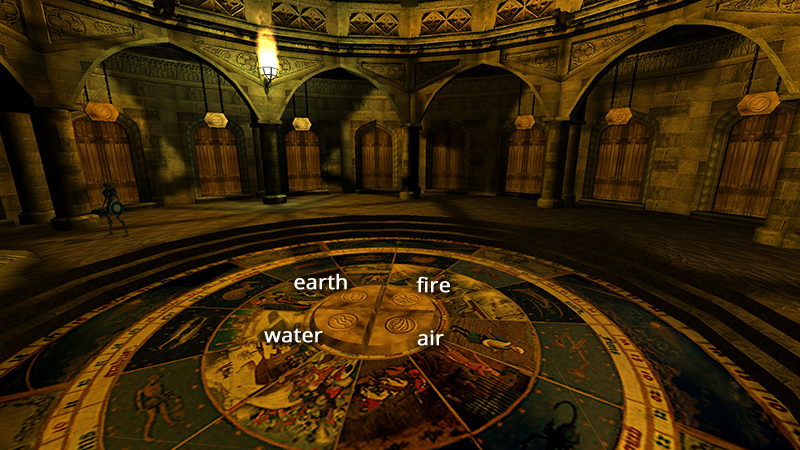
In the middle of the MAIN ROOM is a floor mosaic depicting the Western zodiac. At the center of this mosaic are four buttons with the same element symbols you saw in the entrance hall: Fire, Earth, Air, and Water.

There are four sets of three doors (12 doors in all) along the outer wall. Stepping on one of the four buttons opens one set of doors. Beyond each door is a lever. One lever in each set opens the door to a new area. The other two levers open trapdoors that that deposit Lara in a trap-filled basement.
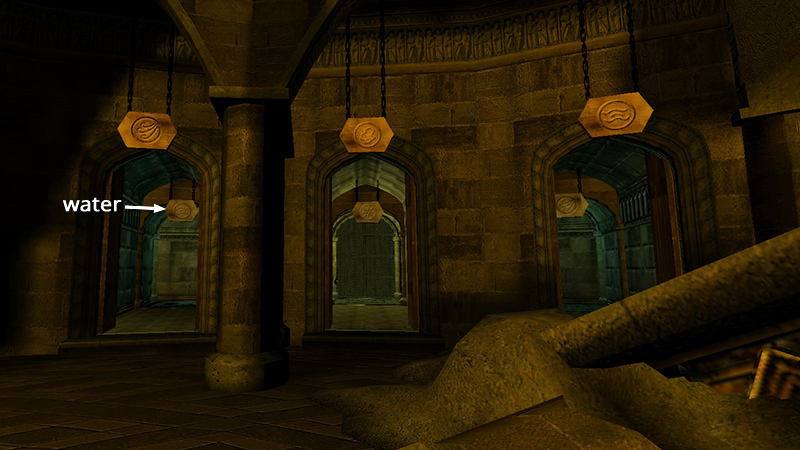
To determine which lever opens the "safe" door, examine the carved signs above the lever alcoves (not the signs above the outer doors). The sign near the correct lever will match the sign on the button.
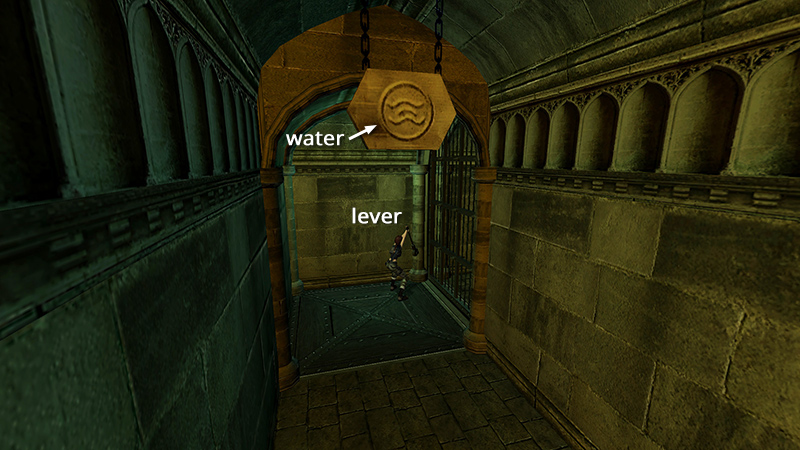
When you pull the correct lever...
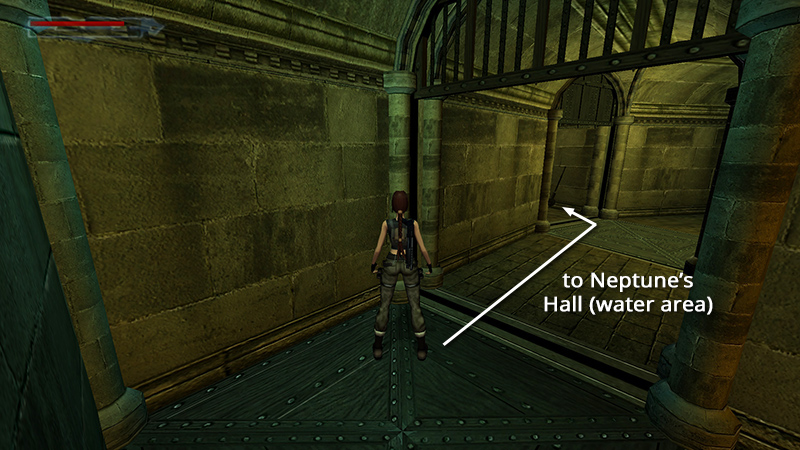
...the portcullises open, and you're able to enter the next area. Note that the entrance to the side level is always through the middle door, but it isn't always the middle lever that opens that door.
DARK MODE: I plan to add optional dark mode for these pages, but my current priority is updating the walkthroughs. Meanwhile, may I suggest a reputable dark mode browser extension, such as Dark Reader? (Download only from trusted sites, like darkreader.org or your browser's web store.)
Walkthrough text and diagrams copyright © Stellalune (email ). Feel free to copy or print this walkthrough for personal use. By all means, share it with friends, but please include this credit line so people can send me their feedback. No part of this walkthrough may be reproduced on another site without permission.