Neptune's Hall - Water Crystal and Exit
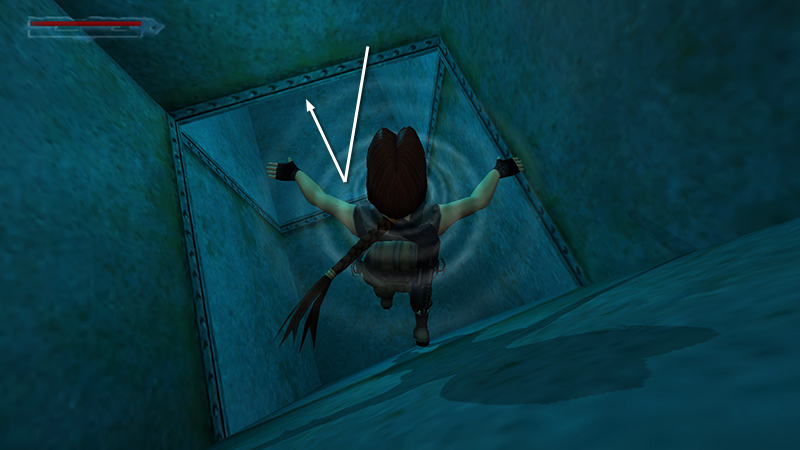
After navigating past the retracting spikes, as shown in the previous section, Lara is in another safe air pocket. Swim down, then forward...
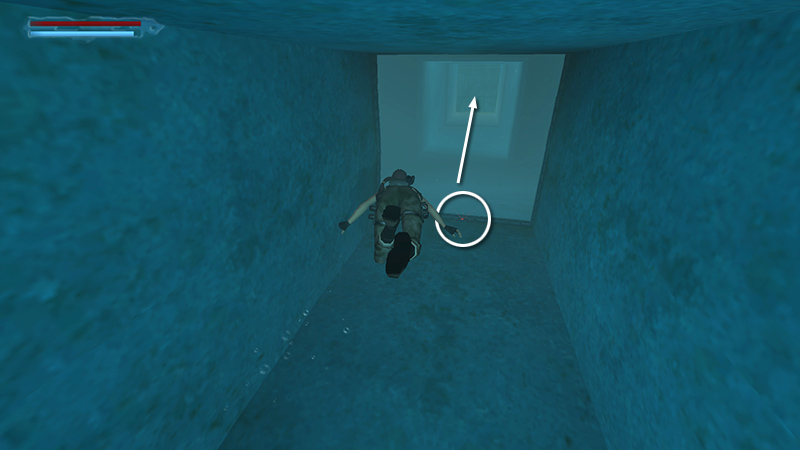
Grab the ammo on the bottom of the square tunnel if you didn't get it on the way in. Then continue straight ahead into the LARGE FLOODED ROOM.
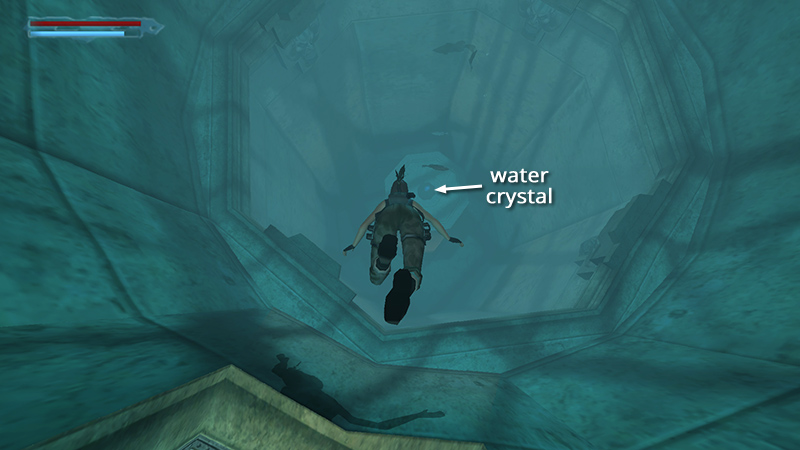
Swim down to get the WATER CRYSTAL (8) off the pedestal.
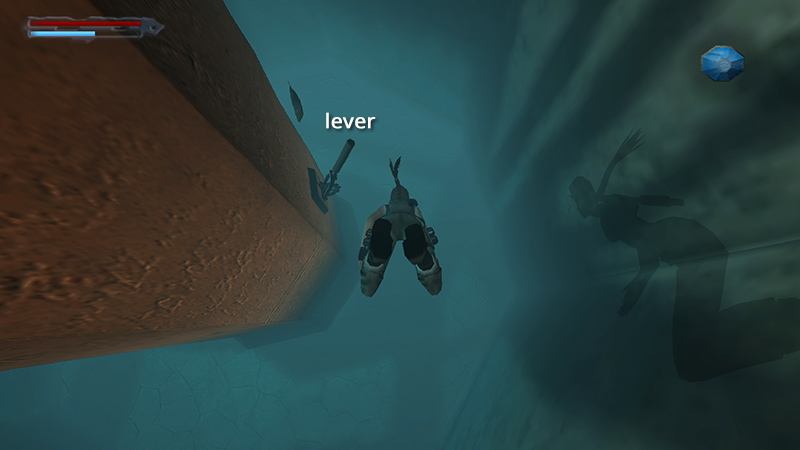
Below, on the side of the pedestal, is another lever.

Pull it to raise the water level one more time and open the circular grating directly above, as well as the door below the carved face.
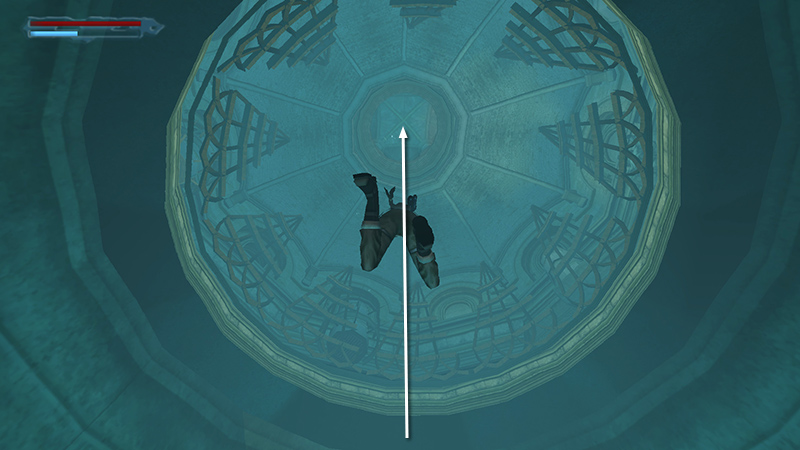
Swim straight up to the top of the dome for air.
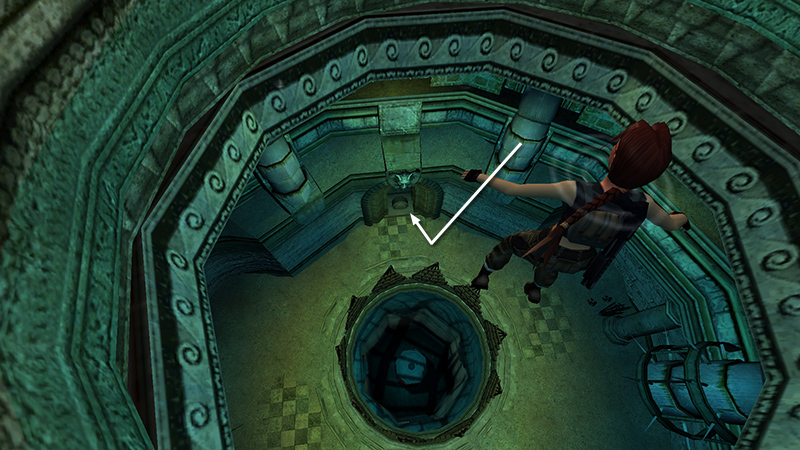
Then swim down through the opening below the carved face...
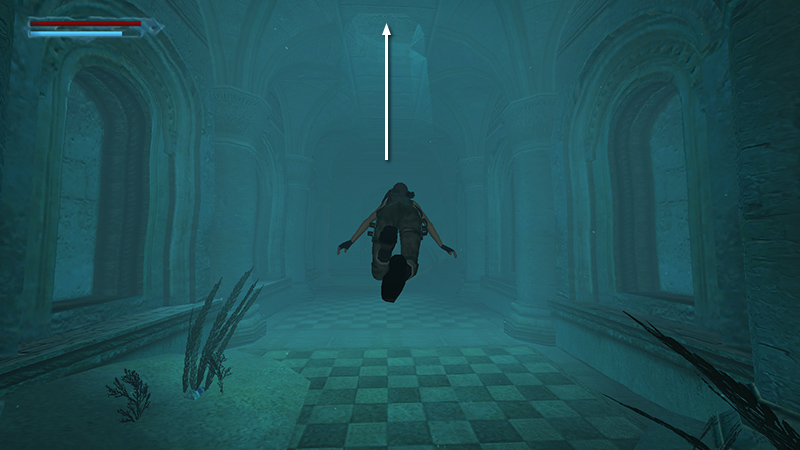
...into the room with the checkerboard floor, where you pulled the first lever. Don't go all the way to the lever, though. Instead swim up through the hole in the ceiling. Follow the passageway to the top.
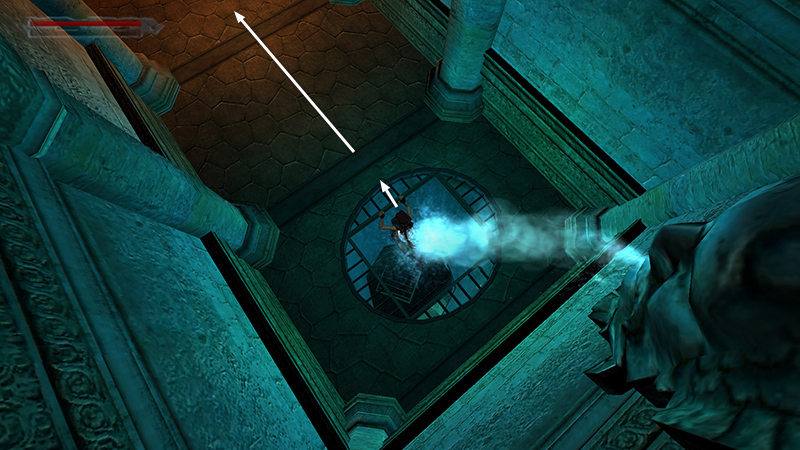
Then climb out of the water in the corridor near the level entrance.
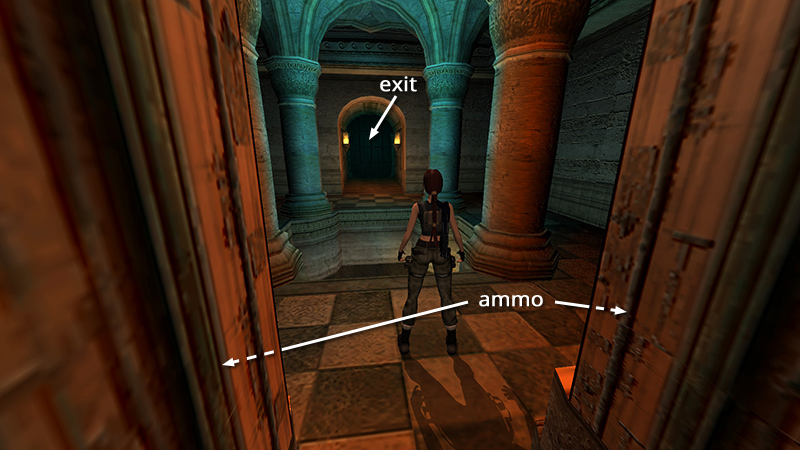
The fire knight (1) will be roaming around here if you didn't knock him into the hole before. Pick up the V-Packer shells (1-2) in the corners if you missed them earlier. Then return through the various gates to the main room of the HALL OF SEASONS.
If you've done all this without taking damage, "Be Like Water" should unlock as the level loads.
DARK MODE: I plan to add optional dark mode for these pages, but my current priority is updating the walkthroughs. Meanwhile, may I suggest a reputable dark mode browser extension, such as Dark Reader? (Download only from trusted sites, like darkreader.org or your browser's web store.)
Walkthrough text and diagrams copyright © Stellalune (email ). Feel free to copy or print this walkthrough for personal use. By all means, share it with friends, but please include this credit line so people can send me their feedback. No part of this walkthrough may be reproduced on another site without permission.