Valley of the Kings - Ignition Key and Secrets #1 and #2
After defeating all of the enemies in the starting area, as shown in the previous section, go after the goodies. These items may be in different locations than I show here, since most are dropped by enemies when they die.
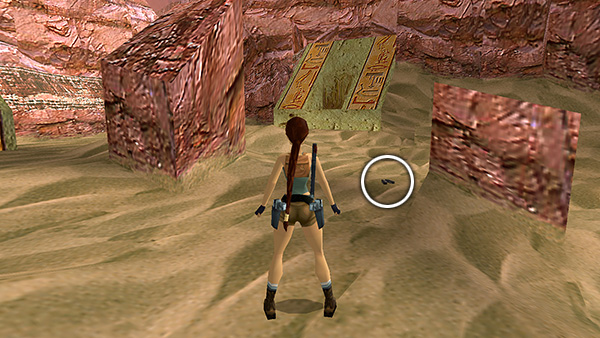
There's Uzi ammo near the stone block where you killed the first enemy. (This is the ammo shown in the cutscene.)

More Uzi ammo near the vehicles. (This is dropped by the second enemy.)
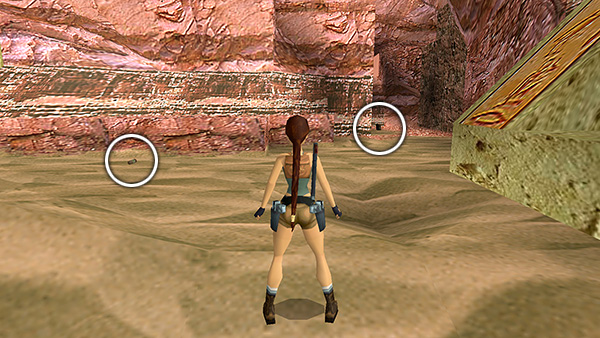
Small and large medipacks (dropped by the third and fourth enemies).

Another small medipack (dropped by the fifth enemy) and the IGNITION KEY (dropped by the seventh enemy).
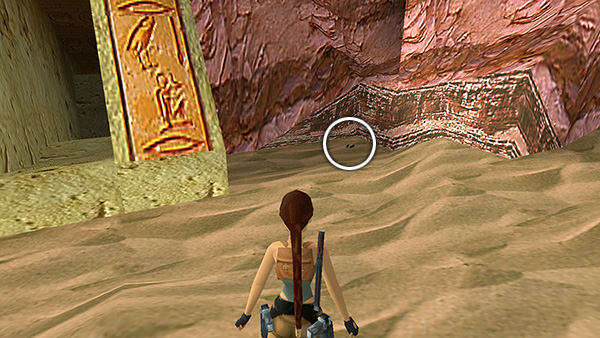 And more Uzi ammo (dropped by the sixth enemy, who came out of the southeastern alcove).
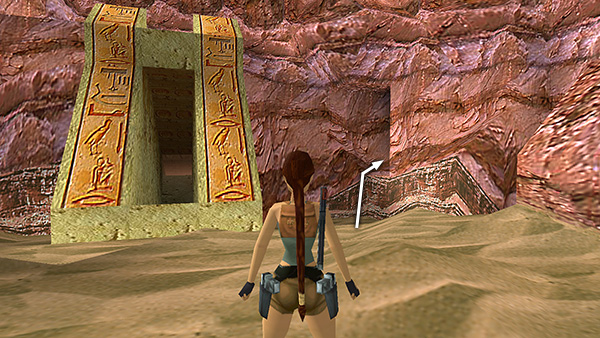 SECRET #1 (19/70) is also located inside the alcove in the southeast corner (i.e., to the right of the entrance from the Burial Chambers when facing it). Climb inside.
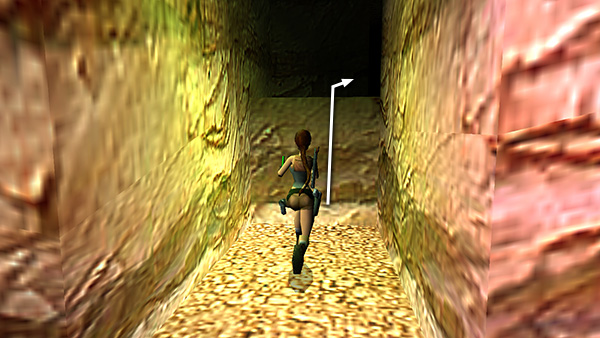
Then climb up once more into a small, dark cave.
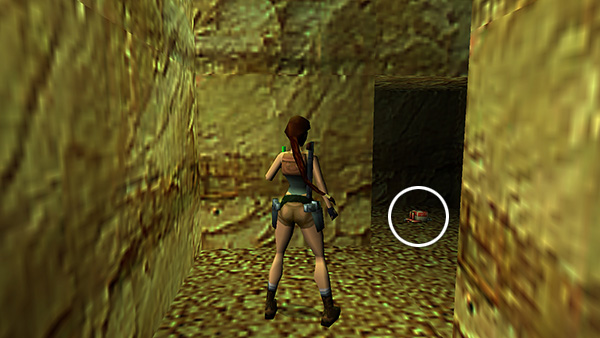
Here you'll find the SHOTGUN and 2 boxes of normal shotgun ammo. Note that these are three separate pickups, so you'll need to press Action three times to get them all. If you already have the shotgun, the last pickup will register as more shotgun shells.
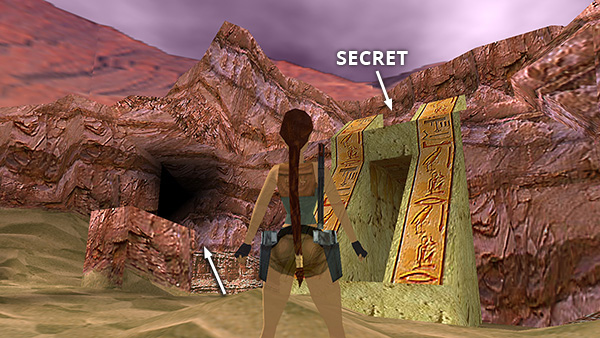
SECRET #2 (20/70) is on the wide ledge above the entrance from the BURIAL CHAMBERS. To get there, start by approaching the dark alcove in the northeast corner (i.e., to the left of the level entrance).
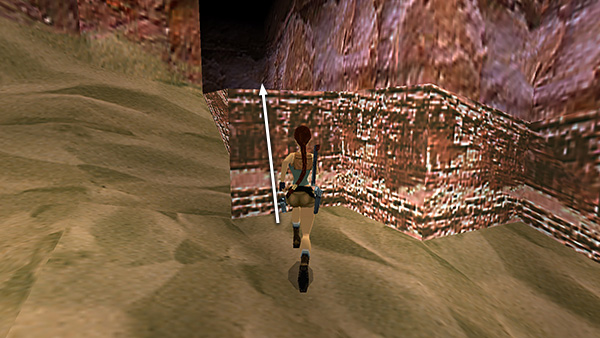
Climb onto the ledge in front of the alcove, but don't climb inside.

Instead sidestep to the left corner of the ledge.
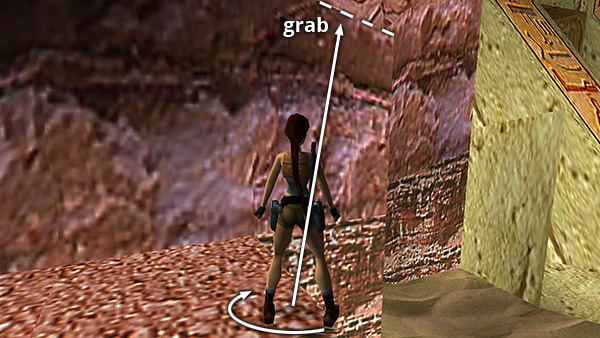
Then pivot about 120 degrees to the right so Lara is facing the middle of the angled ledge above. Take a standing jump to grab that ledge.
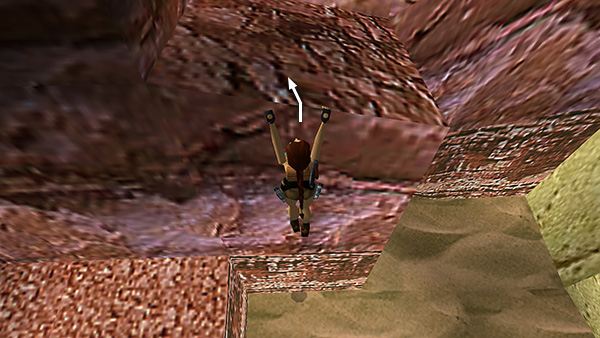
Then pull up.

The level entrance is now off to your right. Pull up onto the next ledge directly ahead and the secret chime will sound.

Pick up the goodies: 2 boxes of normal shotgun ammo, a small medipack, and Uzi ammo.
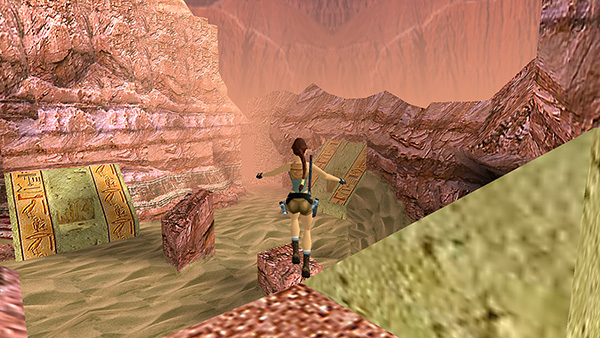
To get down, either drop down via the same ledges where you climbed up (not shown) or step out onto the greenish slope beside the level entrance...
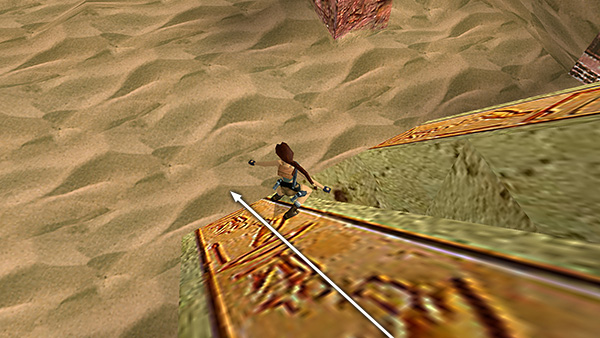
...and slide down to the ground.
Copyright © 1999- - Stellalune ( ). All rights reserved. Feel free to copy or print this walkthrough for personal use. By all means, share it with friends, but please include this credit line so people can send me their feedback. No part of this walkthrough may be reproduced on another site without permission. Follow this link for details about this site's advertising and privacy policy.