Underneath the Sphinx - Southwest Gate - Square Pool with Island

This time, press the hieroglyph tiles in the order hill, reeds, bird.

Head for the gate at the southwest end of the hall, just beyond the dead adventurer.
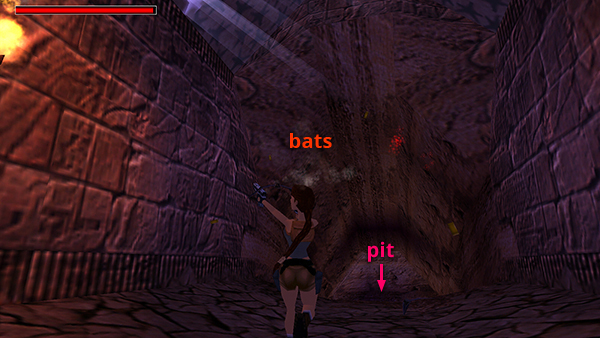
When you enter, the gate closes behind you. Kill 2 more bats and continue forward toward the deep pit.

Take a running jump across the pit on the left side.
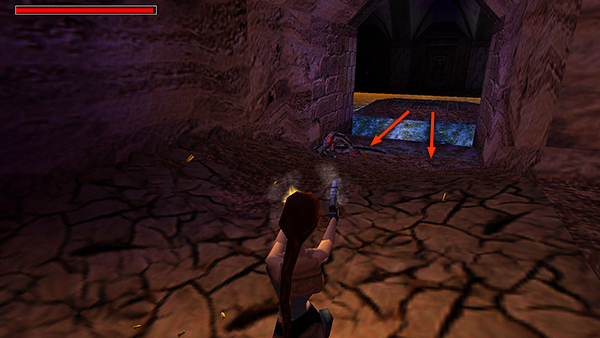
As soon as you land, turn right and start firing as 4 crocodiles come up the hill from the pool below. They may get stuck in a little hollow on the left side of the slope, giving you plenty of time to snipe away with pistols, but if things get rough, don't be afraid to pull out the shotgun or grenade launcher.
NOTE: You can jump back across the pit to safety if necessary, but you need to take a fairly precisely angled running jump along the right side of the pit to grab the ledge on the other side. If you take the time to set it up correctly, Lara could lose a few toes to the crocs.
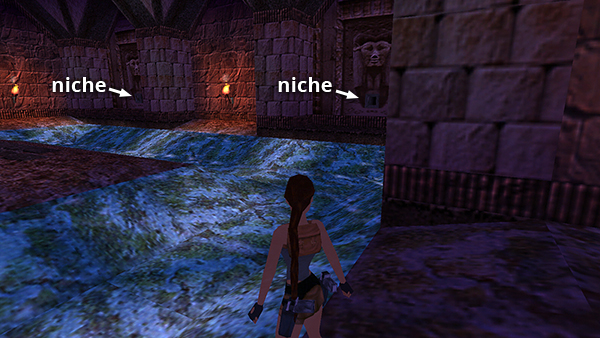
After dispatching the crocodiles, go around the edge of the pool, activating the mechanisms inside each of the 4 niches: two on the north wall
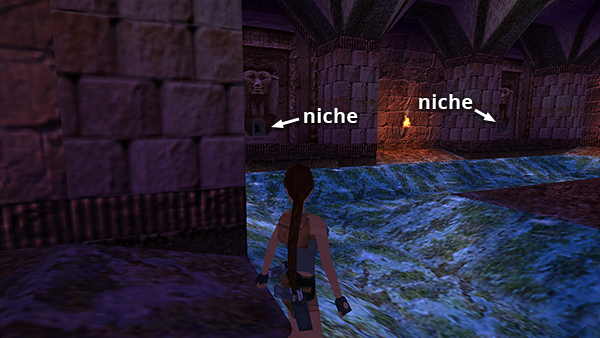
...two on the south...
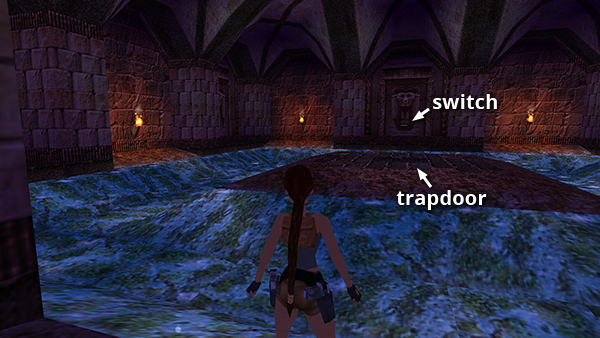
...and pulling the switch on the wall opposite the entrance. (These can be done in any order.) The switch opens the gate. The niche mechanisms open the trapdoor in the middle of the little island.
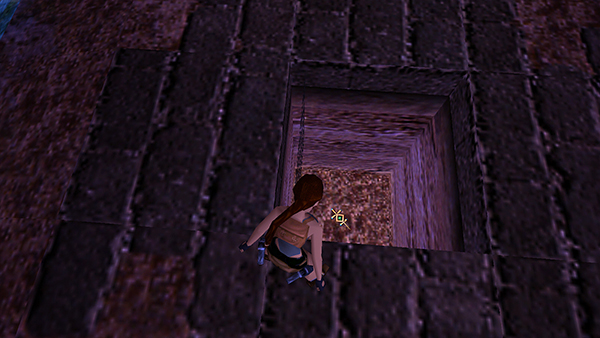
Drop through that opening and take the STONE OF KHEPRI.
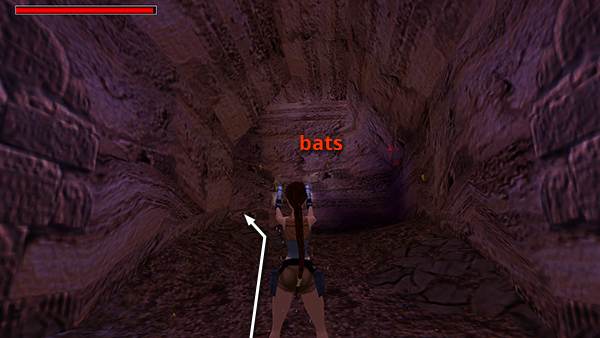
Watch out for 2 more bats in the tunnel on the way back to the pit and gate.
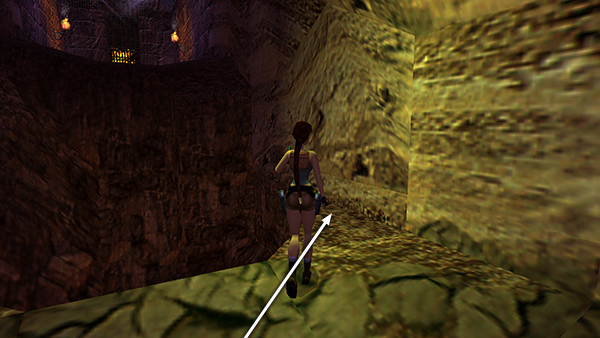
To get back across the pit, walk along the angled edge at the right side of the pit until Lara reaches the wall and can't go any farther.
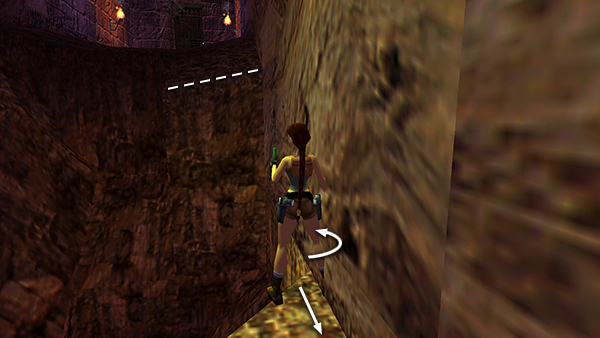
She should now be standing at the point of the triangular floor texture. near where it meets the wall. Turn to face the angled block directly across the pit.

Hop back once and adjust Lara's position if necessary so she's facing the right side of the angled block. Now take a running jump to grab the block. Pull up and return through the gate to the HIEROGLYPH PUZZLE.
Copyright © 1999- - Stellalune ( ). All rights reserved. Feel free to copy or print this walkthrough for personal use. By all means, share it with friends, but please include this credit line so people can send me their feedback. No part of this walkthrough may be reproduced on another site without permission. Follow this link for details about this site's advertising and privacy policy.