Underneath the Sphinx - Northwest Gate - Stone of Maat and Secret #1
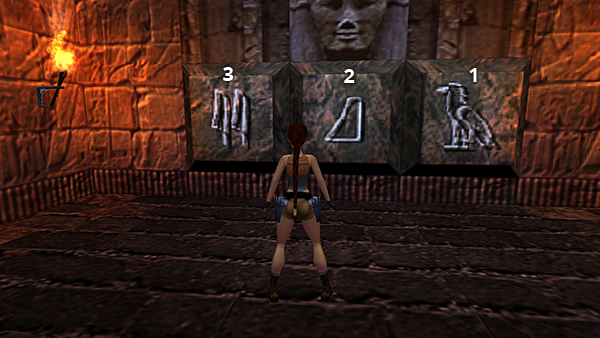
After getting the clues behind the WEST GATE, press the hieroglyph tiles in the order bird, hill, reeds.

The northwest gate opens.

When you enter the gate closes behind you. Kill a pair of bats and follow the tunnel to a deep pit.
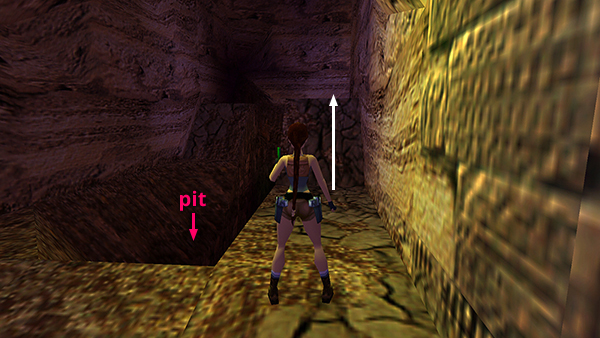
Proceed along the right side of the pit. Take a standing jump up the slope and stop so you don't run off the edge.
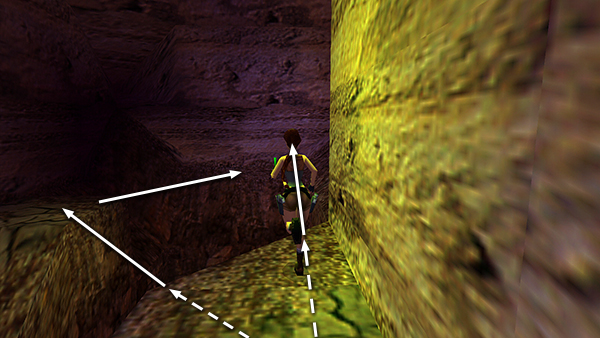
Now either take a running jump along the right side of the angled ledge to the ledge directly ahead against the north wall, or take a running jump to the ledge ahead on the left, walk to the outer corner and take a standing jump to the north ledge.

Jump up the next slope...
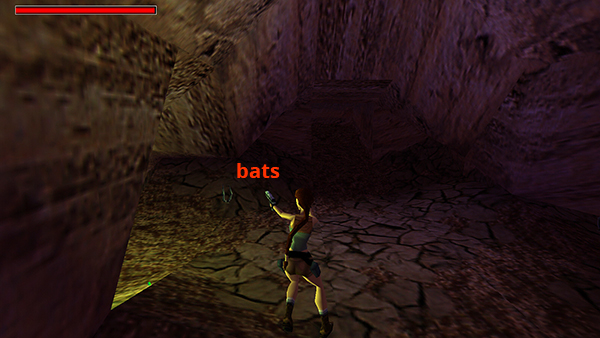
...and shoot 2 more bats.

There are three tunnels leading away to the left (north), right (south), and straight ahead (east). As you go through the tunnels, avoid the boarded-up floor tiles, most of which conceal deadly spikes.
NOTE: You'll probably need to use flares here or turn up your monitor brightness all the way. If you need to light another flare while crawling, first press the Draw/Holster Weapon button so Lara comes up on one knee. Then press the Flare button.
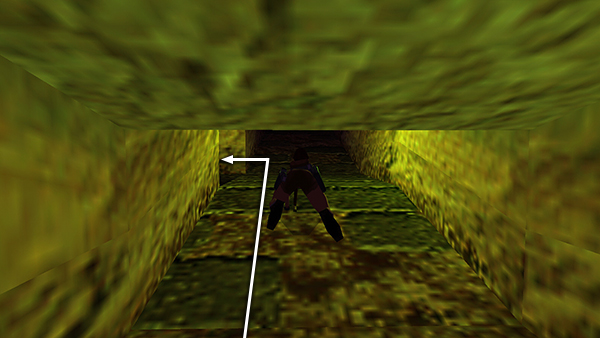
It doesn't matter which you explore first. Let's try the NORTH TUNNEL. Crawl in and take the first turn to the left (west). (If you continue forward, you'll come to a collapsing floor above a spike pit.)

After this first turn, continue westward past a short passage to the right (north), which ends at another spike pit. Turn left (south) a little farther on...
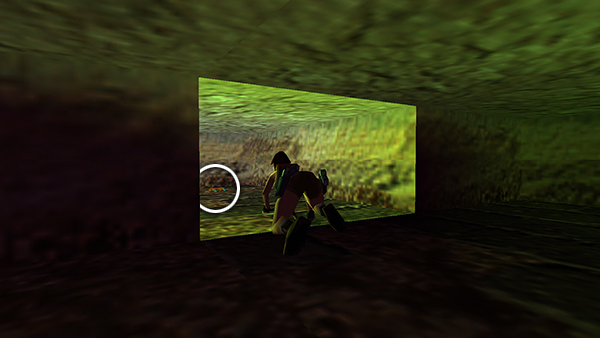
...and you'll find the STONE OF MAAT. Take it and crawl back out the way you came.

This time, enter the EAST TUNNEL.
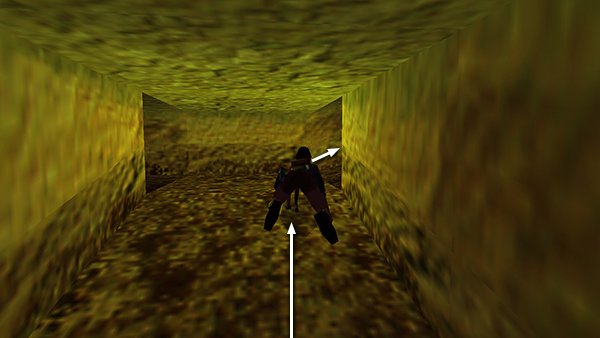
Crawl forward a short distance to where the passage forms a T. Avoid the left (north) branch, which leads to a spike pit. Instead, turn right (south).
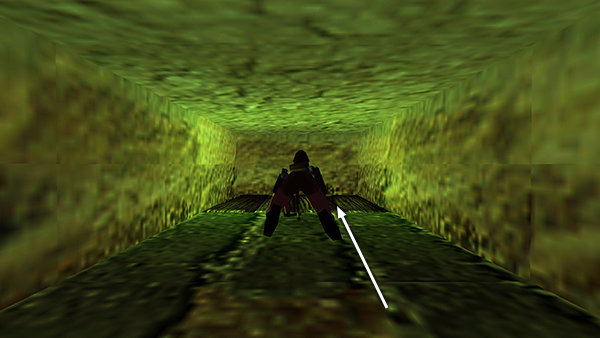
Crawl up the slope and onto the boards.
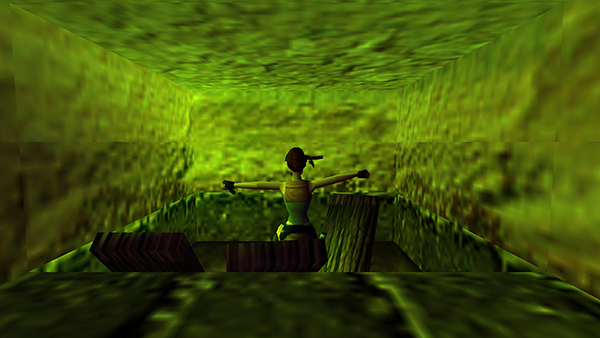
Fall through...
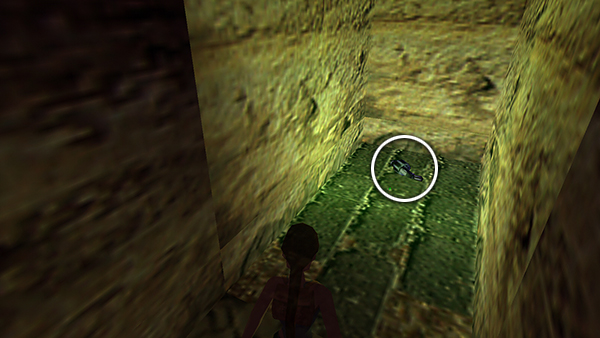
...to find a SECRET (64/70), the GRENADE GUN (or normal grenades if you already have the weapon).

Climb out of the pit, crawl down the slope, then turn left to get back to the cave.
Copyright © 1999- - Stellalune ( ). All rights reserved. Feel free to copy or print this walkthrough for personal use. By all means, share it with friends, but please include this credit line so people can send me their feedback. No part of this walkthrough may be reproduced on another site without permission. Follow this link for details about this site's advertising and privacy policy.