Trenches - Sandy Street and Fortification with Machine Gun

From the starting area, head to the east. Go through the doorway behind the palm tree into a sandy street.
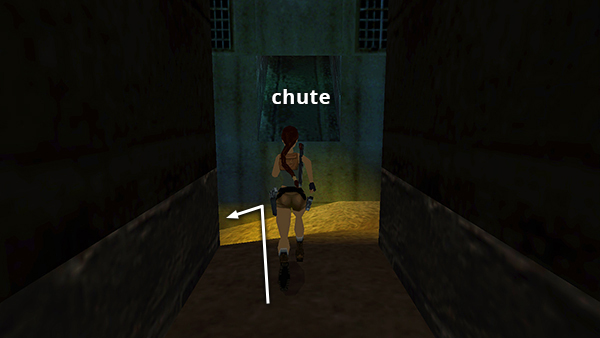
The chute in the wall ahead is too steep to climb. You'll come through here from the other side later. For now, turn left (north)...
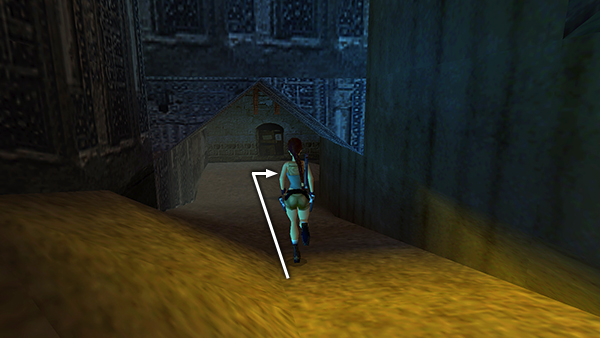
...and continue down the hill and around the corner...
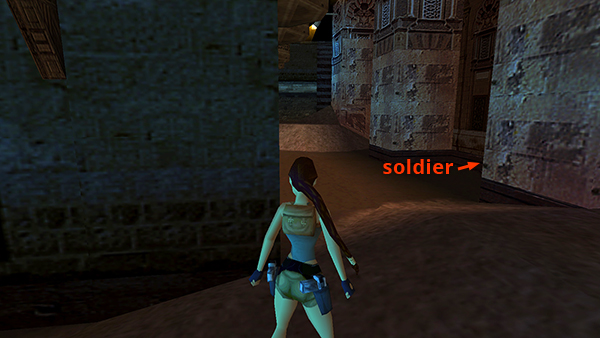
...to an area with with light-colored, square pillars along the right side of the street. There's a soldier lurking behind the first pillar.

Take him out.
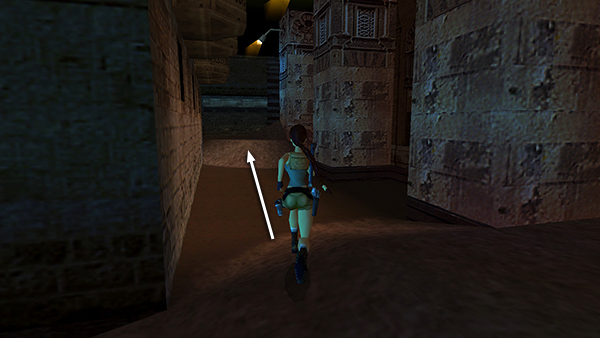
Then continue along the street to the third pillar. Stop here under under the streetlight to reconnoiter.
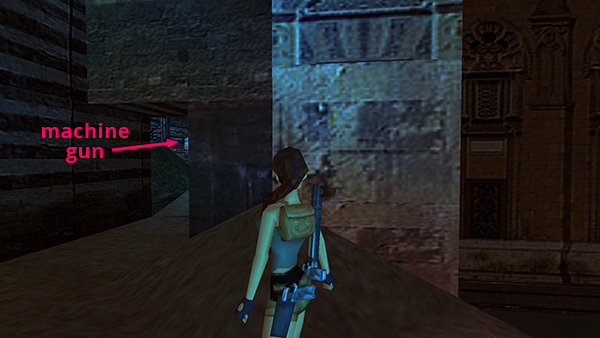
There's a mounted machine gun down the road to the right.
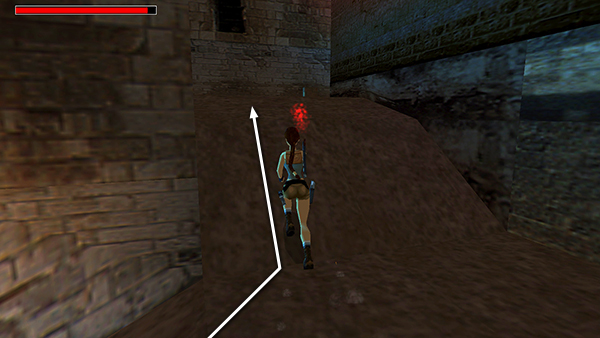
To avoid it, run to the left and jump up the sand pile. Lara will take a few hits, but she'll be safe there.

Pick up Uzi clips and a large medipack.
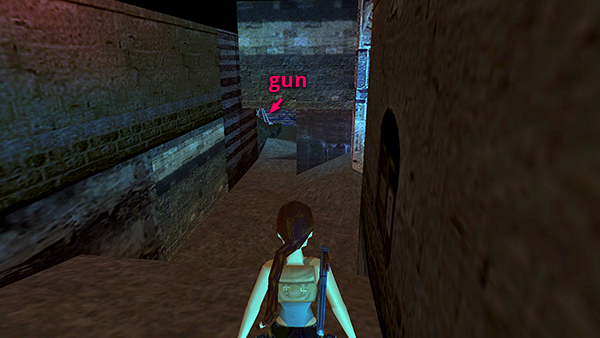
Turn around. From the right side of the sand pile you can scope out the location of the gun.

Slide down the left side of the sand pile and approach the gun, hugging the left wall and stopping just before the doorway.

Run through the doorway and around the low wall on the right...

...then crouch. You'll be safe behind this wall as long as you proceed carefully.
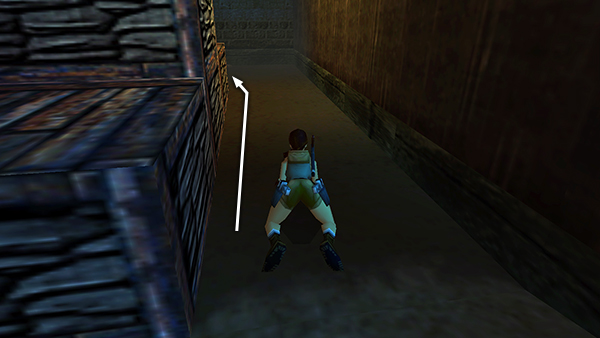
Crawl forward and around to the left...
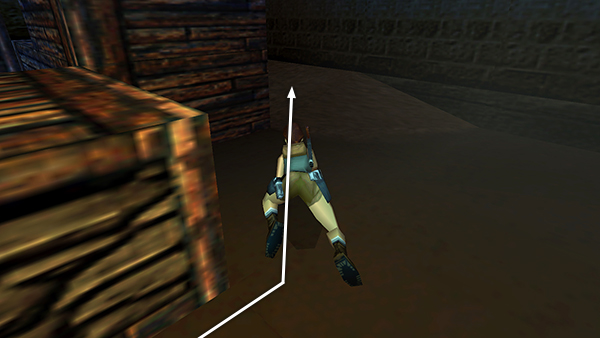
...staying close to the left wall so the motion sensor on the gun can't track Lara.

Crawl all the way to the far wall, beneath the small, rectangular opening before you stand up.

From here, Lara should be able to target the gun, and it should still be pointing to the south, toward Lara's last known position.

Use the revolver with the laser sight to target the red logo on the back of the gun.
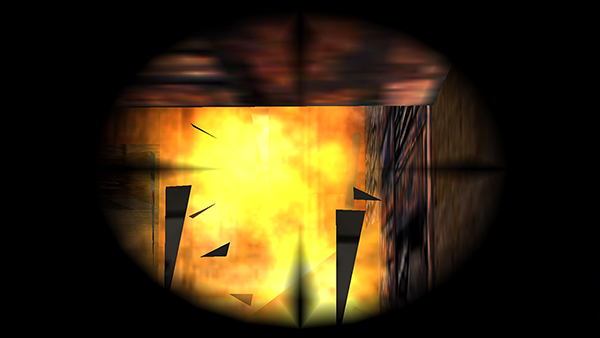
Boom! No more gun.
NOTE: If you don't have the revolver, you can still combine the laser sight with the crossbow, then use the laser sight bug to shoot pistol rounds at the machine gun. If you don't have the laser sight either, you can return to the CITY OF THE DEAD and retrieve the revolver and/or laser sight now. Check the footnote for details.
Copyright © 1999- - Stellalune ( ). All rights reserved. Feel free to copy or print this walkthrough for personal use. By all means, share it with friends, but please include this credit line so people can send me their feedback. No part of this walkthrough may be reproduced on another site without permission. Follow this link for details about this site's advertising and privacy policy.