Temple of Poseidon - East Room, Second Poseidon Statue, and Air Wraith

After placing one of the Tridents on top of the FIRST POSEIDON STATUE's staff, water now flows out of the north hallway into the deep pit, but it's still not safe to drop down. Enter the room on the left (east) side of the pit.

This room contains huge face carved from stone and two tall, rectangular blocks decorated with images of standing women. Approach the carved face and turn around.

In the right (northwest) corner is a climbable wall.
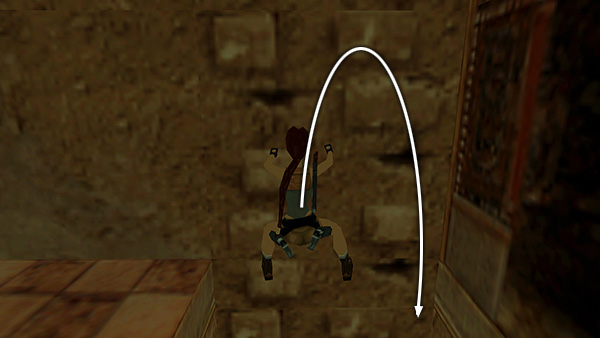
Climb up and either backflip to the floor behind you or dismount on the left.

As you approach the SECOND POSEIDON STATUE, a skeleton leaps into the doorway from the right. Blast it into the pool with the shotgun or use explosives to destroy it.
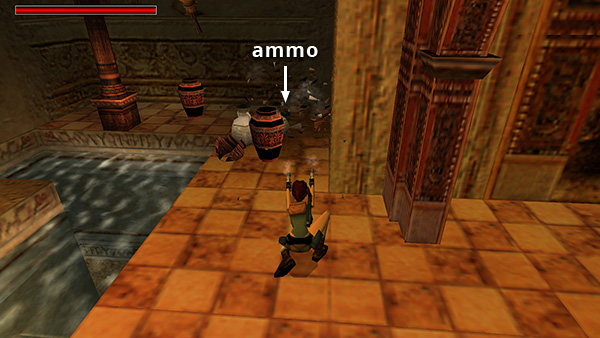
Smash the breakable jars in the right corner to get some wideshot shells.

Then jump across the pool to the statue. Press Action to select the TRIDENTS, then Action again to use one. Again, the water begins to flow down to the JUNCTION.
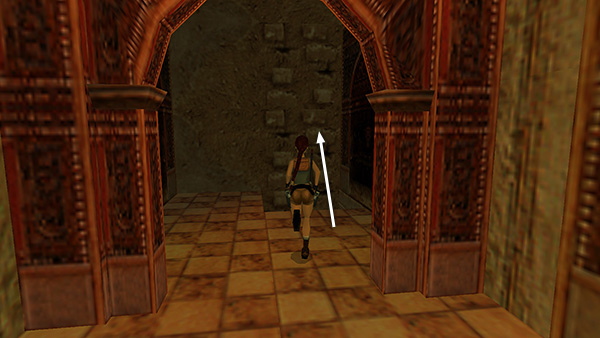
Return to the hole in the floor and jump to grab the climbable wall.

Climb back down (or hold and release Action in quick succession to drop) into the room with the carved face.

When you touch down on the floor, an air wraith emerges and begins to chase Lara. So run/jump along the shallow trench, which is now filled with water, around to the other side of the wall. (Or, when you reach the bottom of the climbable wall, side flip to the left twice and run forward, not shown.)
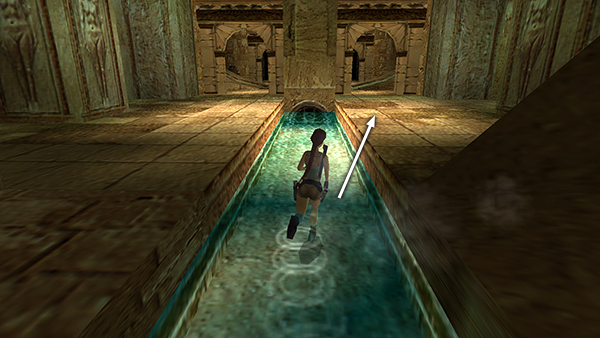
Run through the archway on the right side of the trench...

...and immediately make a U-turn to the right to find the climbable wall in the corner (where you entered this area).

Climb up.
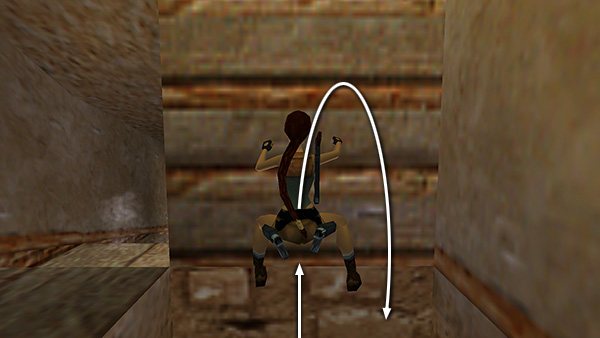
Position Lara's feet on the lowest rung of the ladder at the top. Then backflip into the alcove.
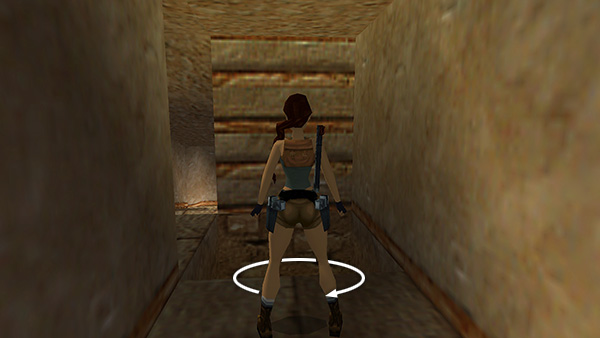
Turn around (don't roll or Lara will fall off the edge).
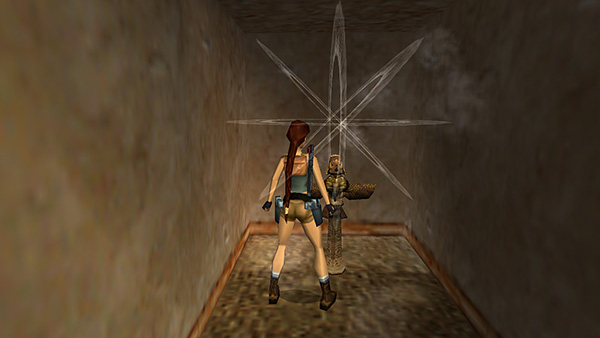
Now stand near the golden bird statue until the wraith extinguishes itself.
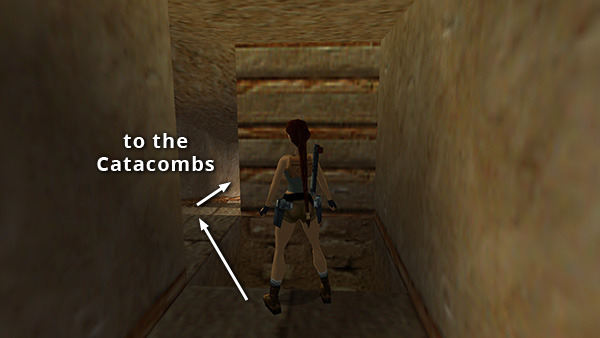
NOTE: If you took any damage while outrunning the wraith, you can jump across the hole in the floor and run down the stairs into the CATACOMBS to restore Lara's health. Then return here and climb back down to the JUNCTION.
Copyright © 1999- - Stellalune ( ). All rights reserved. Feel free to copy or print this walkthrough for personal use. By all means, share it with friends, but please include this credit line so people can send me their feedback. No part of this walkthrough may be reproduced on another site without permission. Follow this link for details about this site's advertising and privacy policy.