Pharos, Temple of Isis - South Staircase and Room with Isis Statue

After defeating the golden uraeus, head up the stairs to the south, where the uraeus came from. (It doesn't actually matter which side area you explore first.)

Climb the stairs and enter a long room with columns along each side and a large statue at the far end. The door closes behind you. Approach the statue, taking note of the raised alcoves on the left...
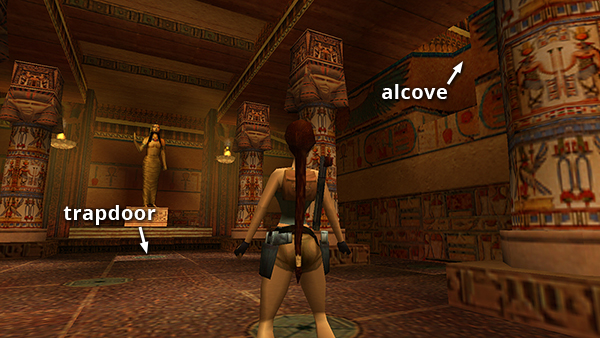
...and right sides of the room and the trapdoor near the statue.

There are also tall blocks in the corners to the left...
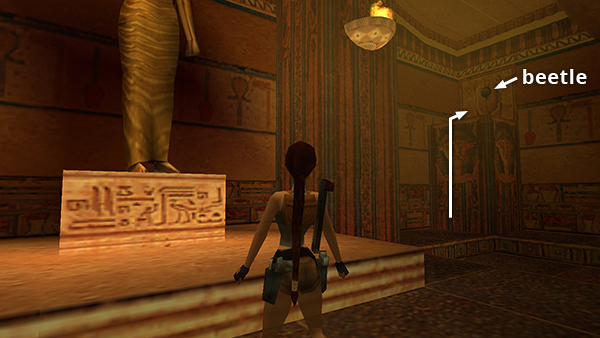
...and right of the statue, with scarab-shaped artifacts set into the walls above them. Climb onto the block in the right (southwest) corner.

Use the CROWBAR to pry out the BLACK BEETLE artifact.
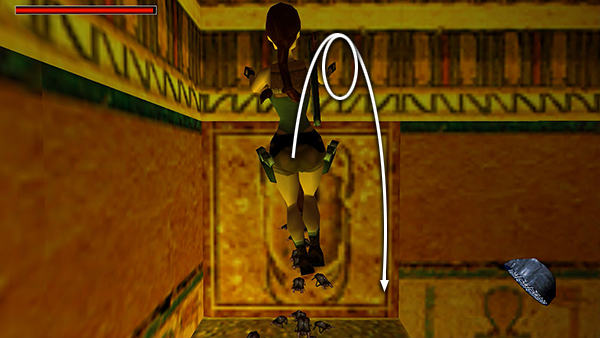
When you do, a swarm of live beetles pours out of the hole and a block rises below the alcove on the west wall. Quickly backflip off the block and roll in the air...

...to land facing away from the block. (Or, if this is too difficult, just roll and run off the block at an angle, so Lara lands ready to run/jump forward past the statue. The flip will get you out of harm's way more quickly, though.)

Side flip to the left...
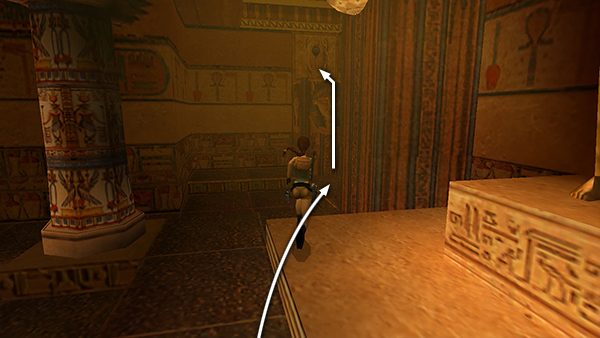
...and run/jump past the statue to the other tall corner block. Climb on top of it. Now you're safe from the beetles for a moment.
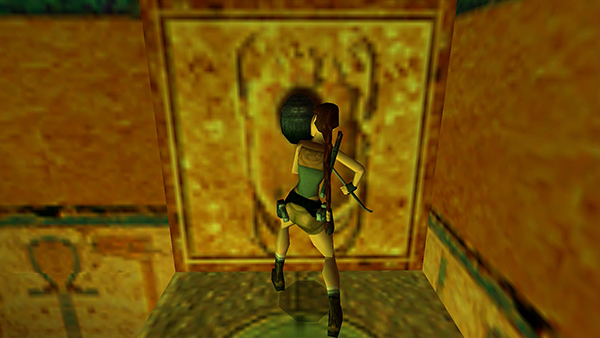
Pry out the BROKEN BEETLE artifact. This releases more live beetles and raises a second block along the east wall.
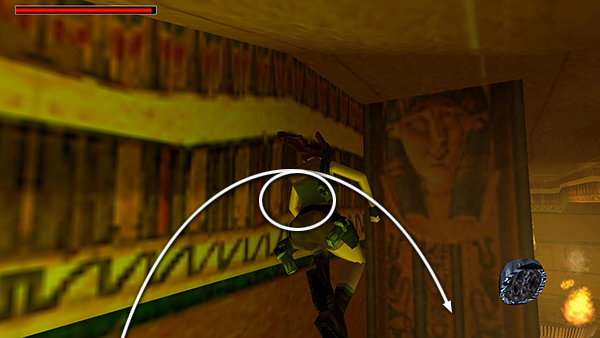
Again, immediately backflip and roll in midair to land on the floor facing away from the block.
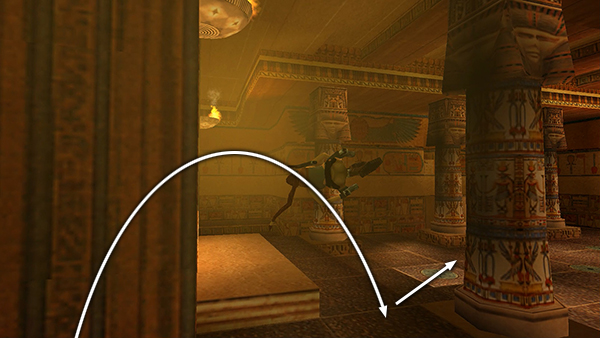
Side flip to the right this time and then run diagonally across the room to the block you raised when you took the first beetle.

Jump onto the block.

Jump from there onto the ledge above.

Then jump forward to grab the edge of the alcove and pull up. The beetles can't reach you here.
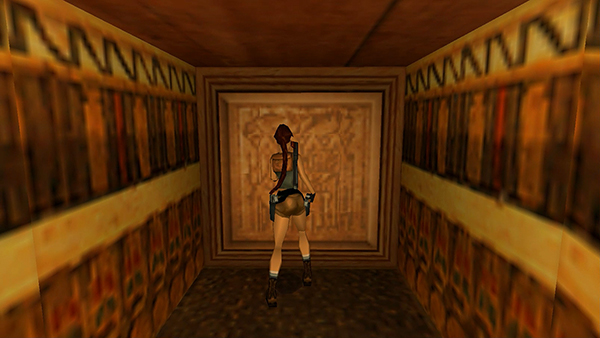
Press the square tile at the back of the alcove.

Roll and run off the edge...

...and continue running straight across the room. Jump onto the other raised block, jump onto the ledge above...

...jump forward to grab the edge of the alcove and pull up.

Push the second square tile. Pressing both of these opens the trapdoor near the statue.
Copyright © 1999- - Stellalune ( ). All rights reserved. Feel free to copy or print this walkthrough for personal use. By all means, share it with friends, but please include this credit line so people can send me their feedback. No part of this walkthrough may be reproduced on another site without permission. Follow this link for details about this site's advertising and privacy policy.