KV5 - Backtracking from the Exit to Find the Jeep (part 1)
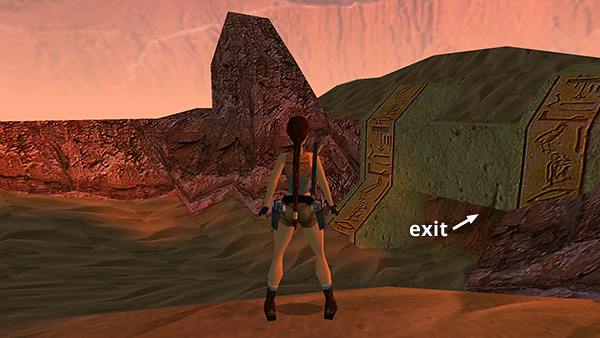
If you manage to reach the end of the level without the Jeep, you will find that you are unable to get up the steep tunnel to the exit. If you like, you can download a PC/Mac save file or use the level-skip cheat to move on. Since you're already at the end of the level, and there are no crucial puzzle items in this level, cheating shouldn't cause any problems. However, it is also possible to backtrack on foot as far as the beginning of the level, if necessary, and pick up any secrets you may have missed.

From inside the exit tunnel, head east across the dunes.

When you come to the rock wall on the far side of the clearing, turn left (north) and continue forward, keeping the rock wall on your right.

Soon you'll crest a steep dune and see the stele and a spike pit off in the distance. Climb onto the rocks on the right.
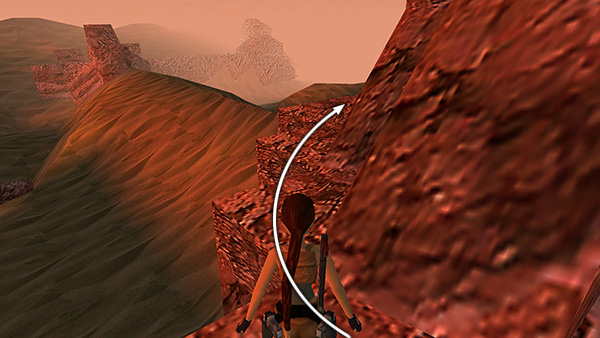
Follow the stone ledge clockwise around the base of the tall rock outcrop...
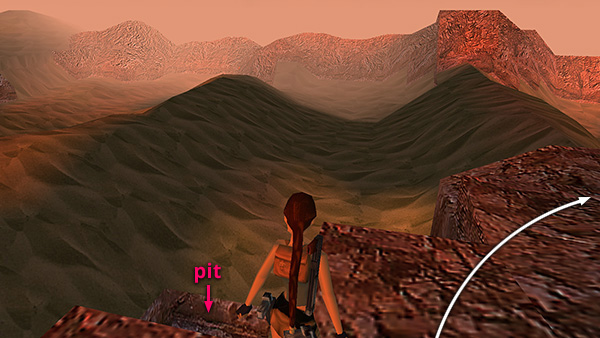 ...taking care not to fall into the spike pit below on the left.
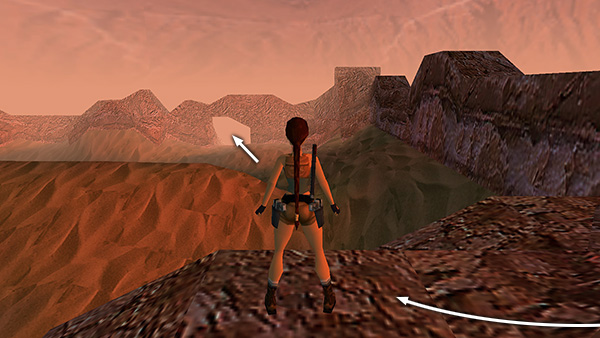
When you've circled the tall rock outcrop, you'll end up facing south across the dunes. Drop down and continue straight ahead over the sand to the stone archway.
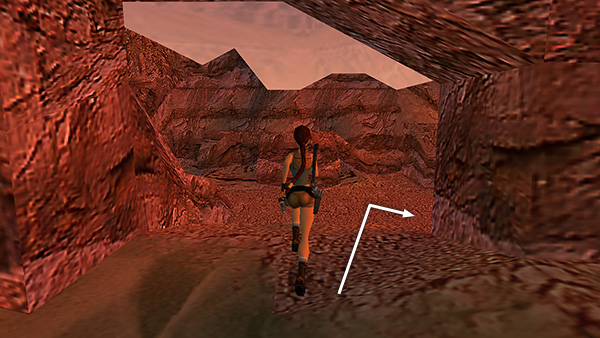
Go through the archway to re-enter the canyon with the spike pits. The canyon dead-ends on the left. Turn right (west) to return toward the beginning of the level.
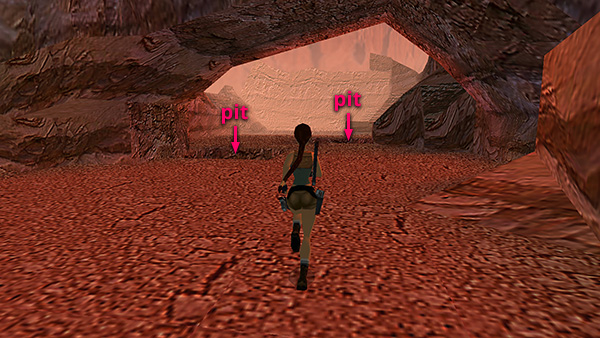
Follow the road between 2 spike pits...
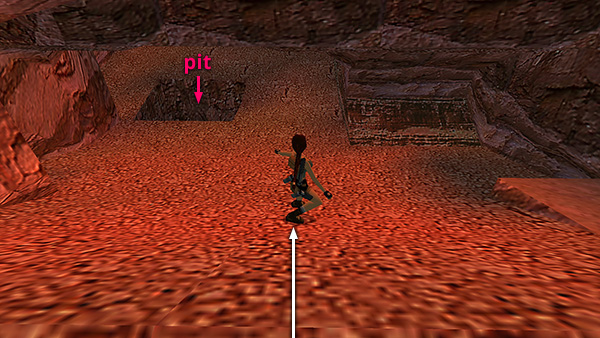
...and slide down the next hill. Watch out for the spike pit at the bottom.
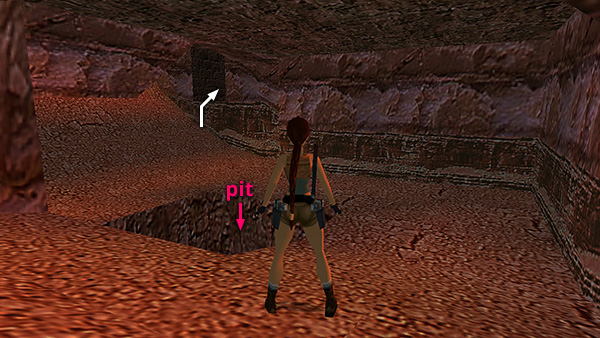
The upward slope beyond this pit is too steep to climb, but there's a rectangular opening in the canyon wall. Climb inside.
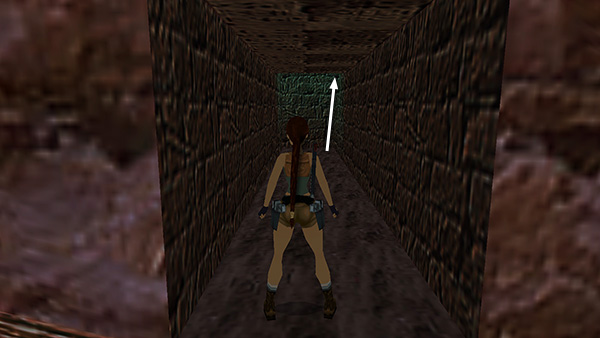
Continue to the end of the dark passageway and climb onto the ledge on the right.

Turn right again, grab onto the climbable wall...
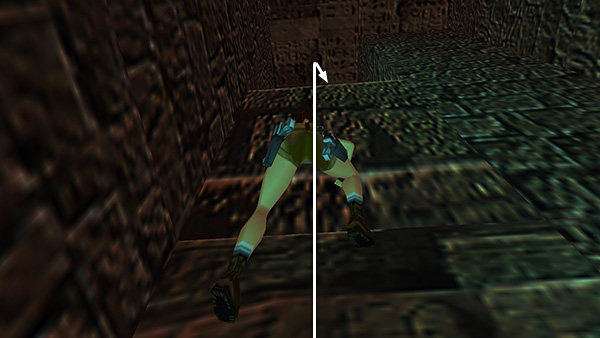
...and climb into the passageway above.
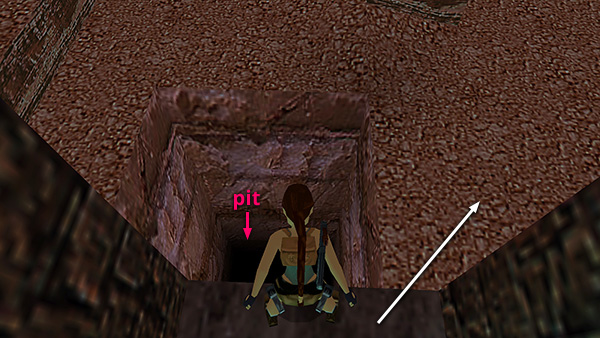
Walk carefully to the end. There's another spike pit directly below the doorway, but you can clear it easily by taking a standing jump off to the right.

From here, you can go left or right. To the right (south) is the large pit containing secret #4. If you missed it earlier, check the main walkthrough for details. Just around the bend is the slope leading back down to the area you just came from.
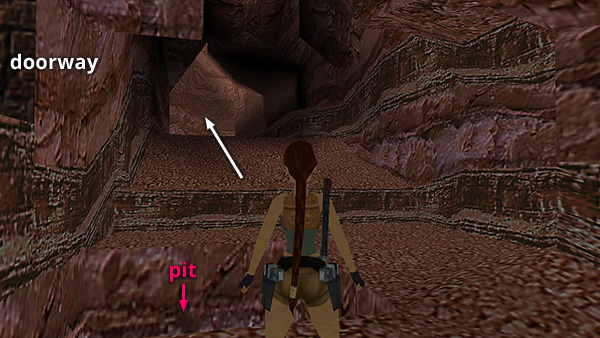
The road to the left (north) leads back to the beginning of the level. Read on for details....
[Next | KV5 Walkthrough]
Copyright © 1999- - Stellalune ( ). All rights reserved. Feel free to copy or print this walkthrough for personal use. By all means, share it with friends, but please include this credit line so people can send me their feedback. No part of this walkthrough may be reproduced on another site without permission. Follow this link for details about this site's advertising and privacy policy.