Guardian of Semerkhet - Using the Guardian to Open the Exit
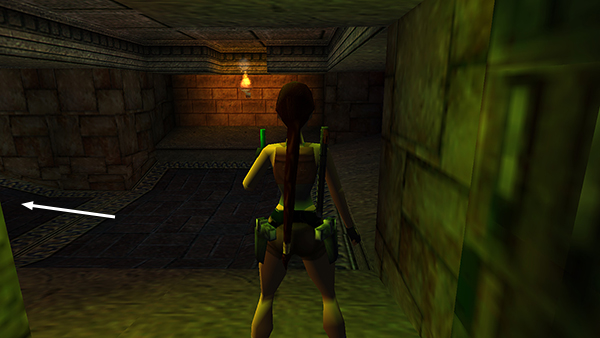
After obtaining secret #2, as shown in the previous section, you return to the small room with the niche and 2 sconces at the end of the GUARDIAN HALLWAY. Now run all the way back to the other end. That is, from here...
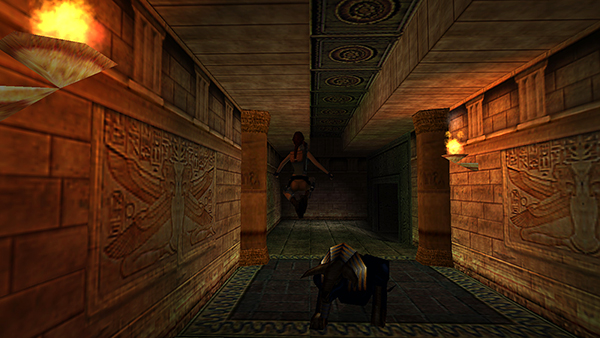
...follow the hallway through its various twists and turns, avoiding or jumping over the GUARDIAN when you encounter him.

Continue past the sconce where you lit your torch earlier...
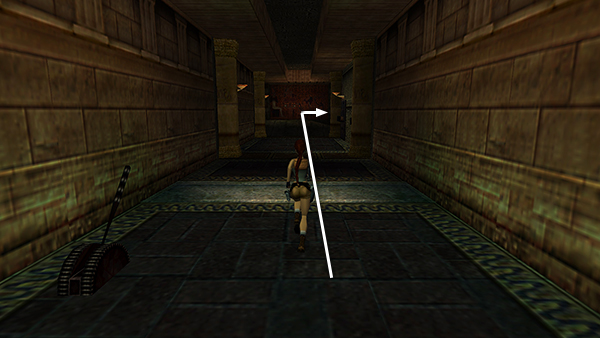
...past the lever and the hump in the floor at the corner, where you found the small medipack...
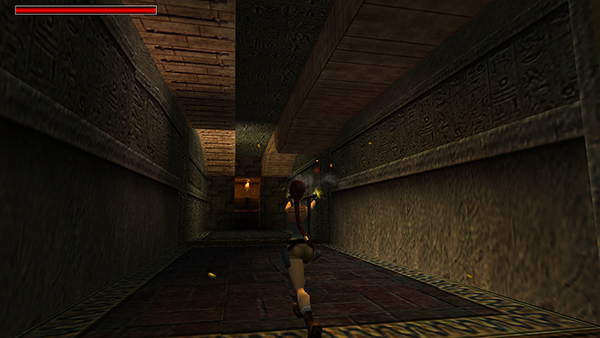
...past the ramp where you slid into this area and the secret crawlspace. Keep an eye out for another bat here.
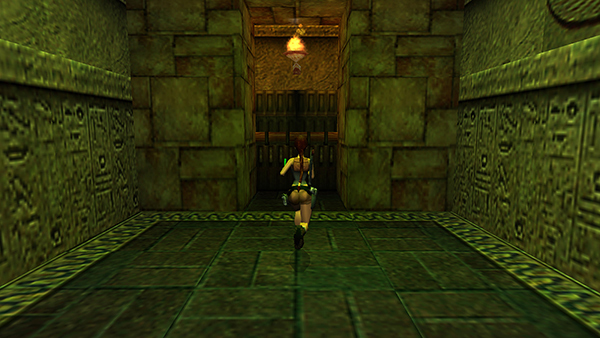
When you reach the barred door at the end of the hall...
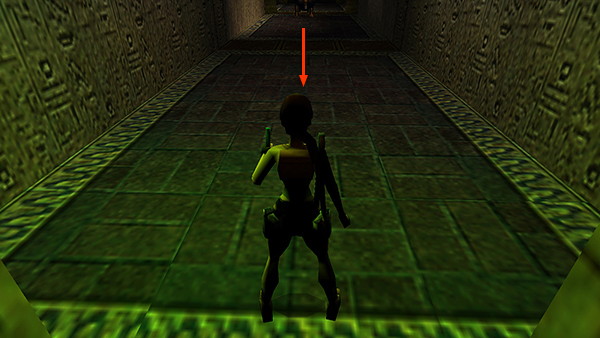
...position Lara in front of it but outside the narrow alcove so you have room to maneuver.
Wait for the GUARDIAN to charge.

When he's nearly upon you, jump to the side out of the way.
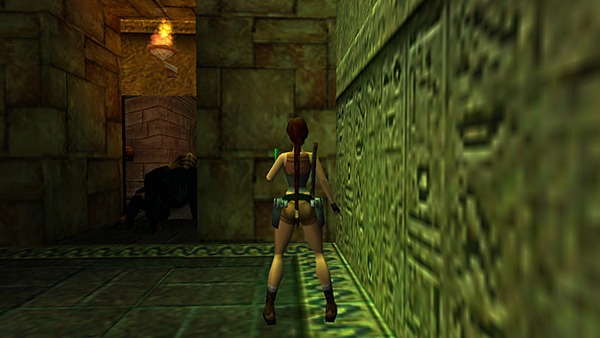
He should then break the door down for you.
Copyright © 1999- - Stellalune ( ). All rights reserved. Feel free to copy or print this walkthrough for personal use. By all means, share it with friends, but please include this credit line so people can send me their feedback. No part of this walkthrough may be reproduced on another site without permission. Follow this link for details about this site's advertising and privacy policy.