Guardian of Semerkhet - Releasing the Guardian and
Obtaining Secret #2 (part 1)

Follow the hallway toward the lever near the barred doors.
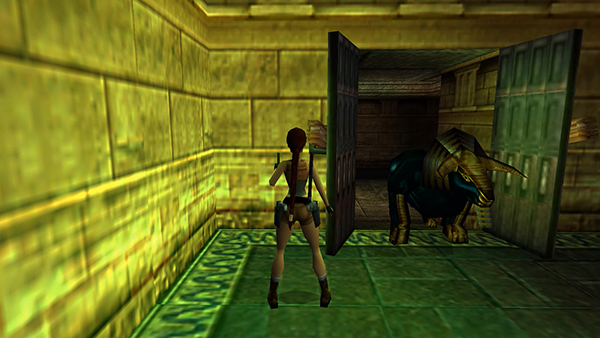
You should not need to pull the lever. Just stand to either side of the doors and wait a moment for the GUARDIAN to burst through. If that doesn't work, then go ahead and pull the lever to let him out.
The GUARDIAN is an armored bull. He can't be killed, so don't bother shooting at him. He does, however, pack quite a punch when he gores Lara with his horns. So try to to avoid him while exploring the rest of this area.

Start by running through the door where the bull came from. Make a U-turn around to the left.
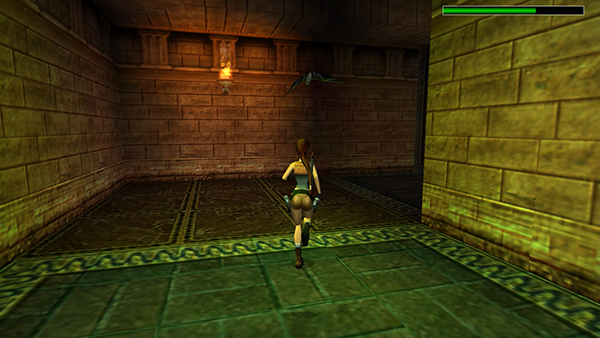
Then just follow the passageway forward, right, forward, then right again to the end. If you sprint or taking running jumps on the straightaways, you can easily outrun the bull. On the way you'll pick up an escort of 3 bats. You can shoot them while running or ignore them for now.
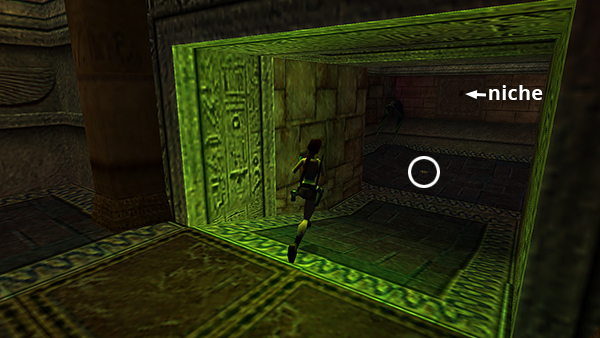
In the room at the end of the hallway, grab the small medipack in the middle of the floor. Then hop up onto the low ledge near the rectangular niche.
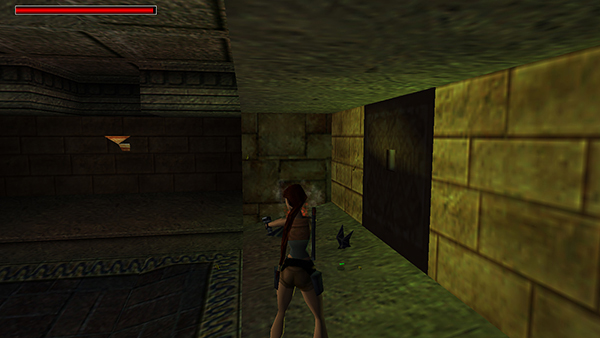
Now you can shoot the bats and the GUARDIAN will basically ignore you.

Notice the 2 unlit sconces mounted on the side walls. You'll need to light the sconces in order to open the door in the corner.

Reach into the niche to grab a wooden TORCH.
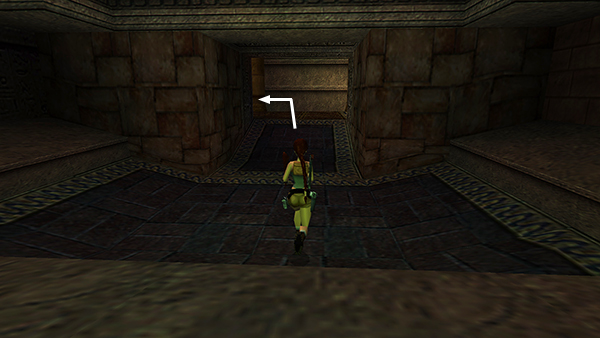
Run back down the hallway...
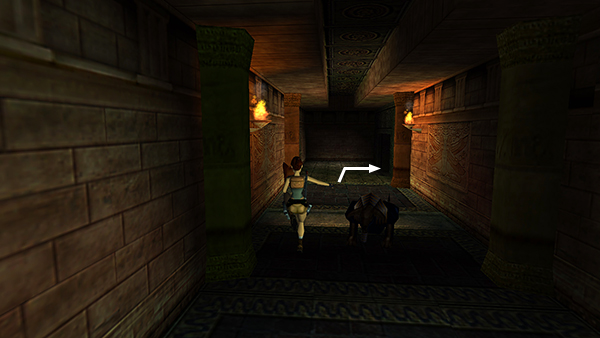
...avoiding the GUARDIAN when you meet him along the way...

...until you come to the bend just before the open doors and lever. Jump onto the small platform below the flaming sconce mounted on the wall. This is another safe spot.
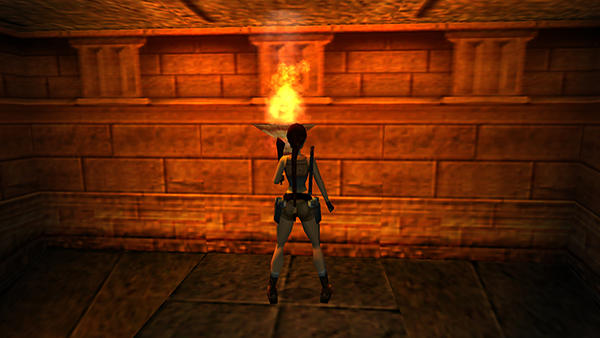
Use the sconce to light your torch.
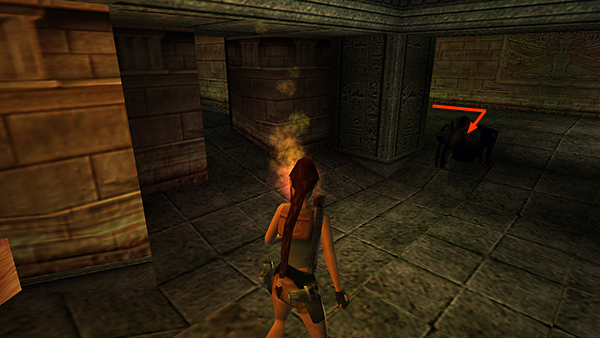
Wait here on the platform for the GUARDIAN to approach.
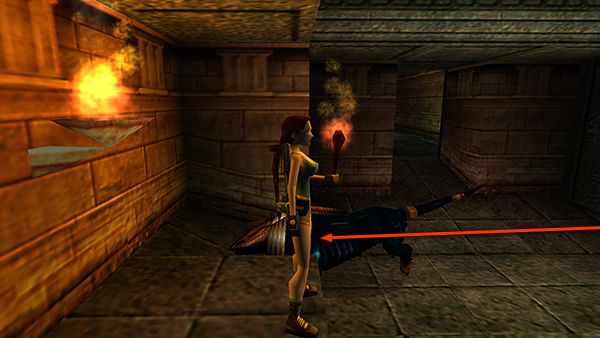
He should then ram into the wall next to where Lara is standing, giving her a little head start while he sorts himself out.

Run all the way back down the hallway...
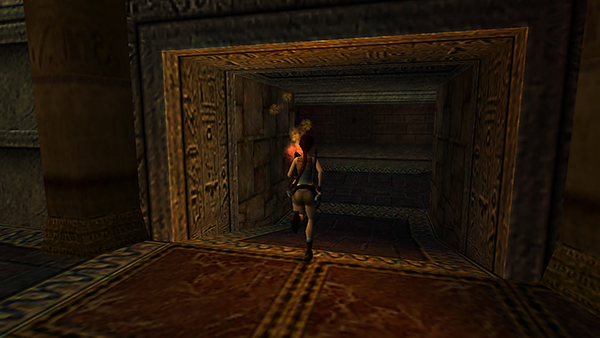
...to the room with the niche and 2 sconces.
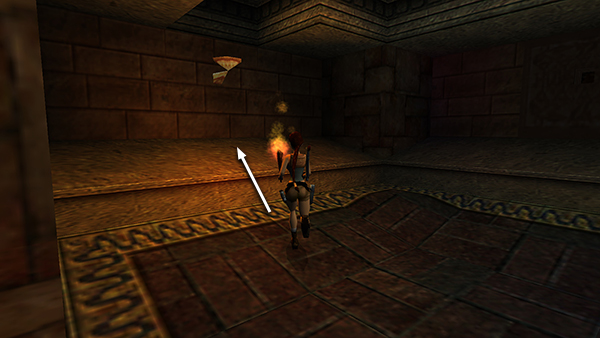
Use your torch to light the sconce on the left.

Then run/jump across the room and light the second sconce. This opens the door next to it. Drop down into the passageway below.
Copyright © 1999- - Stellalune ( ). All rights reserved. Feel free to copy or print this walkthrough for personal use. By all means, share it with friends, but please include this credit line so people can send me their feedback. No part of this walkthrough may be reproduced on another site without permission. Follow this link for details about this site's advertising and privacy policy.