Guardian of Semerkhet - Golden Vraeus Room

The goal is the artifact on the pedestal on the far side of the room. You'll need to turn the wheel to open the door ahead on the right and then jump across the ledges to get through the door before it closes. To complicate things further, slashing blades pop up from beneath the ledges as Lara passes, so you can't linger. As long as you keep moving, you can reach the door in time without being sliced to bits.
BUG NOTE: If you arrive in this room only to find the wheel that opens the door is missing, The fix is a separate page.
ADDITIONAL NOTE: If you like, you can do a test run from the wheel to the door without first turning the wheel. The blades will still pop up as you pass, but if you then make your way back to the start, none of them will pop up again. You'll still need to watch out for the ones just beyond the door, however.

Here's the sequence for the timed run: Approach the wheel edge-on and hold Action to crank the wheel 5 times, raising the door on the ledge to the right. (Cranking the wheel 5 times raises the door as high as it will go. Cranking more than 5 times is fine but it doesn't keep the door open any longer.)
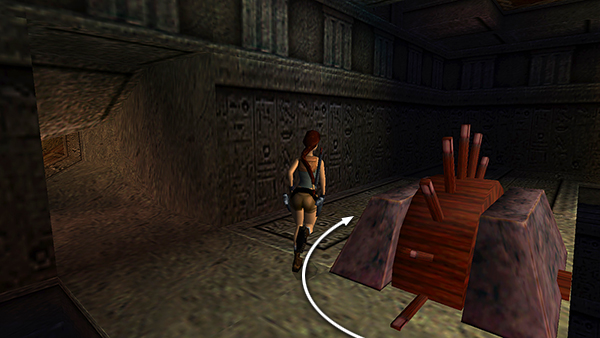
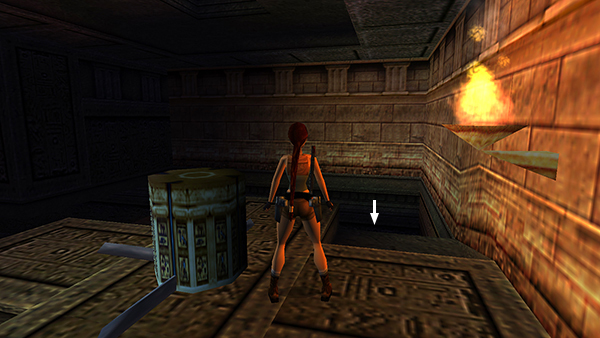
The door begins to close as soon as Lara lets go of the wheel. So run forward around the left side of the wheel (as shown here) or take a standing jump over the left side of it.

Run/jump forward and around to the right to avoid the hole in the corner. As you approach the wall, turn right, keep running to the end of the ledge...

...and jump across the gap to the next ledge. If possible, veer to the right while Lara is in the air so she's ready to go when she lands.
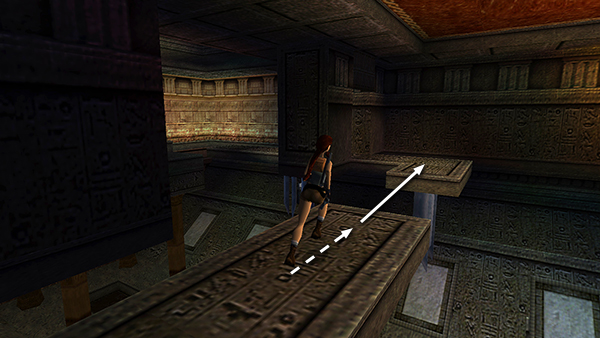
Run along the narrow ledge and jump the next gap to land on the L-shaped ledge ahead.

Veer left and run (or or sprint and dive, or crawl, or roll) under the closing door.
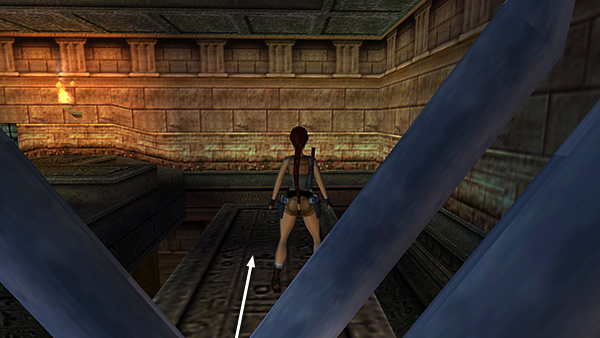
Don't stop until you reach the end of the walkway beyond the final set of blades, but do take care not to run off the edge.
NOTE: If you fall off the walkway while attempting the timed run, either reload your last save or carefully make your way to the south end of the room, avoiding the square depressions, some of which contain concealed blades. Go through the opening behind the pillar that supports the wheel. (See the last screenshot below.) Climb the ladder and go through the crawlspace to get back to the wheel so you can try again.

Jump over to the ledge with the pedestal.
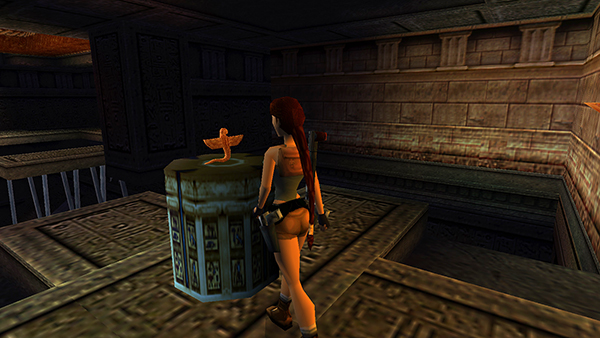
Approach the pedestal from the rear to avoid the 3 blades that shoot out from the front and sides when you take the GOLDEN VRAEUS. (Or grab the artifact and immediately hop back.)
Run off either side of the ledge land on the slope below and slide down to the floor.

Now make your way back to the other side of the room, avoiding the square depressions since some of them contain concealed blades. Climb into the small opening behind the pillar that supports the wheel.
Copyright © 1999- - Stellalune ( ). All rights reserved. Feel free to copy or print this walkthrough for personal use. By all means, share it with friends, but please include this credit line so people can send me their feedback. No part of this walkthrough may be reproduced on another site without permission. Follow this link for details about this site's advertising and privacy policy.