Citadel Gate - Ledges and Awnings Above the Street (part 1)

After getting secret #1, as shown in the previous section, return through the door near the coffins and continue up the ramps to the opening overlooking this area.

The locust swarm appears once more, but saving and reloading should get rid of them.

Again, take a running jump to grab the dangling rope.
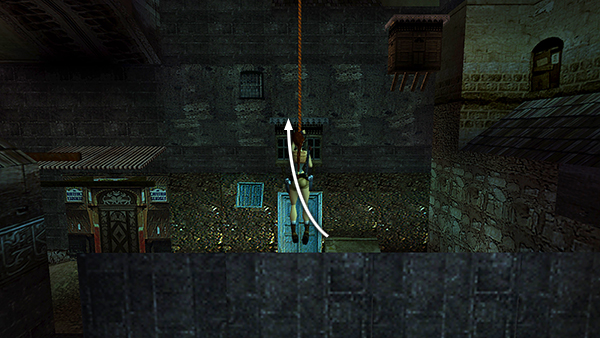
Slide to the bottom, and this time swing straight forward and jump to land on the square ledge on the side of the next building to the south.

Turn left and take a running jump to the striped awning.
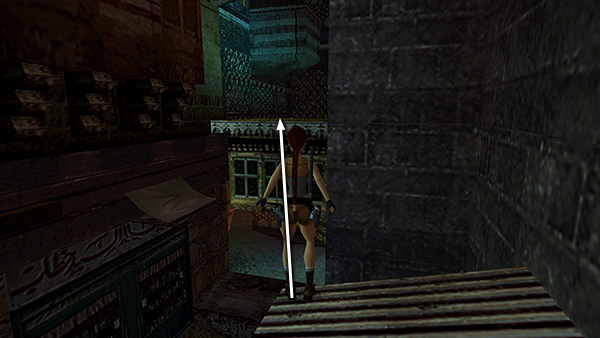
Walk to the outer corner and take a standing jump up to the next ledge.

Immediately turn around and kill a giant beetle that flies at you from below. When it's dead, turn to the east once more.
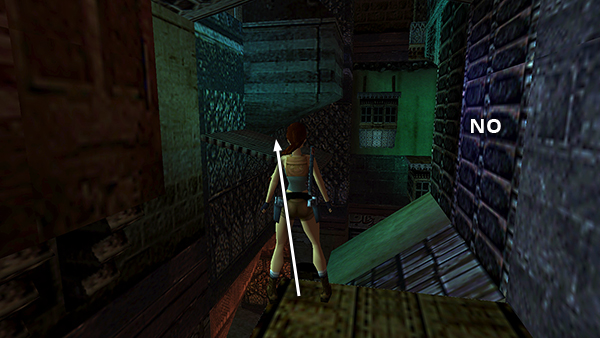
The purple surface on the wall ahead looks climbable but is not. So instead, walk to the corner and take a standing jump to the next striped awning on the left (north) side of the street.
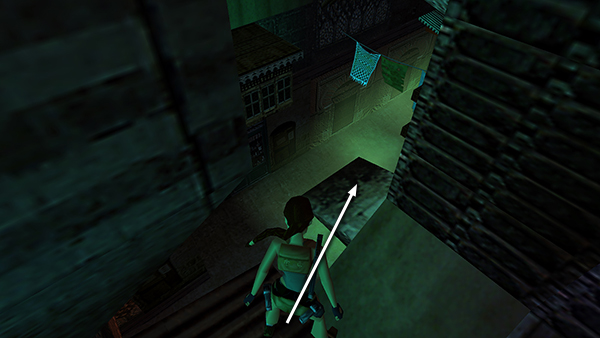
Then take a standing jump down to the ledge below and just around the corner.
- OR -
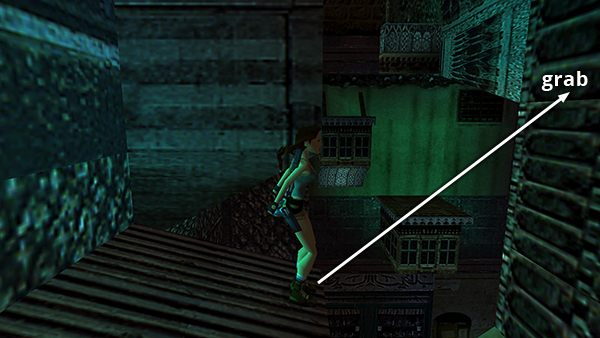
Take a standing jump to grab the "real" ladder on the opposite wall.
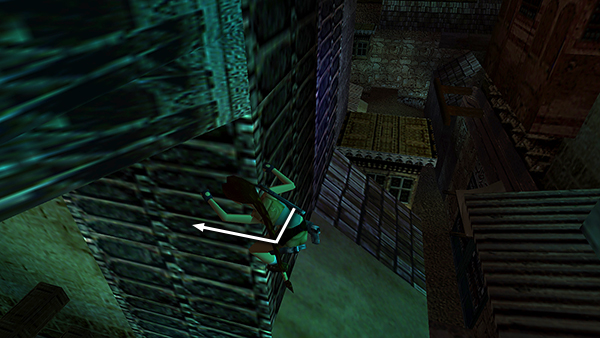
Climb around the corner to the left.

And drop to the ledge below. Lara won't climb from the ladder onto the horizontal crevice to the left, so you'll need to find another way forward.

If you don't care about getting all the kills, you can avoid the next two beetles by taking a running jump over the wooden bars and clothesline to grab the next ledge, which juts out below the crevice.
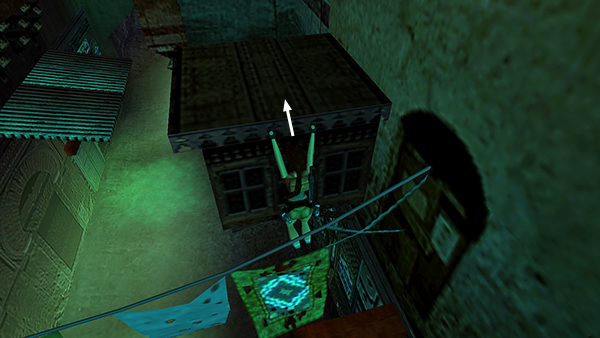
Pull up.

Then climb into the opening, take the small medipack, and drop back onto the ledge.
If you do want every kill, check the alternative strategy in part 2.
Copyright © 1999- - Stellalune ( ). All rights reserved. Feel free to copy or print this walkthrough for personal use. By all means, share it with friends, but please include this credit line so people can send me their feedback. No part of this walkthrough may be reproduced on another site without permission. Follow this link for details about this site's advertising and privacy policy.