Catacombs - Secret #3
You can only get the third secret if you have already obtained the second secret by destroying the 5 piles of bones in the ROOM WITH THE SERPENT CARVINGS AND PEDESTAL, where you found TRIDENT #4. For details, see the previous section.
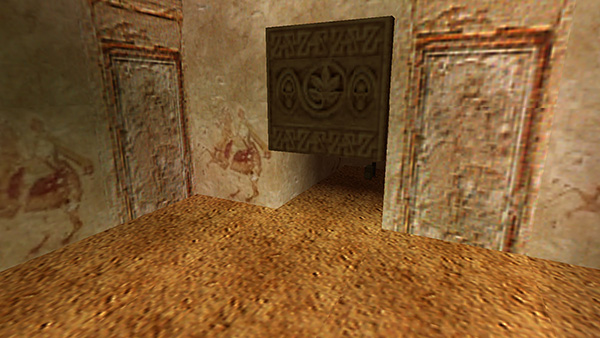
When you obtained secret #2, this door opened down in the ROOM WITH LEDGES AND CIRCULAR SKYLIGHTS.

To get back there, return to the hole in the floor at the far end of the room with secret #2 and the TRIDENT pedestal.

If you didn't destroy the skeleton on the ledge below, it's possible to avoid it (see below) or destroy it now with an explosive arrow or by standing at the edge of the hole, using Look to peer down over the edge, and lobbing a grenade, as shown above. Then climb down the ladder or just safety drop off the edge.
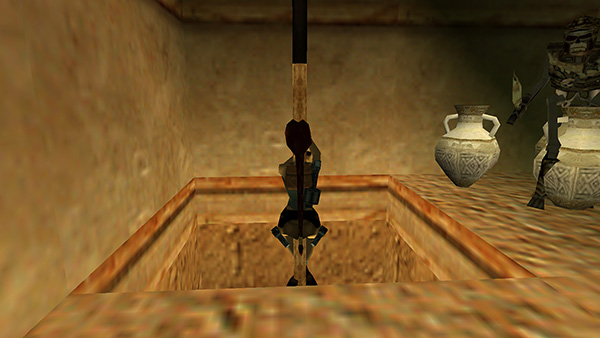
Grab the climbing pole. This is when the skeleton awakens if you didn't blow it up. You can avoid it by sliding down the pole. It won't follow.
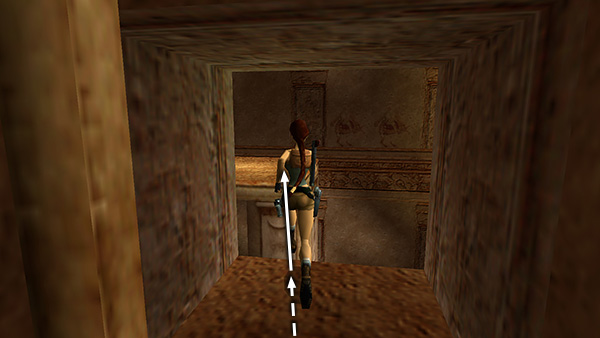
At the bottom of the pole, take a running jump to the ledge ahead on the left.
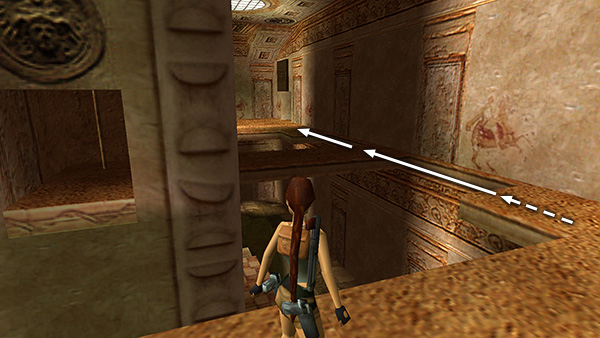
Turn left and make your way across the ledges to the southwest corner.
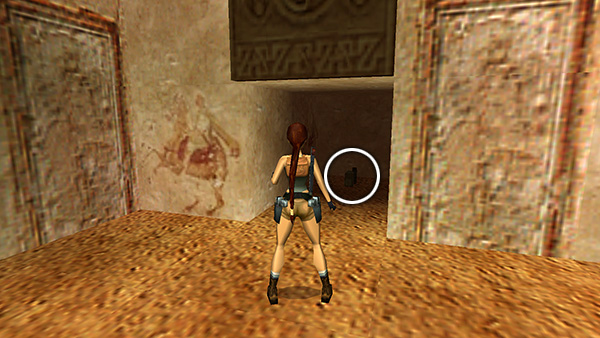
Here you'll find the door that opened when you took the previous secret. Inside is SECRET #3 (47/70), explosive arrows, wideshot and regular shotgun ammo, and a large medipack (4 separate pickups).
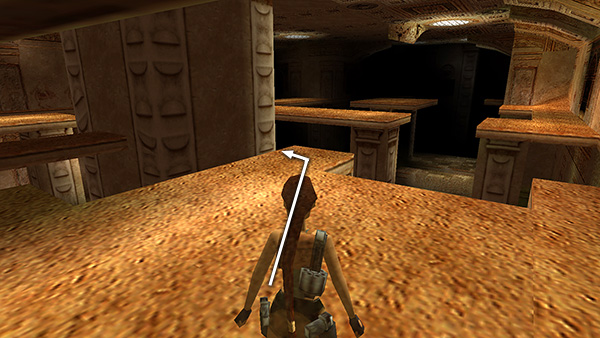
Exit the alcove and move to the far left corner of this ledge, nearest the large support pillar.
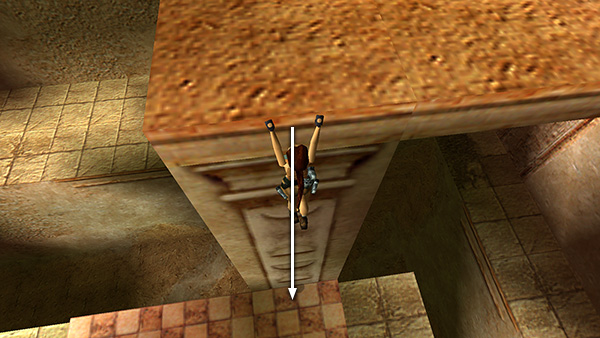
Safety drop to the pink-tiled area below.
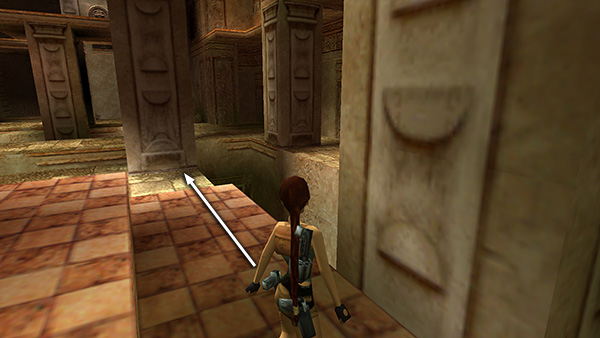
Turn left, move toward the corner of the platform, and step down onto one of the sandy colored tiles. (The corners are slightly lower than the pink tiles.)
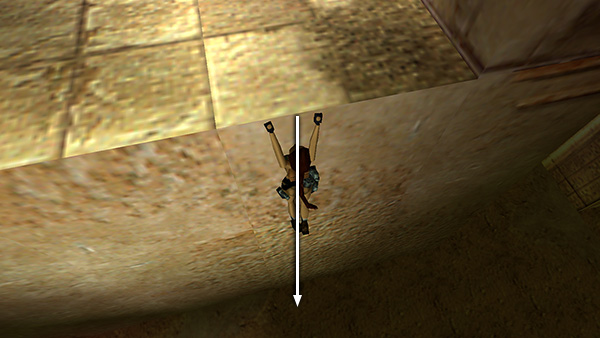
Then safety drop to the floor. Lara will take no damage if you do it this way.
Copyright © 1999- - Stellalune ( ). All rights reserved. Feel free to copy or print this walkthrough for personal use. By all means, share it with friends, but please include this credit line so people can send me their feedback. No part of this walkthrough may be reproduced on another site without permission. Follow this link for details about this site's advertising and privacy policy.