Catacombs - Room with High Ledges and Circular Skylights - Middle Level

After scaling the climbable wall from the lower level, as shown in the previous section, Pick up the wideshot shells sitting on the floor.
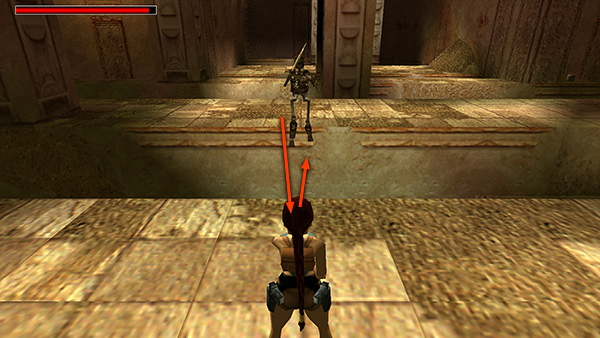
Then step forward. A skeleton comes up out of the next ledge. Let it jump toward you, then blast it off the ledge with the shotgun.
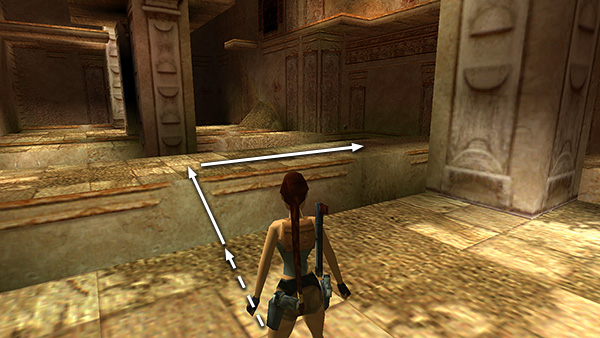
Take a running jump across the gap to the ledge where the skeleton came from. Go to the right end...

...and take a running jump to the alcove with the large medipack. Grab it and jump back to the previous ledge.
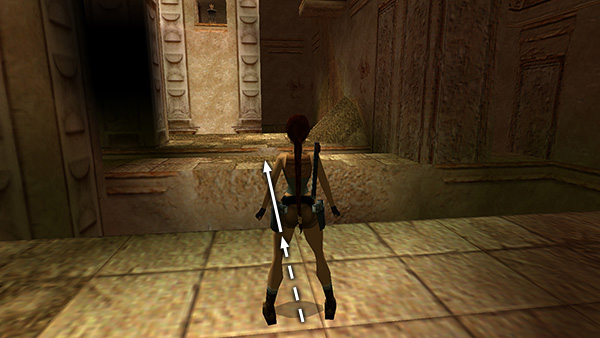
Then take a running jump to the next ledge (to the east). Two more skeletons emerge from the next ledge. Blast them off the edge. If you jump from the spot shown here...
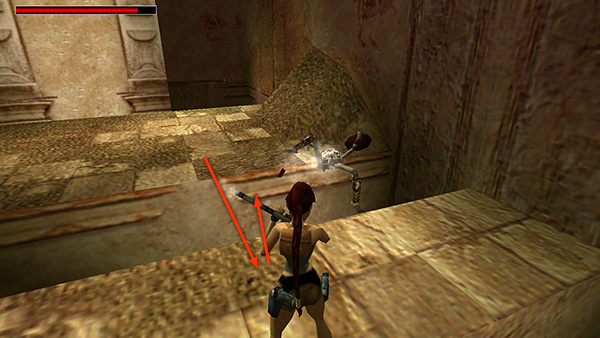 You can take a step or two back as you draw your shotgun and then blast the first skeleton as soon as it jumps toward you.
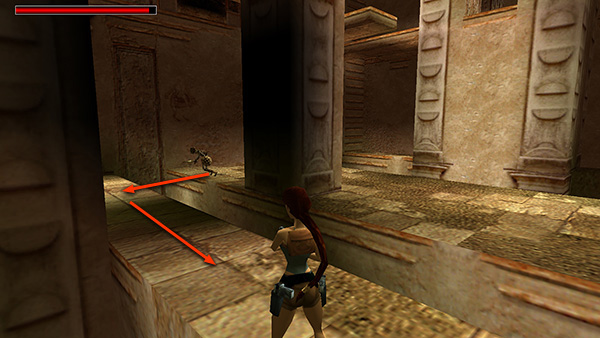
The second skeleton approaches from the left. Before it gets too close...

...jump across the gap to where the last skeleton originated. Immediately turn or roll...
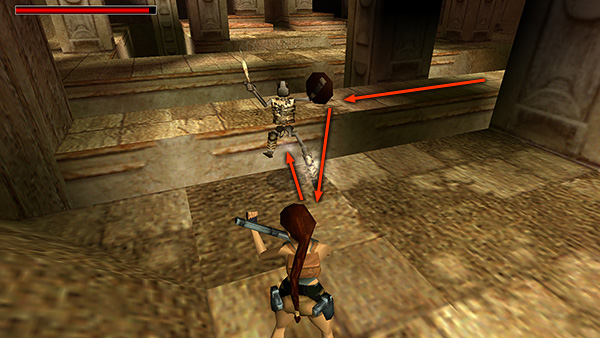
...so you can blast the second skeleton as soon as it jumps across after you.
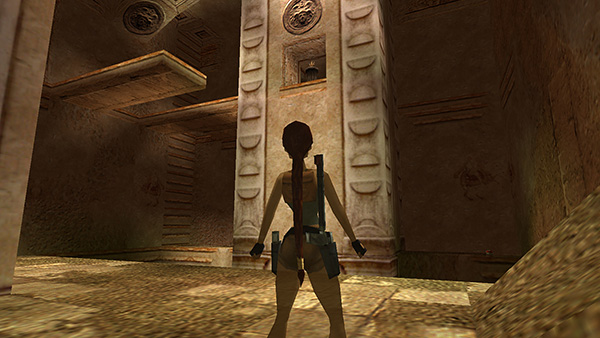
Notice the high alcove on the east wall with the glittering object. That's another TRIDENT, and that's where you're headed.

But first take a running jump to grab the ledge in the southeast corner, where you'll find regular and wideshot shotgun shells. Return to the previous ledge.

Now take a running jump to grab the ledge in the northeast corner and pull up.

Ignore the opening in the floor to the right, which leads back down to the lower level.

Instead climb the ladder to the ledge above.
Copyright © 1999- - Stellalune ( ). All rights reserved. Feel free to copy or print this walkthrough for personal use. By all means, share it with friends, but please include this credit line so people can send me their feedback. No part of this walkthrough may be reproduced on another site without permission. Follow this link for details about this site's advertising and privacy policy.