Burial Chambers - Rotating Octagonal Room (part 1)
Including Secret #5
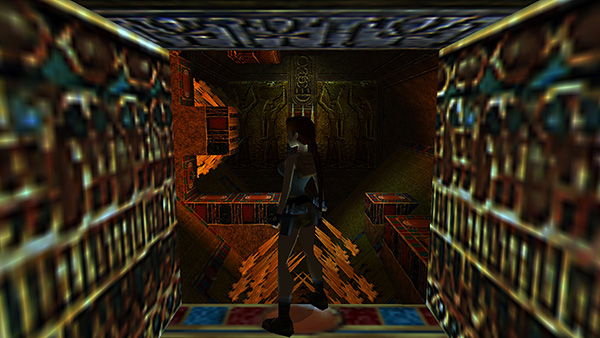
Position Lara in the middle of the doorway and turn about 45 degrees to the right...

...so she's lined up with the square ledge set into the slope on the left.

Take a standing jump to land there.
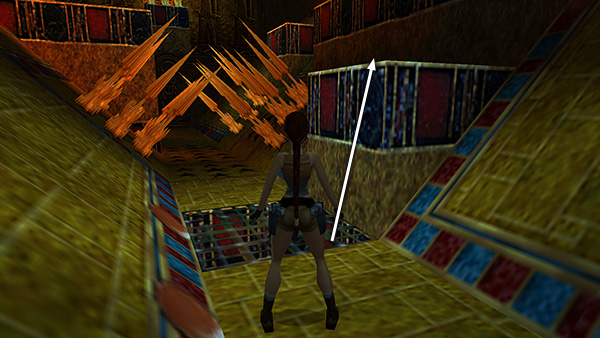
If you miss this jump and slide down to the floor, don't bother climbing all the way up to the entrance. Instead, climb on top of the block near the floor grate...

...turn around, take a running jump to grab the block you were originally aiming for, and pull up.
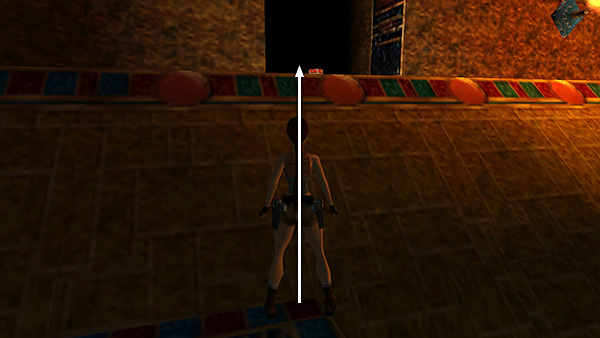
Position Lara on the right side of the block as close to the base of the sloped wall as possible, then take a standing jump into the alcove with the shotgun shells. This is SECRET #5 (18/70).
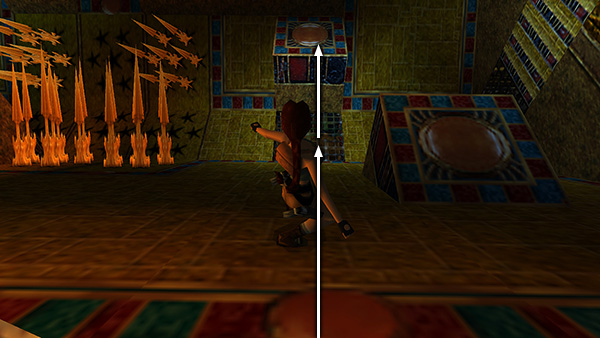
Slide down onto the metal grate in the floor. Then jump/climb up twice...
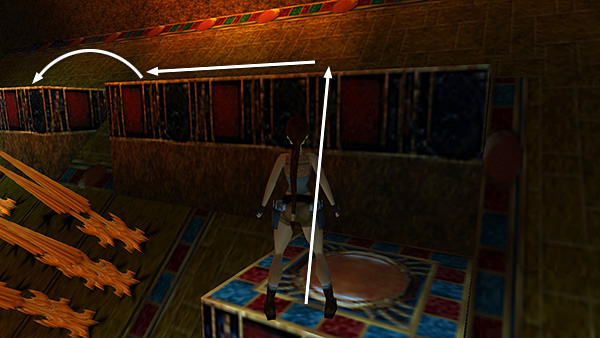
...to reach the longer ledge that runs along the west wall. Turn left, move to the end of the ledge, and jump across the gap to the smaller ledge ahead.
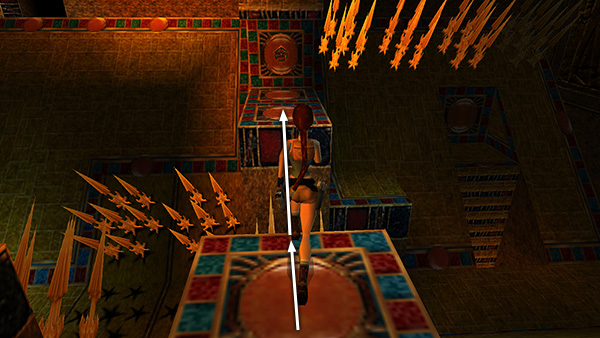
Turn left again and take a running jump over the blades onto a ledge with a receptacle for an artifact you don't have yet.
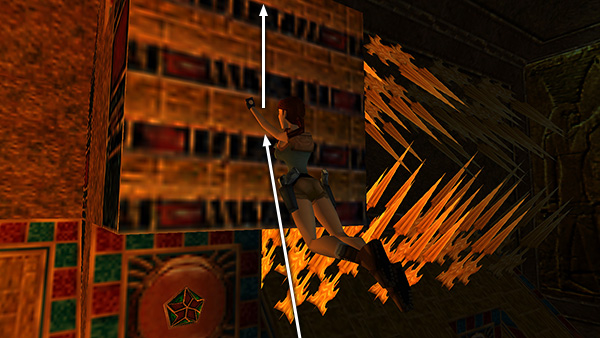
The ledge above the receptacle has a ladder on its front face. Jump up to grab it, climb to the top...

...and then climb/jump into the alcove above.

Use the lever...
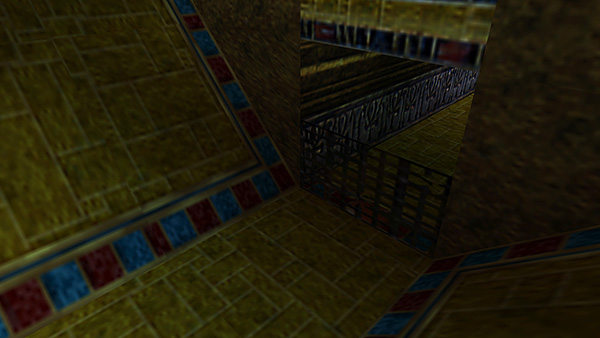
...to open the gate below the doorway where you entered.

To get down, step off the edge to land on the ledge below the doorway.
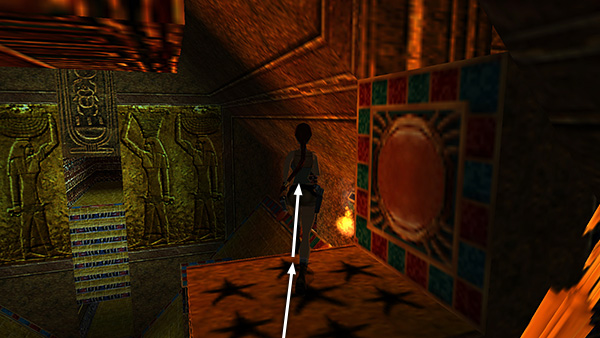
Turn right, and take a carefully angled running jump toward the alcove where you found secret #5.
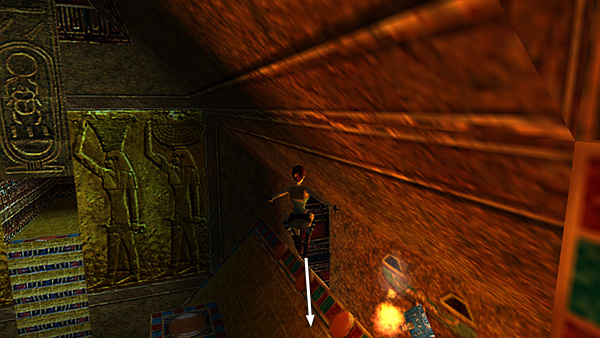
Lara will hit her head on the ceiling but should still manage to land on the slope beyond the spikes...

...and slide safely down to the floor. (If you're concerned about making this jump, you can instead backtrack along the ledges the way you came.)
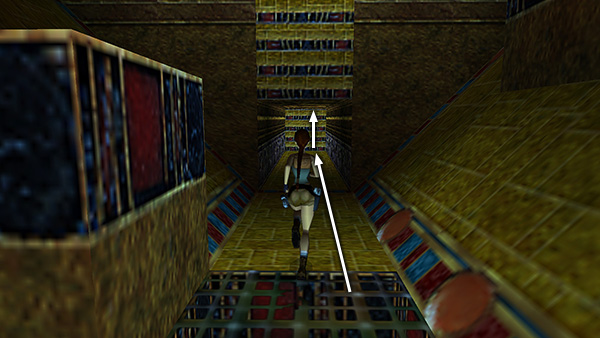
Go through the gate you just opened and climb the ladder at the end of the short passageway.
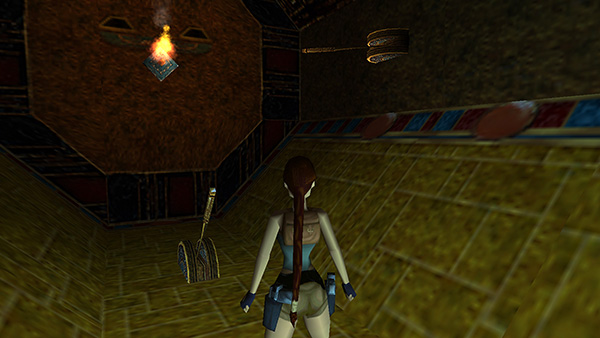
At the top is a small, octagonal room with 2 levers, one on the floor and one protruding from the right wall. The lever on the wall is useless for now, so push the one on the floor to ROTATE THE ENTIRE ROOM. How cool is that!?
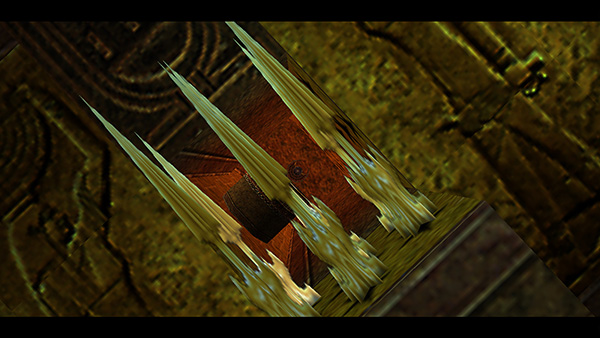
As the room rotates, some of the spikes retract while others extend. You also get a glimpse of the SCARAB TALISMAN in the alcove at the far end of the room.
Copyright © 1999- - Stellalune ( ). All rights reserved. Feel free to copy or print this walkthrough for personal use. By all means, share it with friends, but please include this credit line so people can send me their feedback. No part of this walkthrough may be reproduced on another site without permission. Follow this link for details about this site's advertising and privacy policy.