River Ganges 100% - Jumping Back Across the River
In addition to the diagram and screenshots below, I've made a short video showing this sequence. The return trip starts at the 1:00 mark in the video.

When you're done exploring the RUINS, return to the riverbank opposite the GREEN CAVE (i.e., the area marked "Entrance to Ruins" in the diagram). To get back across the river to the GREEN CAVE without the quad bike, follow the blue arrows in the diagram.

The screenshot above shows an overview of the path you'll take. Now, to break it down:

First, jump over to the jutting tree root on the right (as indicated by the blue arrow pointing from J to B in the diagram).

Take a running jump across the river to the long, rectangular ledge to the right of the GREEN CAVE opening (B to C in the diagram).

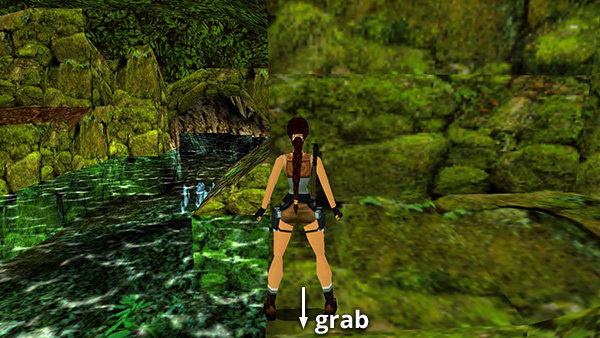
Turn so the tree you just came from is on Lara's left. The GREEN CAVE opening is ahead around the corner. You can see the slope leading up to it in front of Lara's left arm in the screenshot above. Hop back and grab the edge of the green ledge.

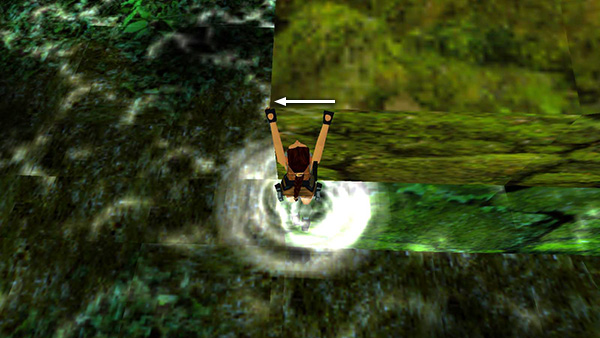
Traverse to the left corner.

Pull up and sidestep once to the right. (Dangling into the water isn't strictly necessary but it helps line up the proper angle for this next tricky jump.)

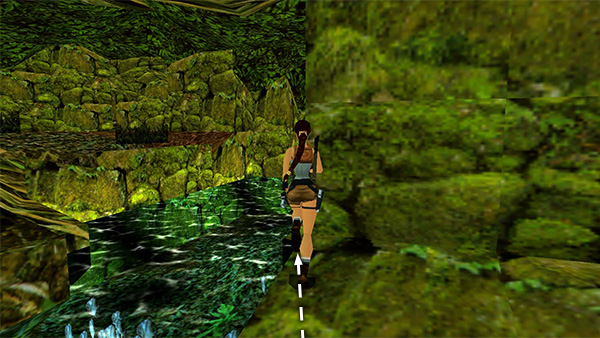
Now pivot slightly to the left until the corner of the wall in front of you is just to the right of Lara's neck. Again, I've shaded the wall in purple to make it a little easier to see how Lara should be lined up.
Save the game, since you probably won't be able to nail the next jump on the first try. Just be sure not to overwrite your earlier save from the GREEN CAVE. We don't want you to get stuck here if things go badly.

Then take a running jump.

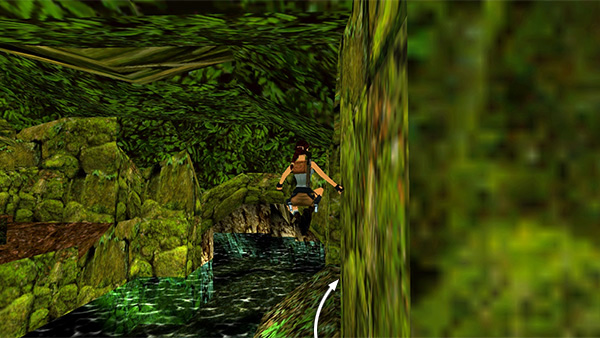
Continue holding jump and Forward, and also press Right while Lara is in the air to curve around the corner, as shown above...

...and land inside the GREEN CAVE (C to A in the diagram).

Now head for the opening ahead on the right to explore the WATERFALL area and finish the level.
If you can't make it back, see the notes on the overview page.
Copyright © 1998- - Stellalune ( ). All rights reserved. Feel free to copy or print this walkthrough for personal use. By all means, share it with friends, but please include this credit line so people can send me their feedback. No part of this walkthrough may be reproduced on another site without permission. Follow this link for details about this site's advertising and privacy policy.