Sanctuary of the Scion - Huge Cavern with Sphinx

After climbing up from the starting area, as shown in the previous section, pick up the large medi pack (4) on the ledge ahead.
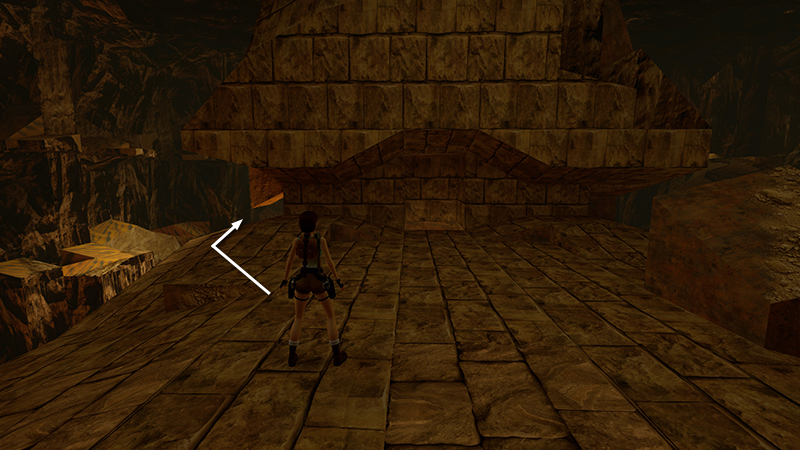
Then turn around to face the sphinx. Go around the left side of its head onto its shoulder.
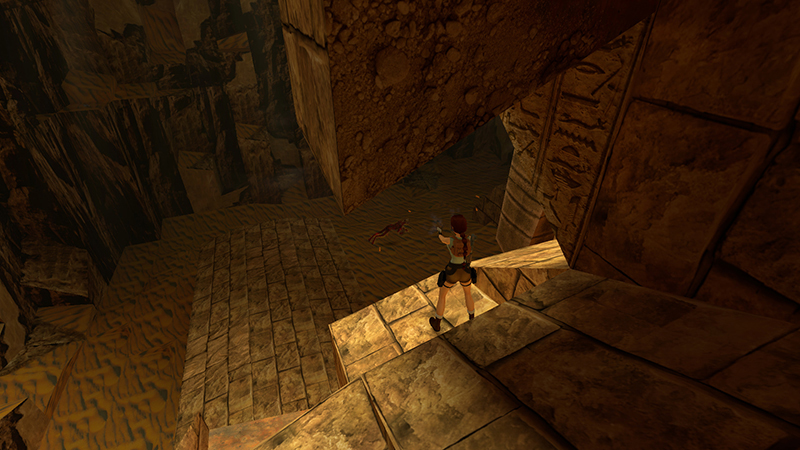
Then hop down onto the small ledge—the sphinx's collarbone? Another mutant (3) is lurking below. You'll be seeing more of these creatures shortly. Sometimes they throw fireballs, sometimes they shoot small energy projectiles, and they'll physically attack Lara if they can reach her. Try to get a lock on this one early, and you may be able to destroy it before it attacks.
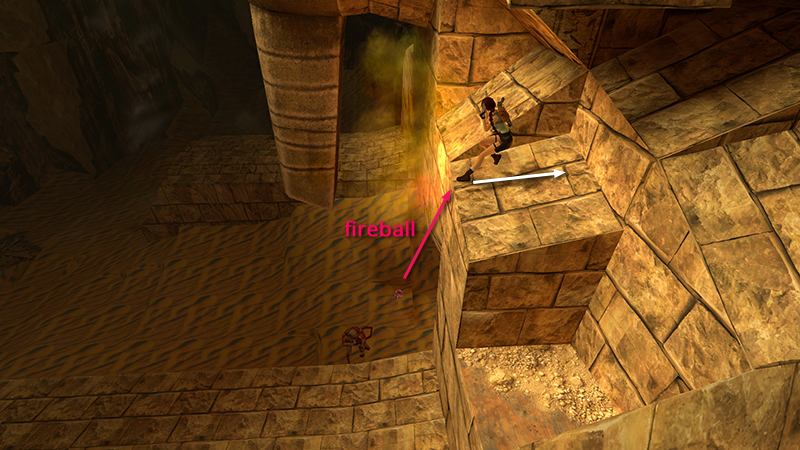
If it does start shooting, step back from the edge to avoid taking damage. Then, when it moves off, step forward and try again. If you like, you can drop down onto the sphinx's paw and target the mutant from there, but don't go all the way down yet unless you want a brawl.
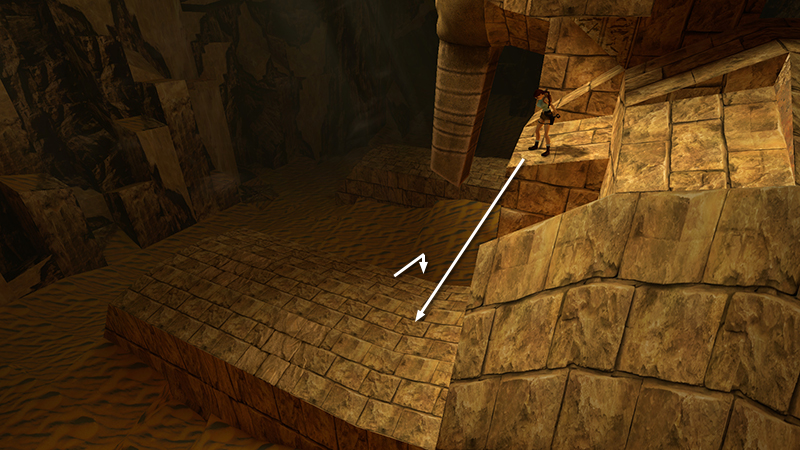
Afterwards, hop down onto the sphinx's paw and from there to the ground.
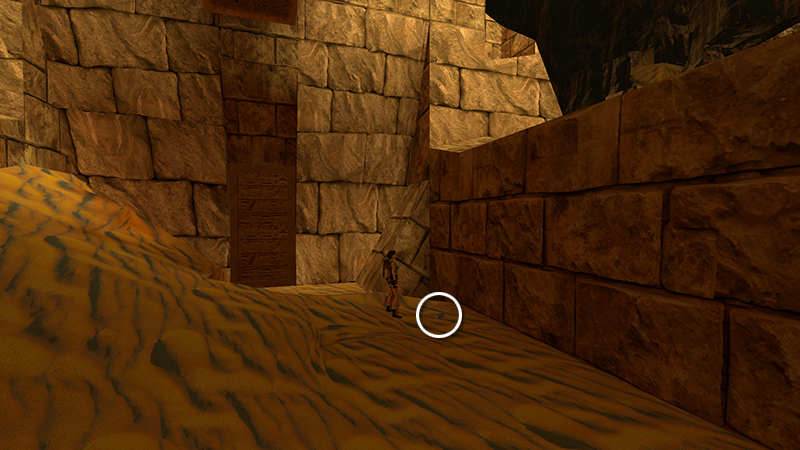
Between the sphinx's paws are some magnum clips (5) and a closed door. Your next goal is is to open that door. Naturally, there's no doorknob. This is Tomb Raider, after all. We'll need to work for it.
DARK MODE: I plan to add optional dark mode for these pages, but my current priority is updating the walkthroughs. Meanwhile, may I suggest a reputable dark mode browser extension, such as Dark Reader? (Download only from trusted sites, like darkreader.org or your browser's web store.)
Walkthrough text and diagrams copyright © Stellalune (email ). Feel free to copy or print this walkthrough for personal use. By all means, share it with friends, but please include this credit line so people can send me their feedback. No part of this walkthrough may be reproduced on another site without permission.