Atlantis - Room with(out) Three Lava Slides
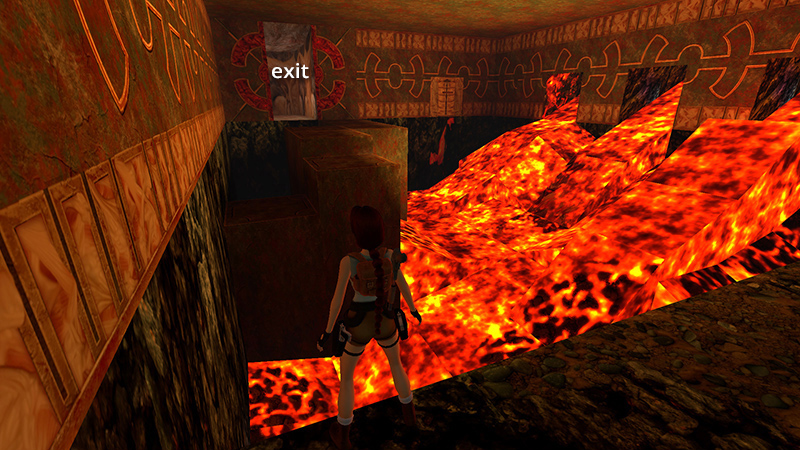
The room beyond the pool and timed door should now be flooded with lava, as shown above.
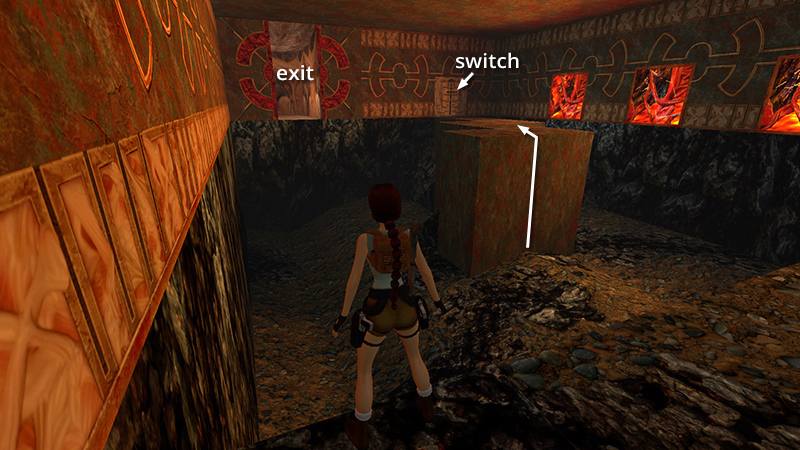
If instead it looks like this—elevated walkway to the right, 3 closed doors holding back the lava, and a brownish rocky floor—then you missed a switch in the previous area. You can't reach the exit from below, but you can go back and throw that switch. Hop down, climb onto the walkway, and use the switch on the far wall to open a second door leading back to the pool and pyramid.
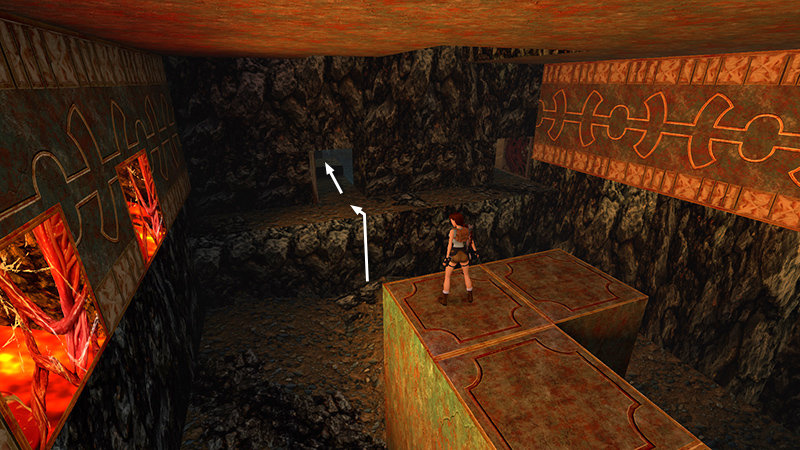
Go through that door and step up onto the low step. (The pool will then be on Lara's right.)
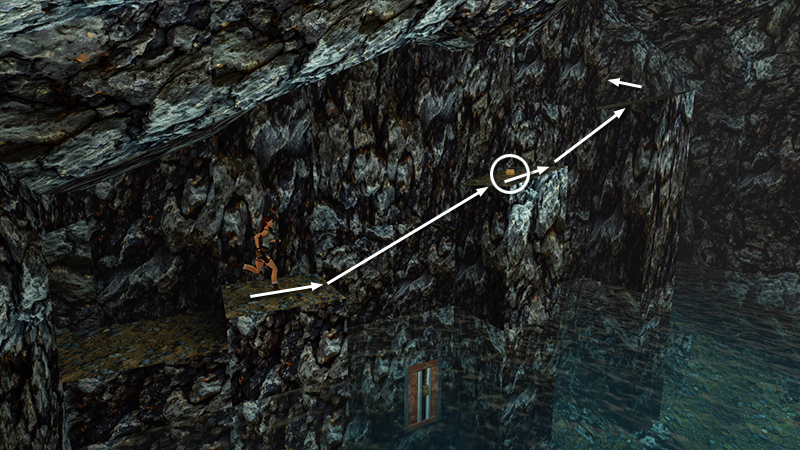
Take a running jump to grab the edge of the tall block ahead. Pull up and get the large medi pack (13). Take another running jump to grab the next higher block, pull up, and enter the room on the left.
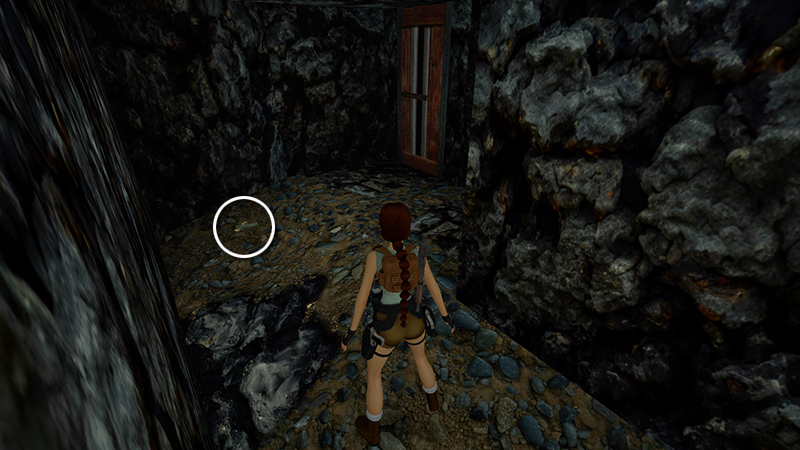
Pick up the 2 sets of Uzi clips (14-15) on the ground and pull the switch to open the 3 lava chutes in the other room.
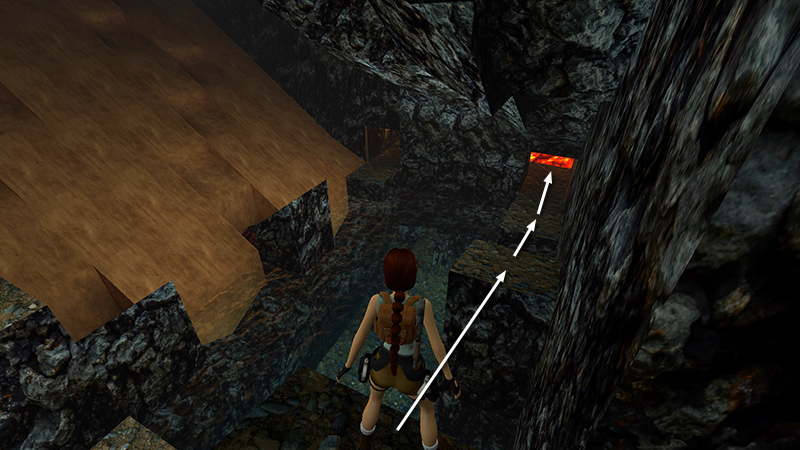
Exit the switch room, turn right, walk to the edge, then take a standing jump down to the next lower block (where you found the large medi pack earlier). Walk forward to the edge and take another standing jump down to the next block. Then return through the doorway into the now lava-filled room.
Pick up the main walkthrough at the ROOM WITH THREE LAVA SLIDES, or just click the 'Next' link below to continue with screenshots.
DARK MODE: I plan to add optional dark mode for these pages, but my current priority is updating the walkthroughs. Meanwhile, may I suggest a reputable dark mode browser extension, such as Dark Reader? (Download only from trusted sites, like darkreader.org or your browser's web store.)
Walkthrough text and diagrams copyright © Stellalune (email ). Feel free to copy or print this walkthrough for personal use. By all means, share it with friends, but please include this credit line so people can send me their feedback. No part of this walkthrough may be reproduced on another site without permission.