Atlantis - Timed Drawbridge
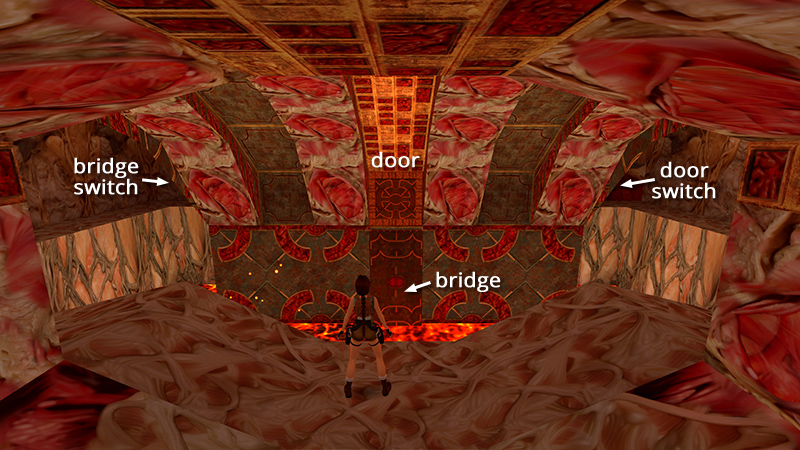
After defeating the 2 mutants in the meat hallway, as shown in the previous section, enter the room with the lava pool and perimeter walkway. The exit is directly across the lava, but it's closed, and the drawbridge leading to it is down. Both door and bridge are controlled by switches the ends of the walkway. The left switch raises the bridge. The right switch opens the door. Both are timed, but the door stays open longer than the bridge stays up (about 45 seconds and 15 seconds, respectively).
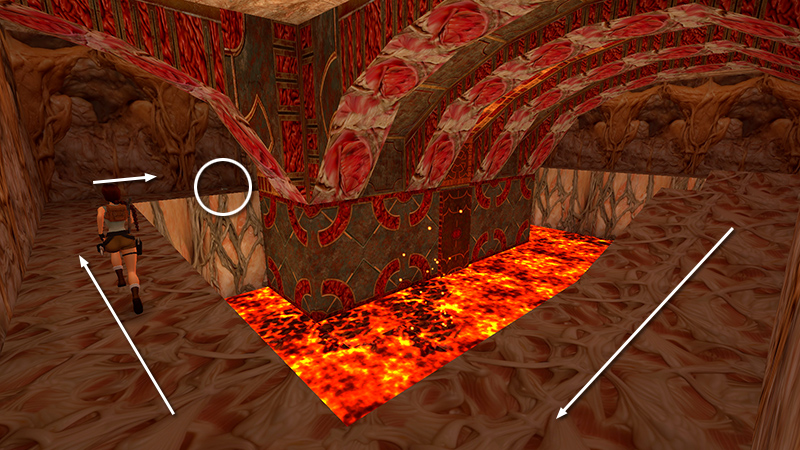
Here's the drill: First, follow the walkway to the left and pick up some Uzi clips (49). Don't use this switch yet. (If you do, it's no problem. It will reset shortly.)
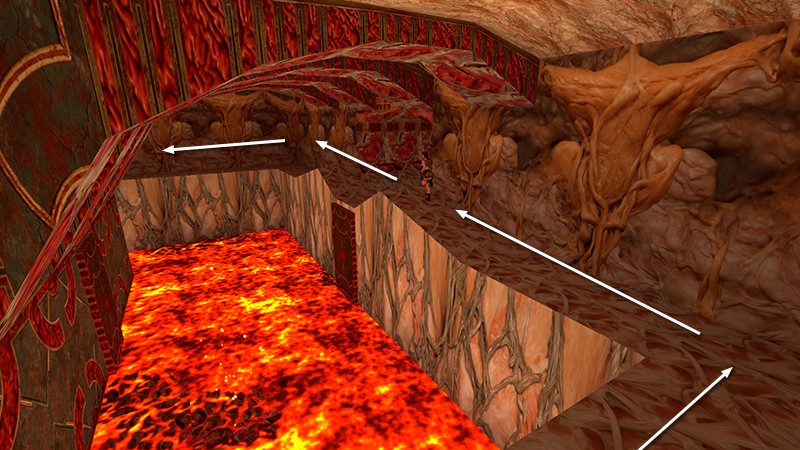
Now go all the way around to the other end of the walkway.
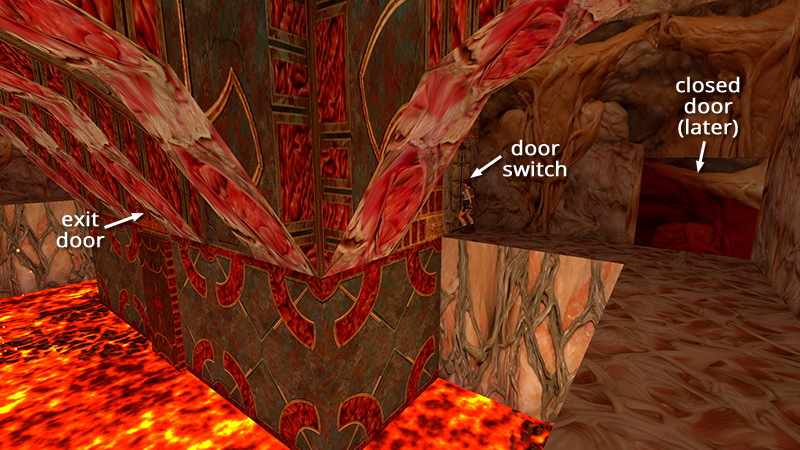
Save the game if you like and throw this switch to open the exit door.
NOTE: The small square door in the northwest corner, near the exit door switch, doesn't open yet. It's a way back from a later area, described in the main walkthrough.
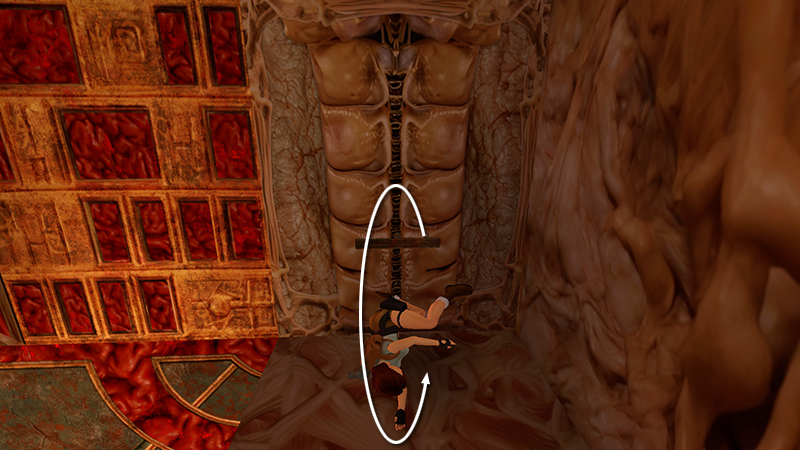
Immediately roll...
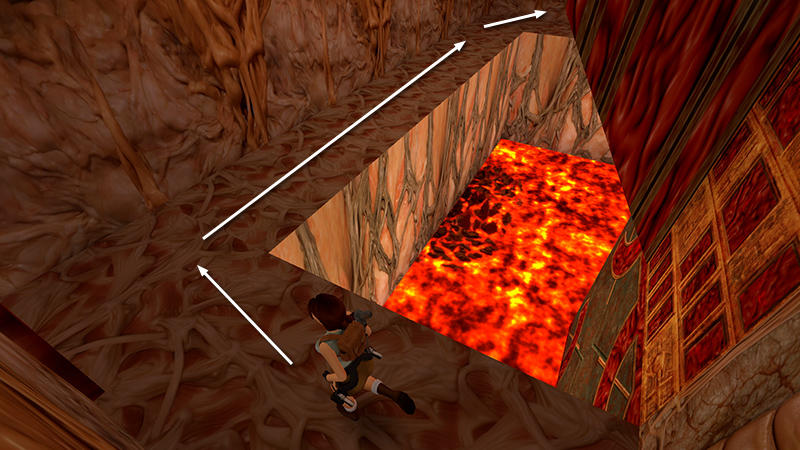
...and run all the way around the edge of the room to the left switch. You should have just enough time if you run without weaving too much and don't bump into anything. But if you want to shave off a few seconds...
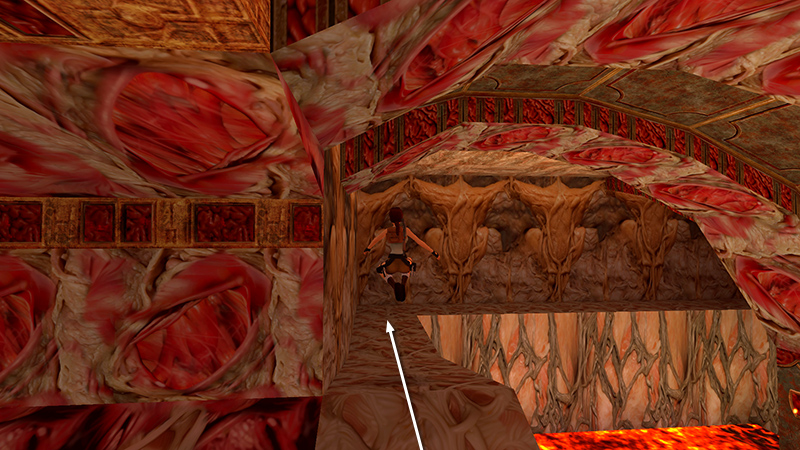
...take running jumps along the straight parts...
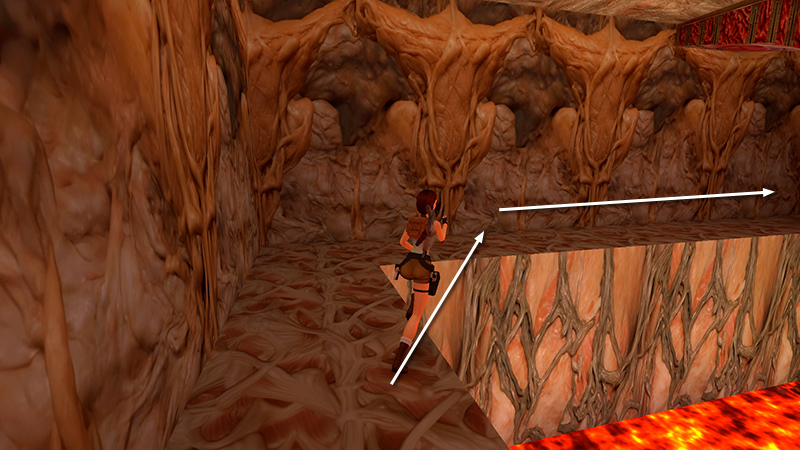
...and leap over the corners instead of running all the way around them.
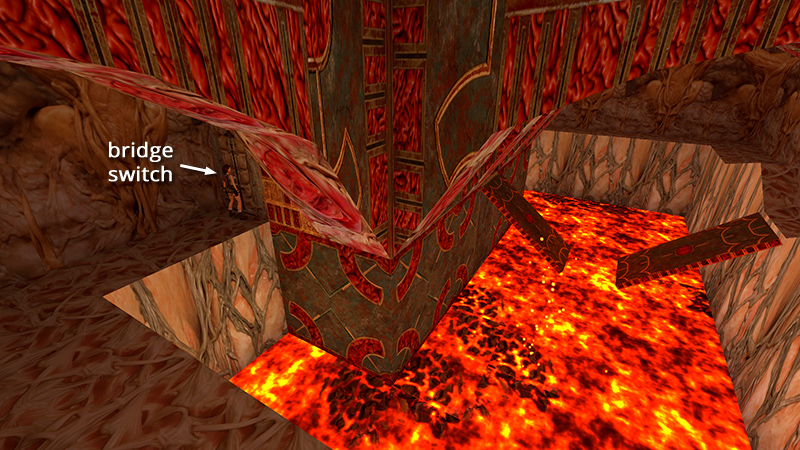
Use the second switch to raise the bridge.
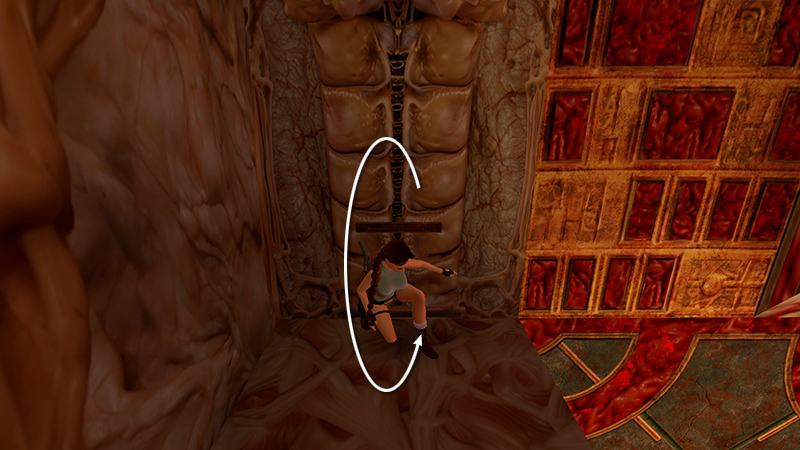
Roll.
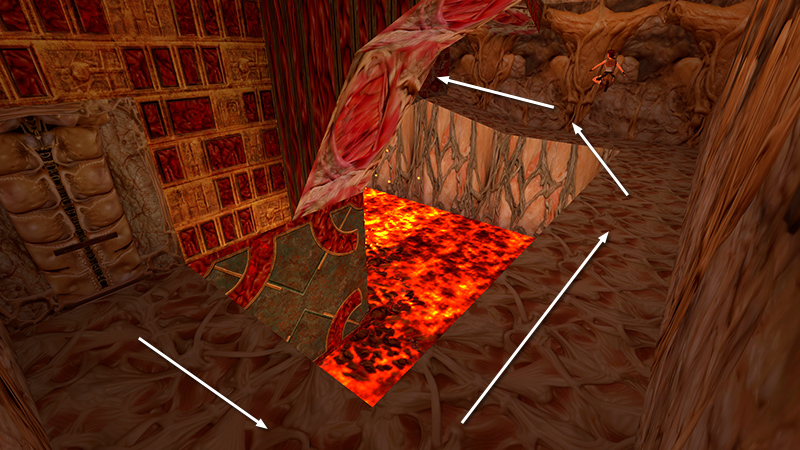
Then run/jump back to the center of the walkway...
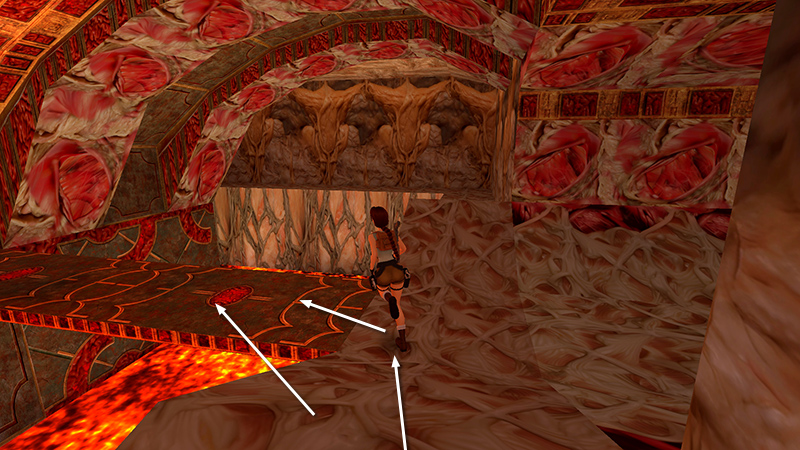
...and across the bridge to exit. (You can cut the corner by jumping from the walkway to the middle of the bridge, but it's easy to overshoot. So if you haven't made any other mistakes, just stick to the solid walkway as you round the corner onto the bridge.)
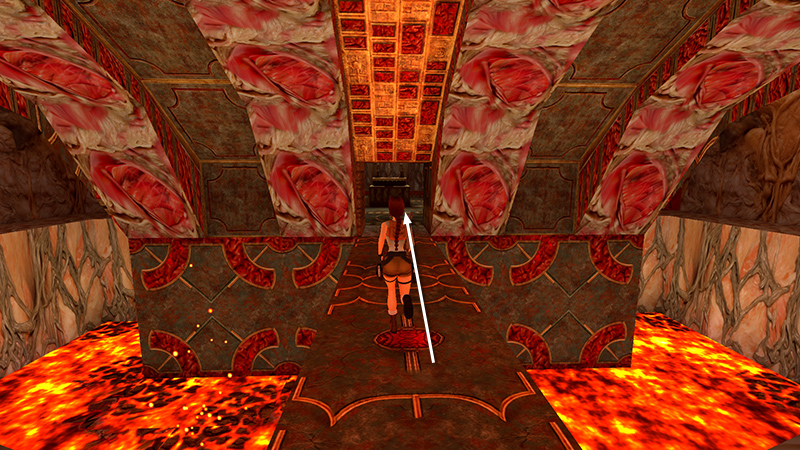
Once you clear the bridge, you're safe. Proceed into the SCION ROOM.
DARK MODE: I plan to add optional dark mode for these pages, but my current priority is updating the walkthroughs. Meanwhile, may I suggest a reputable dark mode browser extension, such as Dark Reader? (Download only from trusted sites, like darkreader.org or your browser's web store.)
Walkthrough text and diagrams copyright © Stellalune (email ). Feel free to copy or print this walkthrough for personal use. By all means, share it with friends, but please include this credit line so people can send me their feedback. No part of this walkthrough may be reproduced on another site without permission.