Mission of San Juan – Revisiting the Crypt for Relic #3 or Document #11
These items are inside the Crypt of Huascar, the Syncretist. If you missed either of them while playing through the Star-Crossed Side Mission, the screenshots below describe a shortcut to reach them. If you need other collectibles in the lower parts of the crypt, it's probably best to retrace the route outlined in the main walkthrough.

Start at the Mission Gate Base Camp and follow the road across the bridge to the southeast.
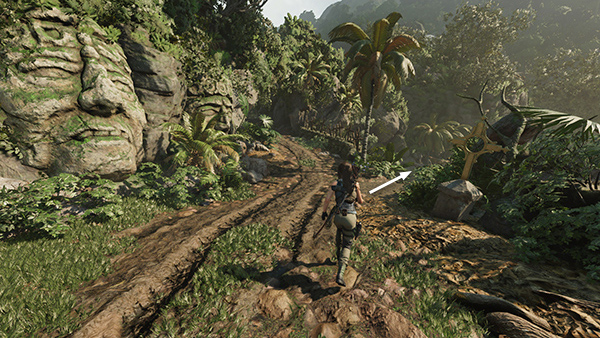
Just beyond the carved stone heads and metal cross, turn right (south).

Head down the slope and jump across the gap near relic #2. The wolf den is just ahead on the left. Watch out for respawning wolves. The crypt entrance is a little farther on.
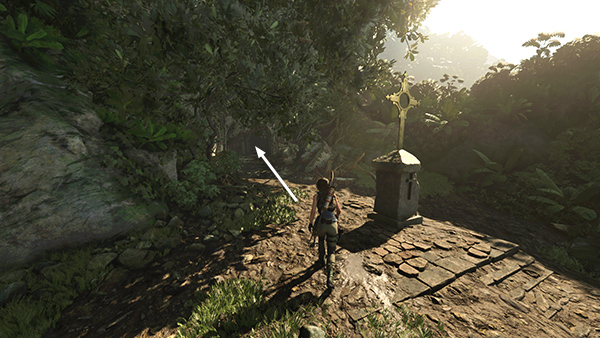
Enter the crypt as you did the first time.
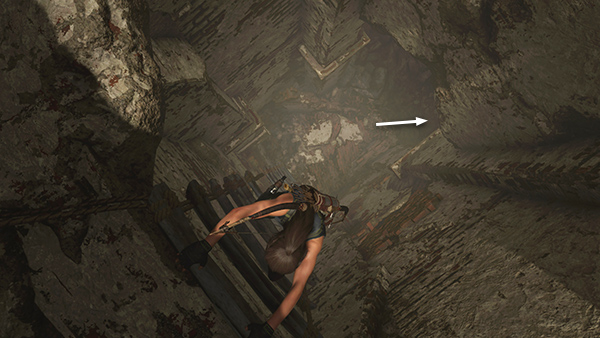
Climb down the ladder and follow the low tunnel to the opening overlooking the pool.
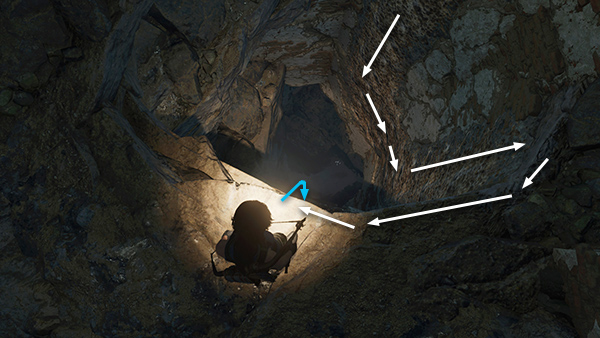
Drop and hang from the edge of the opening (blue arrow). Or, if Lara won't grab here, jump across the opening to the U-shaped climbing wall, climb down, right, then upward to grab the edge of the opening. Then traverse to Lara's right until she's hanging above the doorway (white arrows).
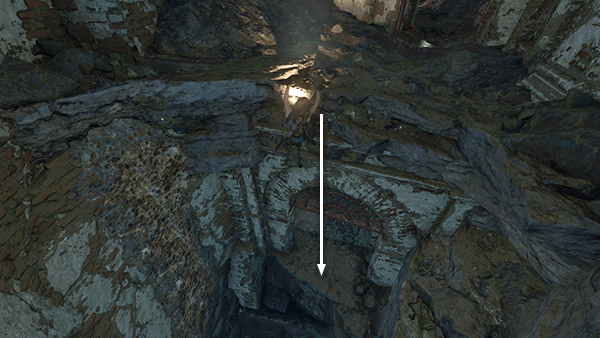
Drop down into the doorway.

Follow the passageway around to the left then down to another drop-off.
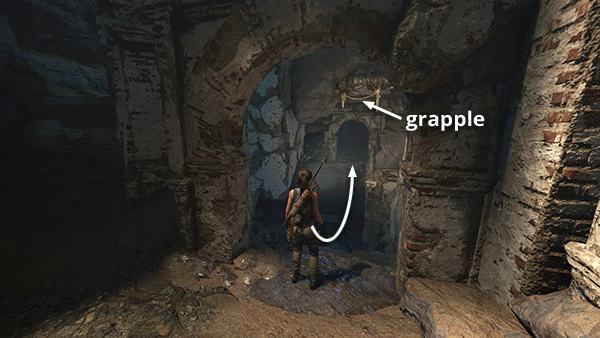
Grapple-swing across the gap to the doorway on the opposite side.

The document (11/27), Demons (Cult of de la Cruz), is sitting in a dark alcove just ahead on the left, along with some gold ore. If that's all you need, you can turn around and return to the surface the way you came. If you still need the relic, proceed past the jaguar-head switch and around the corner to the right.

Continue past a swinging spike trap, which you disabled earlier on your way out of the crypt, and through another low tunnel strewn with bricks.
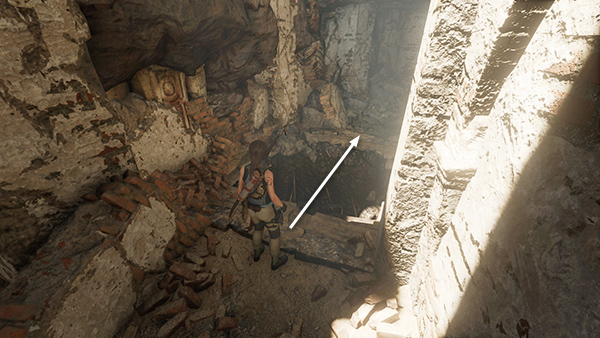
Jump across an exposed spike pit.
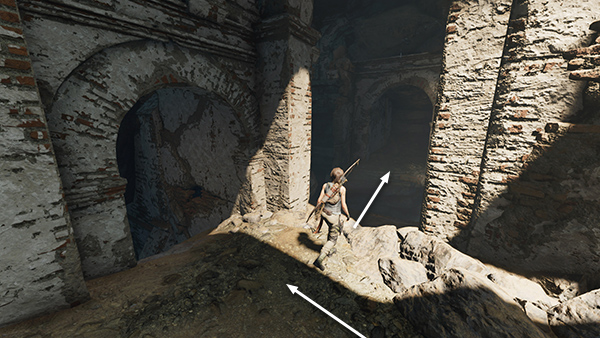
Then turn right and jump across the gap into the doorway to the south.
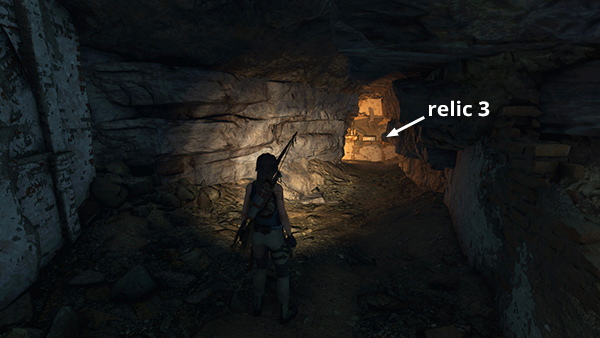
The relic (3/9), a Wheel-Lock Pistol (Angel de la Cruz), is just ahead in a small, well-lit alcove.
When you have it, return to the surface the way you came. If you need help navigating, follow the screenshots accompanying the crypt walkthrough. (Note that the traps will already have been sprung and the wooden barrier pulled down, since you passed through this area before.)
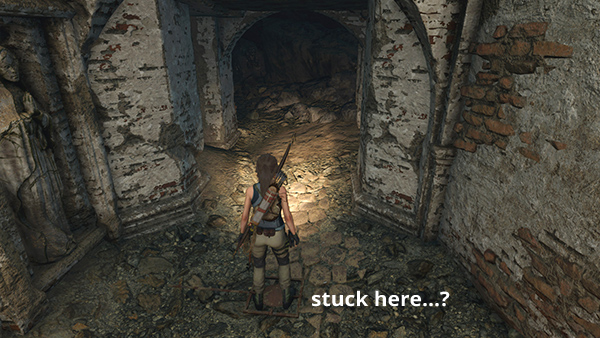
If you encounter a minor bug where Lara gets stuck on the trigger for the spear trap and won't move further, just open the pause menu (Esc on keyboard, Menu button on Xbox controller, or Options button on PS4 Controller) and choose 'Reload Checkpoint.' This should put Lara in the shaft at the bottom of the ladder with the document and/or relic still in your inventory. You can then climb back to the surface, return to the Mission Gate Base Camp and fast travel away.
[San Juan Relics | San Juan Documents | Quick Guides | Walkthrough]
Copyright © - Stellalune ( ). All rights reserved. Feel free to copy or print this walkthrough for personal use. By all means, share it with friends, but please include this credit line so people can send me their feedback. No part of this walkthrough may be reproduced on another site without permission. Follow this link for details about this site's advertising and privacy policy.