Peruvian Jungle – Judge's Gaze Challenge Tomb (part 3)
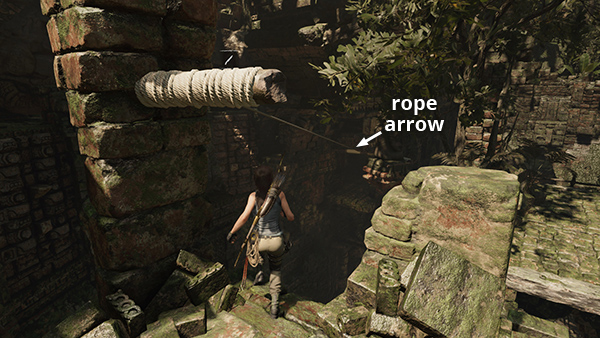
To get back to the main area, stand under the rope-wrapped beam and shoot a rope arrow into the beam below. Slide down.
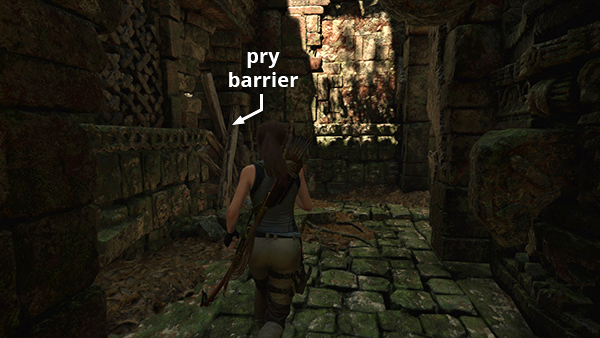
Move through the passageway and break down the pry barrier you passed earlier.
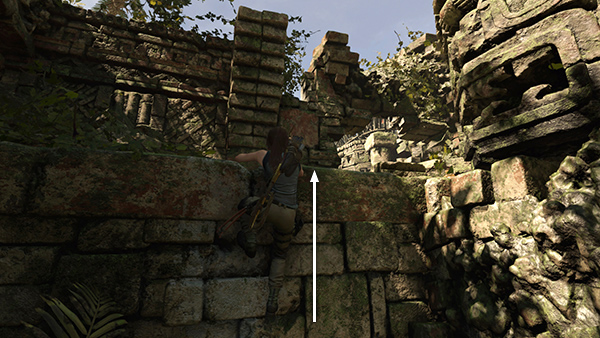
Go through the opening and scramble up onto the wall ahead.
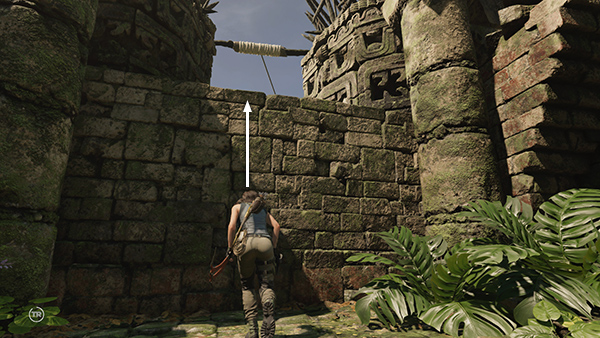
Gather a few supplies in this area then scramble up another wall to reach another rope line.
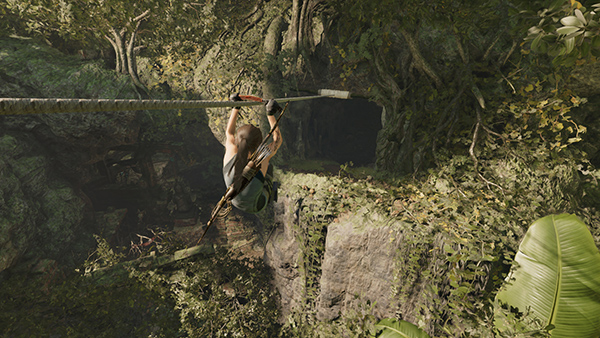
Slide across the chasm with the rope bridge into a dark tunnel. Lara lets go automatically at the end and tumbles down a muddy slope into a cave.
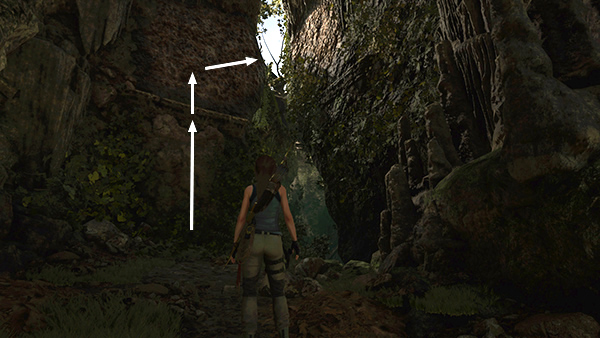
Scramble up the wall ahead on the left. After Lara grabs the narrow ledge, jump up again and latch onto the climbing wall. Climb upward and as far to the right as you can.
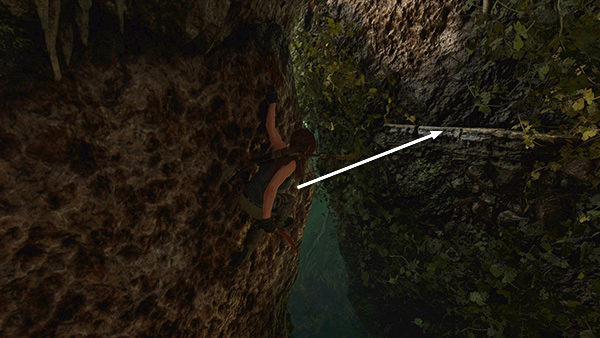
Lean out to the right, then jump, holding the button while Lara is in the air to get the longest possible air time. She should then grab the handhold on the other wall.
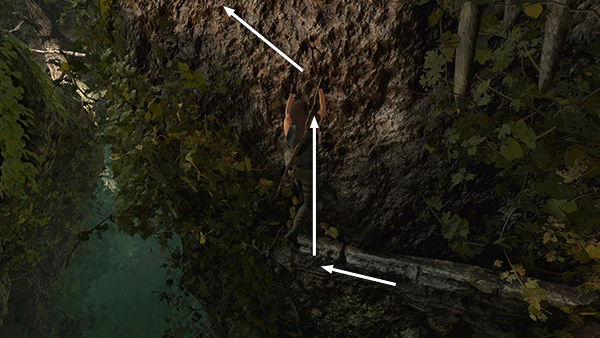
Climb to the left, then jump up and latch onto the next craggy wall. Continue climbing up and left.
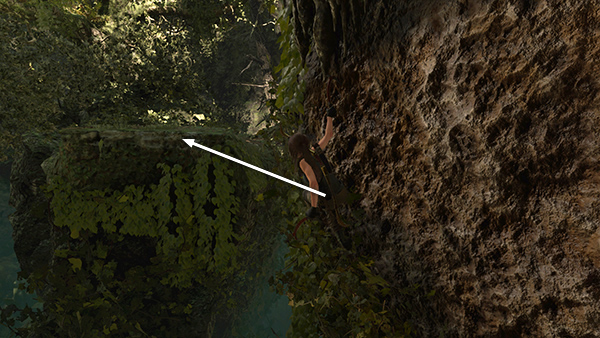
When you run out of climbing wall, lean then jump to the left to grab the ledge ahead, and pull up.
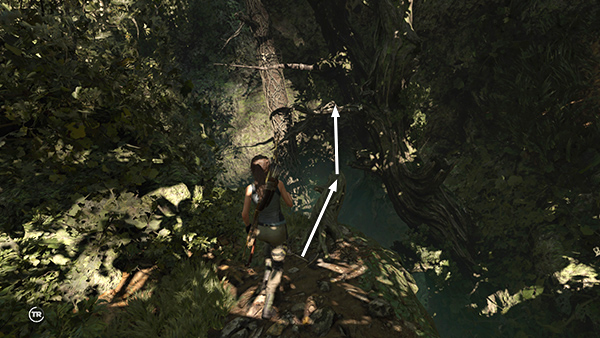
Walk out to the end of the jutting tree trunk and jump to the nearest branch. (Sorry this is difficult to see due to the dappled lighting. It's much more obvious in the game.)
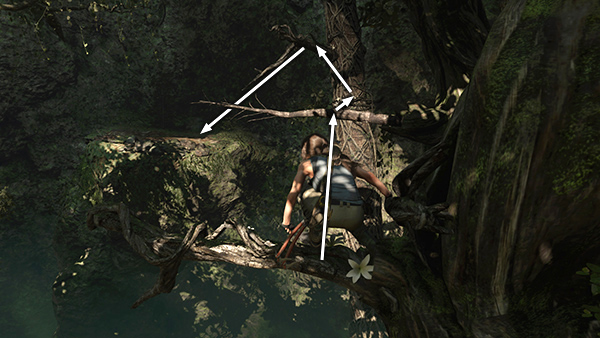
From the first branch, jump forward to swing around the next one, and grab the flowery vine on the tree beyond. Scramble up to the branch above, then jump down onto the ledge.
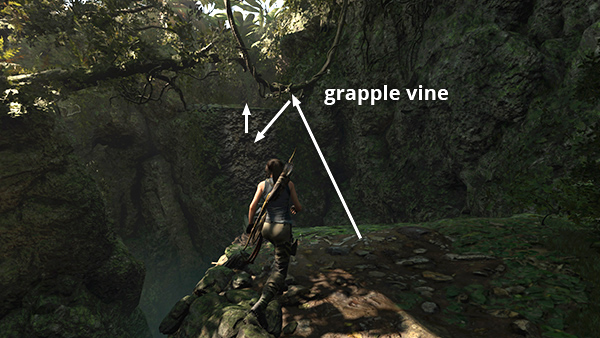
You'll need to grapple-swing across the next wide gap. Jump out toward the hanging vine and press Interact/Grapple to grapple it. Swing forward, and press Interact again to latch onto the climbable wall with your axes. Climb onto the ledge above.
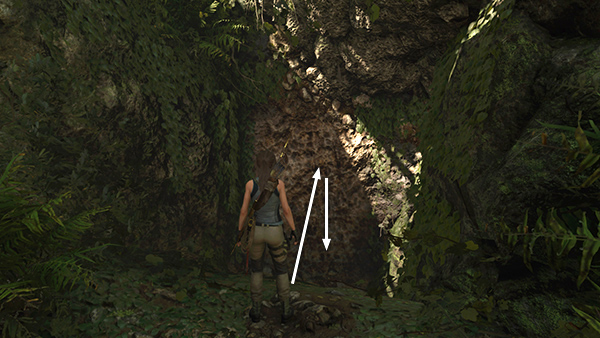
Jump across the next gap and latch onto the climbing wall. Climb down a bit.
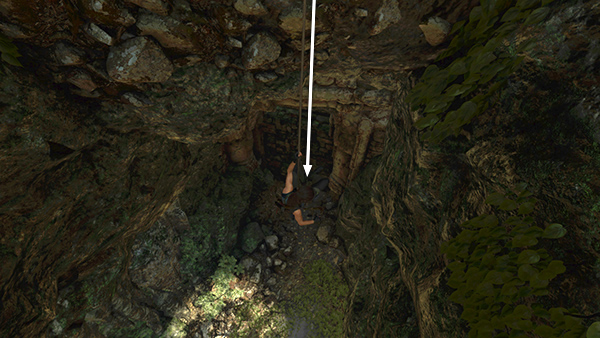
Then rappel down to the ground.
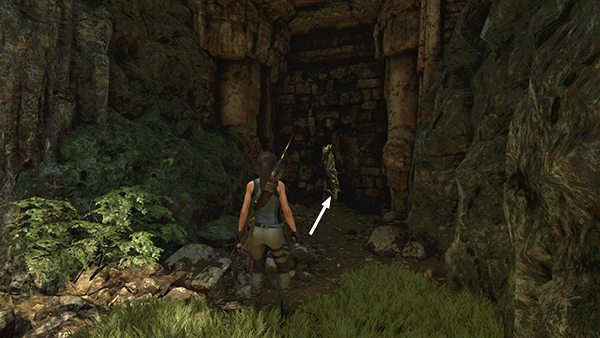
Squeeze through the narrow opening to get back to the main area.
[Previous | Challenge Tomb Walkthrough]
Copyright © - Stellalune ( ). All rights reserved. Feel free to copy or print this walkthrough for personal use. By all means, share it with friends, but please include this credit line so people can send me their feedback. No part of this walkthrough may be reproduced on another site without permission. Follow this link for details about this site's advertising and privacy policy.