The Hidden City – Temple of the Sun Challenge Tomb (part 2)
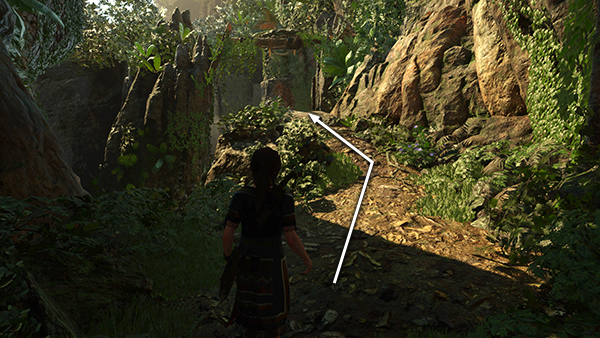
Follow the upper/right path to the edge of the deep gorge.
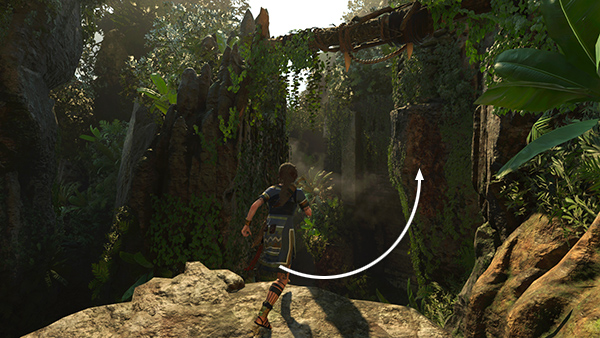
Grapple-swing across the gap and latch onto the climbable wall ahead.
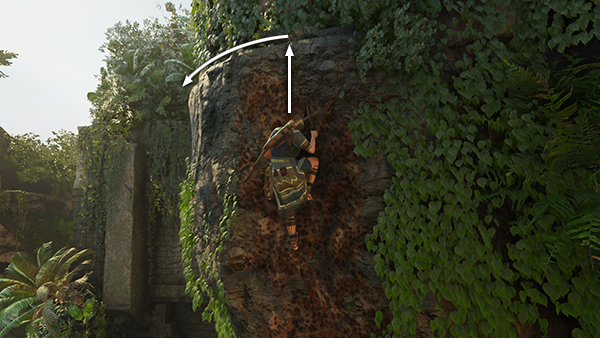
Climb up to grab the handhold above the climbing wall. Then climb around to the left...
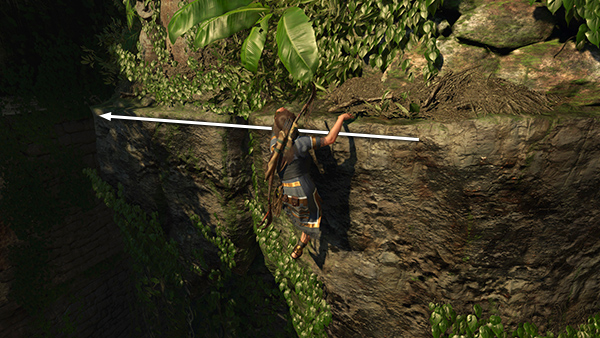
...until you can't go any farther.
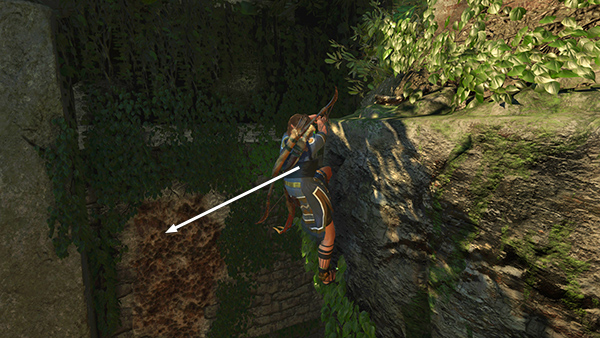
Then jump to the left to another craggy climbing wall.
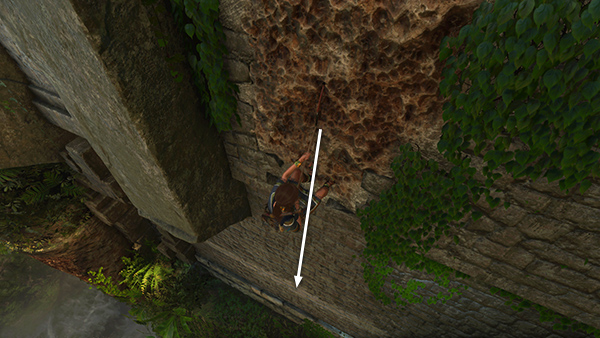
Climb down as far as you can. Then rappel down until Lara is hanging next to the smooth wall-running area.
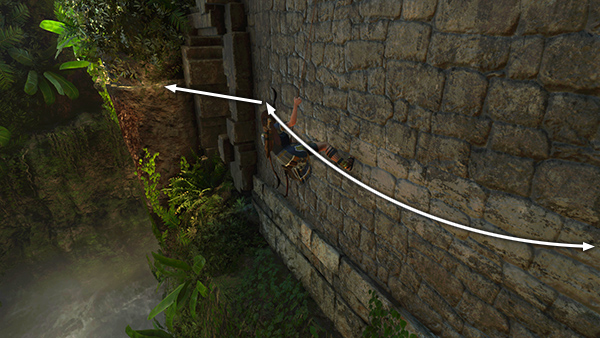
Run back and forth to build momentum, then jump to the left to grab a handhold on the brow rock formation with the plants growing on top.
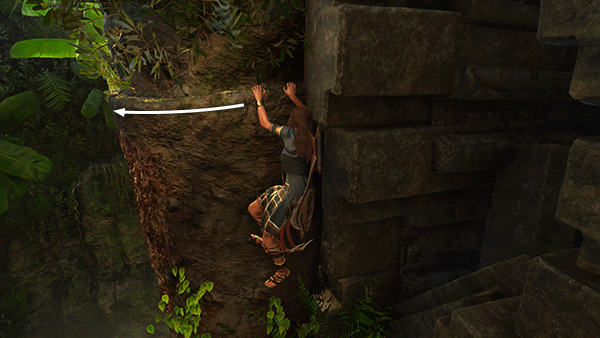
Climb around to the left...
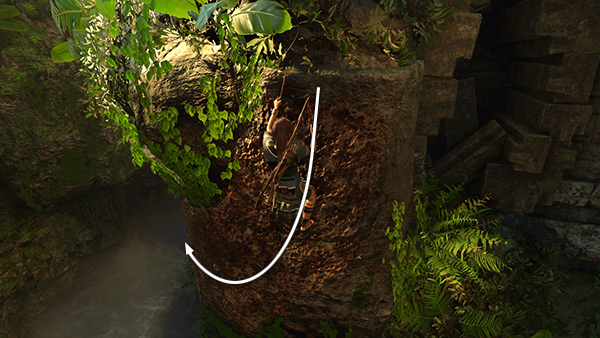
...then down and around to the left along the rough climbing wall.
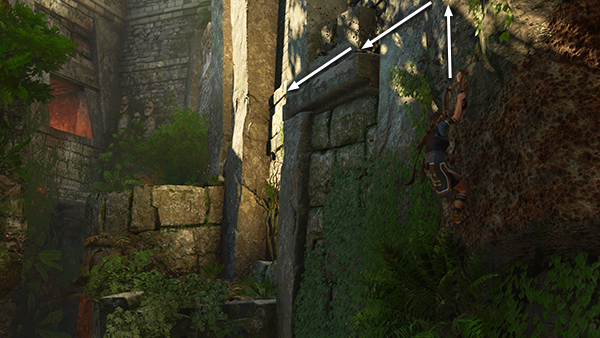
When you run out of climbable surface, scramble straight up to grab the ledge above. Climb to the left as far as possible.
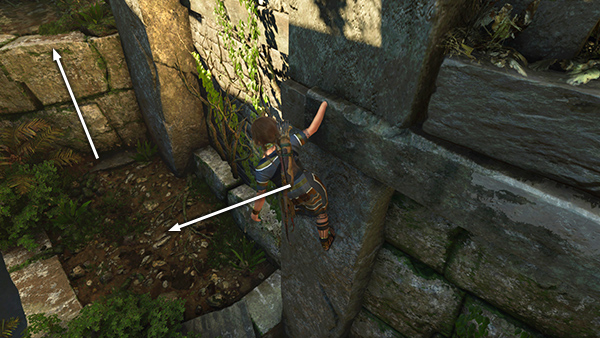
Then jump to the left to land on the ledge below. (Don't just drop or Lara will fall into the gorge.) Climb onto the next higher ledge.
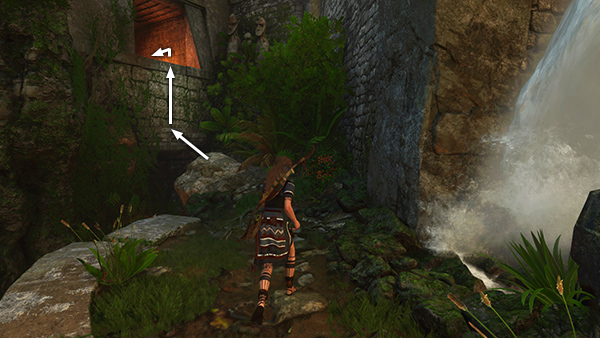
Grab some health herbs then jump from the jutting rock to grab a handhold below the trapezoidal door. Scramble up the wall and drop through the opening.
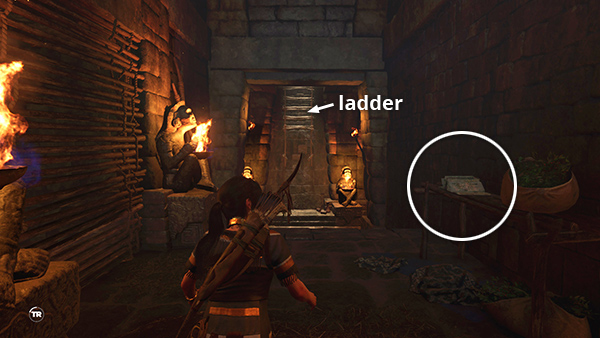
Just inside on the right is a document (16/42) The Monkey Twins (Mam/Legends of the Maya). Approach the ladder but don't climb up yet.
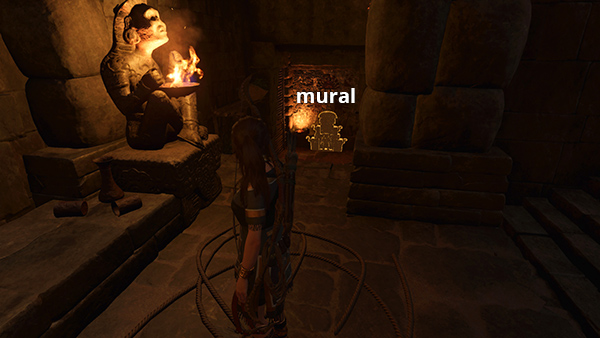
First, go down the steps to the right and examine the mural (11/23), Mirrors (Yucatec/Secrets and Lies). The clues it provides can help you solve the puzzle you're about to undertake.
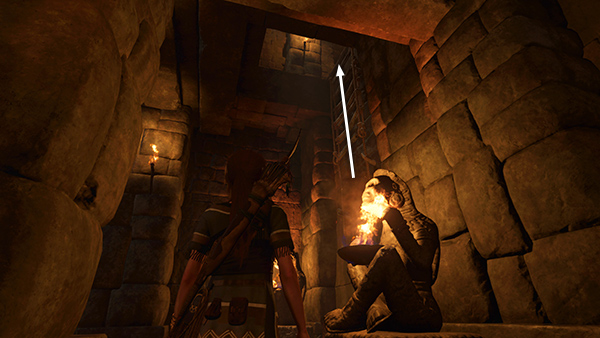
Return to the ladder and climb to the room above...
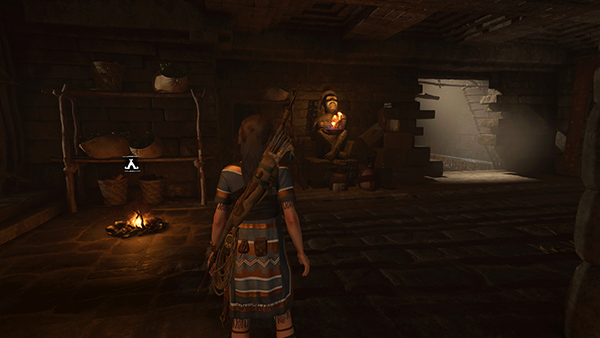
...where you'll find the Temple of the Sun Base Camp. Approach the doorway on the right...
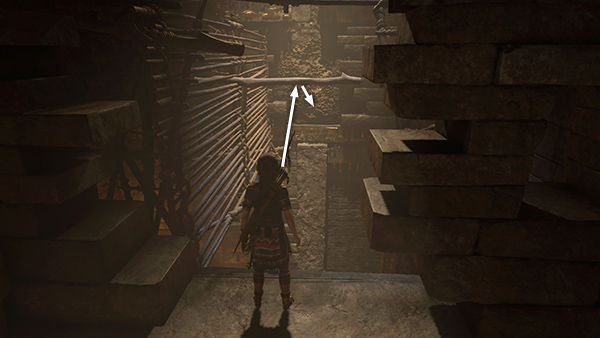
...jump to the horizontal bar and swing over to the climbable wall.
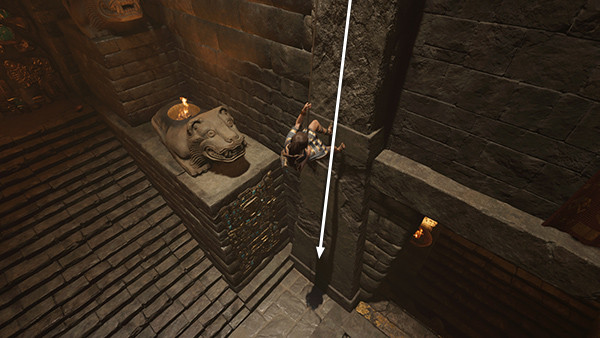
Then rappel down to the floor.
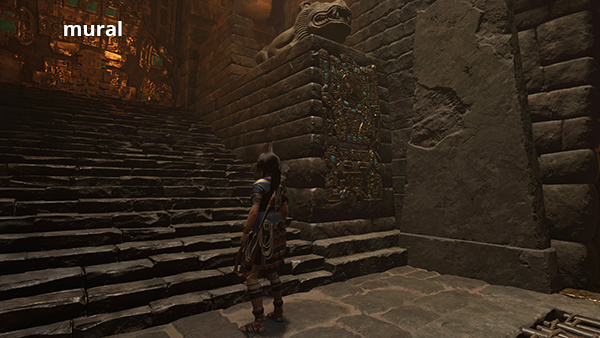
There's another mural (12/23), Temple of the Sun (Mam/Trials of the Gods), at the top of the stairs on the left.
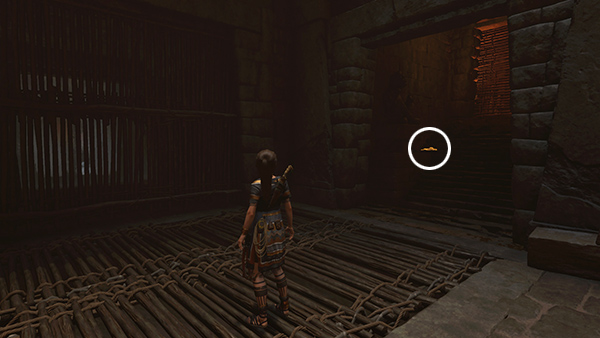
After examining it, pick up some gold ore in the alcove to the east.
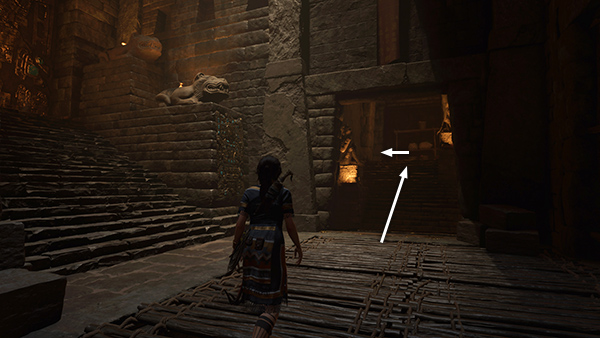
Then climb the stairs to the west and follow the hallway to an apparent dead end.
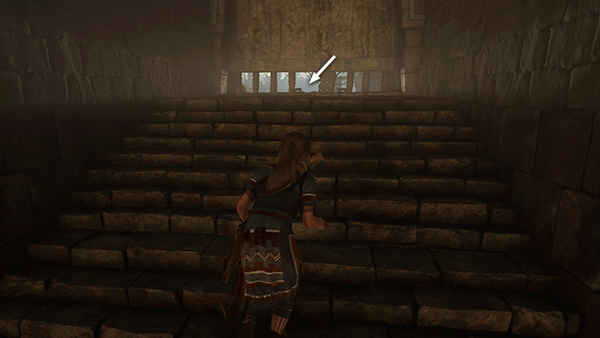
Approach the door and Lara will crawl through the low opening into the tomb.
[Previous | Next | Challenge Tomb Walkthrough | Hidden City Walkthrough]
Copyright © - Stellalune ( ). All rights reserved. Feel free to copy or print this walkthrough for personal use. By all means, share it with friends, but please include this credit line so people can send me their feedback. No part of this walkthrough may be reproduced on another site without permission. Follow this link for details about this site's advertising and privacy policy.