The Hidden City – Mission 7: Widow's Tears

After returning from the CENOTE, Lara has the Serpent Guard disguise. If you then head for the southwest side of Paititi, you'll receive a notification that a Mission is available nearby. The Mission Giver is marked on your map.
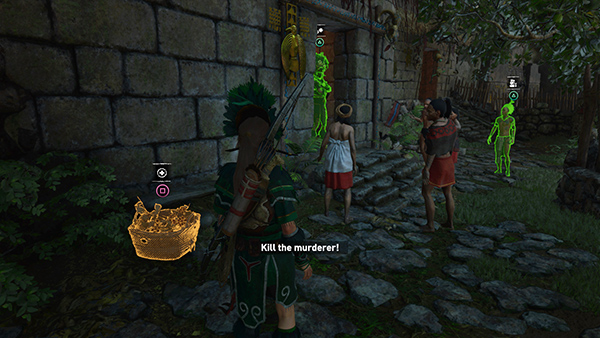
When you reach the area indicated, you'll find a group of people talking about a murder. Speak to the Mission Giver, Ikal, who's standing to the right of the house with the guard in the doorway. He tells Lara that his business partner, a man named Sumaq, has been killed. Lara agrees to Solve Sumaq's Murder. If you then speak to the guard, he'll say he can't let Lara in because he's afraid the crowd will rush the place.
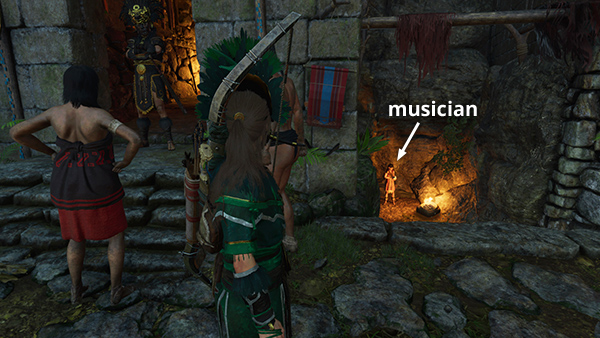
To distract the gawkers, head down the stairs to the right of the house and talk to the musician. He agrees to sound the call to mourning. The assembled crowd (4 entire people!) move down the stairs away from the house.
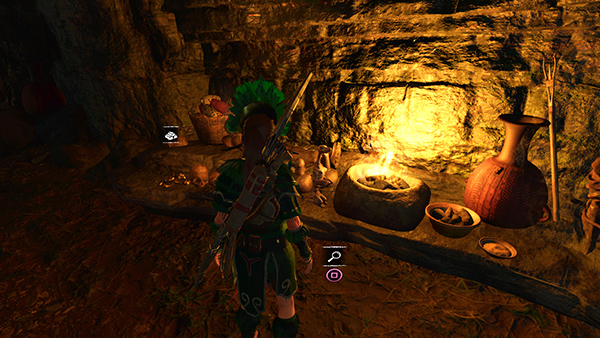
While you're down in the cave, head to the left to find a burnt note on the ground below the flaming brazier. In the note Ikal declares an end to his business relationship with Sumaq. The small piles of gold on the left and right sides of the shelf may also have respawned since you last visited.
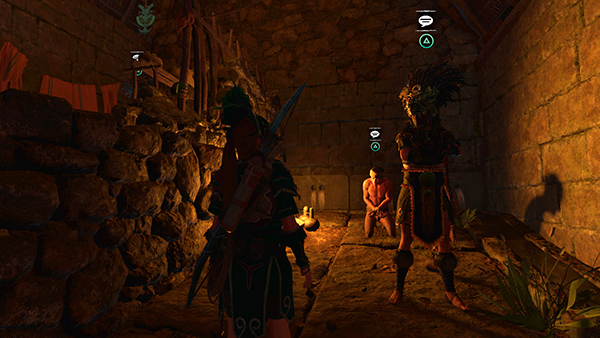
You can now enter the house and speak to the guards and the people involved. Each person tells a slightly different story about what happened. The same guard you spoke to earlier describes the scene when he arrived. The accused murderer, Sumaq's servant, Taruca, insists he is innocent.
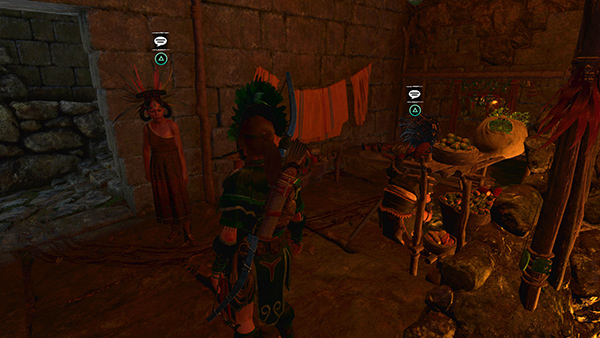
Sumaq's wife, Xoco, accuses Taruca, but her story has a slightly fishy aroma. The investigator explains that Sumaq was stabbed but the murder weapon is missing. There's also a trail of blood on the floor indicating the body was moved.
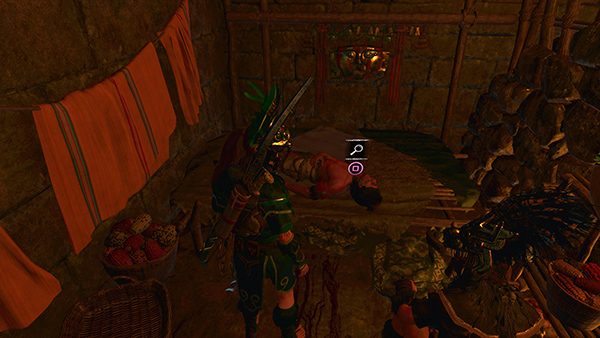
After speaking with the investigator, you can examine Sumaq's body to learn that there isn't much blood considering the extent of the victim's wounds.
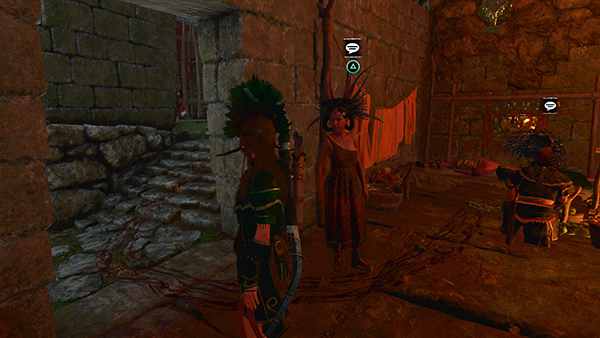
Follow the blood trail out the door and up the stairs...
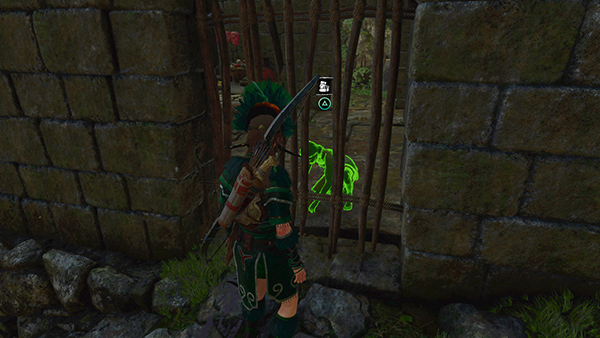
...to find Xoco's servant, Akna, attempting to clean the spilled blood. She backs up Xoco's version of events but she's clearly distressed. She also insists the gate separating the two parts of the house has been broken for some time, contradicting Taruca's assertion that he heard a gate slamming when he arrived on the scene.
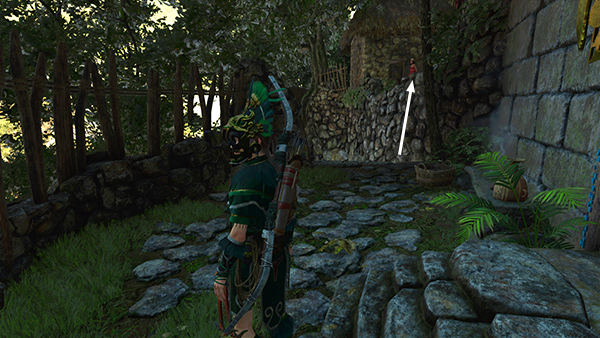
Exit the house through the door where you came in, turn right, and climb onto the ledge in front of the upper part of the murder house.
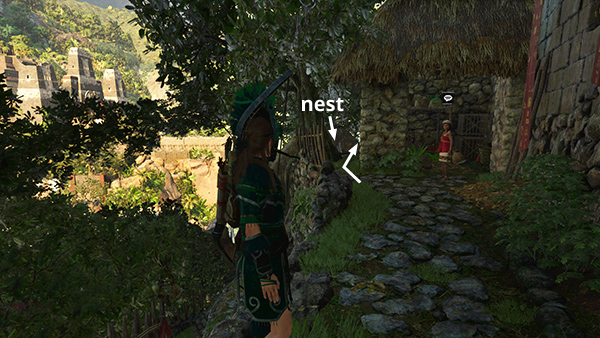
Speak to the neighbor, who tells Lara that Xoco was having an affair with her husband's business partner, Ikal. (The plot thickens!) At this point, you'll see a message telling you to return to Ikal's guard, but don't do that yet. Instead follow the path along the left side of her house. Loot the condor's nest at the base of the large tree. (If you haven't completed the Keep Calm and Carrion Challenge, this will count toward it.)
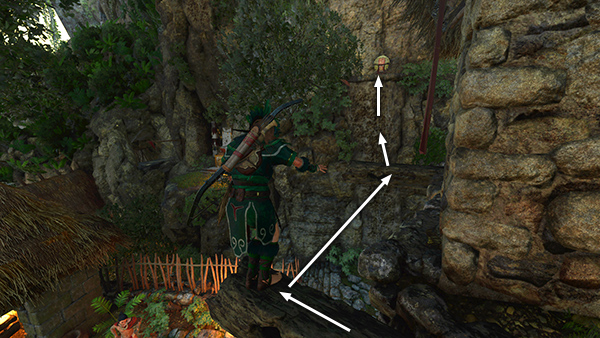
Then walk out onto the wide beam, turn right and jump to the next beam, then to the climbing wall ahead. Climb onto the ledge above, where you (probably) found monolith #5 earlier.
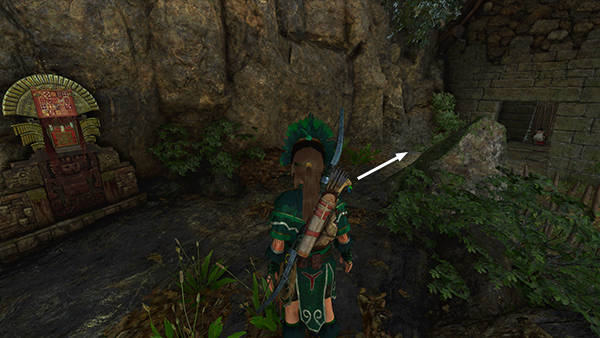
Turn right at the monolith...
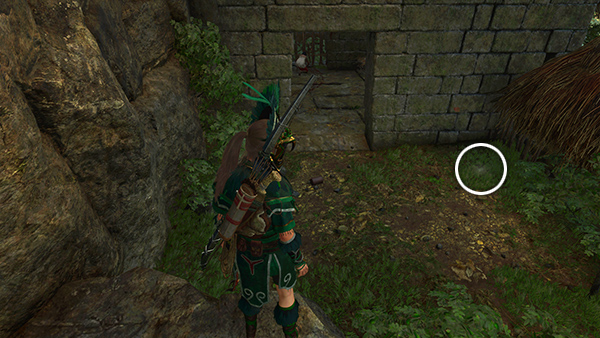
...and hop down into the little yard behind Xoco and Sumaq's house. Lara comments that the ground has been disturbed recently. Dig in the area to the right of the doorway to find the murder weapon!
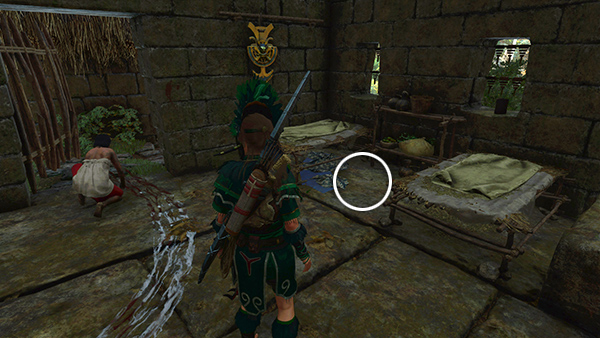
Akna now confesses her part in concealing the evidence of the murder. If you didn't get document #4 earlier, it'll be lying on the floor in this room. (I had already picked it up, but the screenshot above shows where it was.) Now Return to Taruca's Guard. The gate connecting the two parts of the house is now open, so you don't have to take the long route.
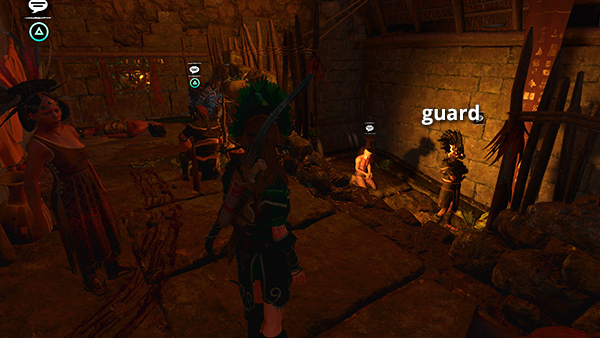
You can speak to everyone involved again, or not. It's also possible to complete the mission by only finding the burnt note or the knife, but if you find both and take this information to the guard, Lara explains how the events unfolded. Xoco and Ikal were lovers. They murdered Sumaq together and attempted to implicate Taruca. Regardless of which evidence you found, the guard rewards Lara with a Vestige: Yaway's Battle Tunic, which increases the duration of Endurance herb effects, plus 450 gold pieces.
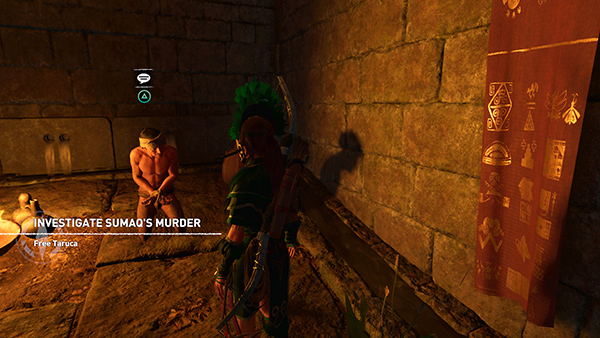
Finally, Free Taruca to complete the mission.
[Mission Walkthrough| Main Walkthrough]
Copyright © - Stellalune ( ). All rights reserved. Feel free to copy or print this walkthrough for personal use. By all means, share it with friends, but please include this credit line so people can send me their feedback. No part of this walkthrough may be reproduced on another site without permission. Follow this link for details about this site's advertising and privacy policy.