The Hidden City – Mission 6: Save Colqui (part 2)
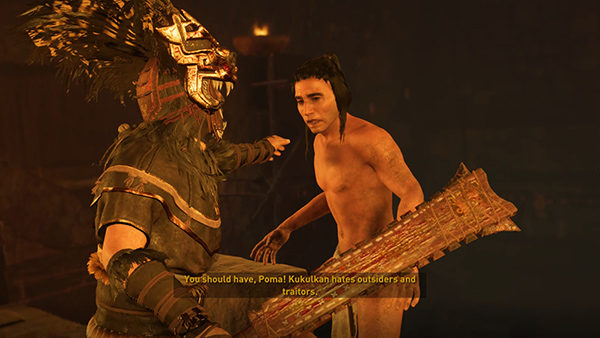
As you enter the temple, Poma appears and confesses to Lara that Colqui was actually the traitor and has bribed Poma to change sides as well. Then Colqui himself, dressed in Jaguar Warrior regalia, approaches Poma and cuts him down. "Kukulkan hates outsiders and traitors," he explains.
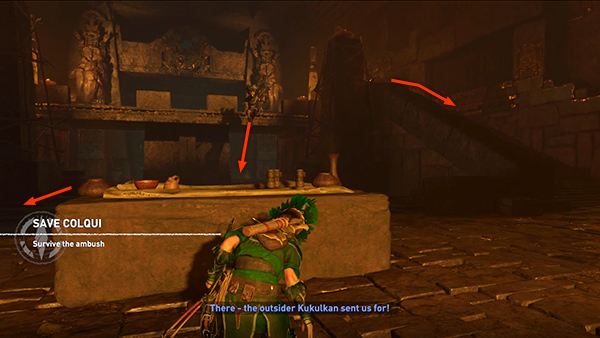
Now Lara must Survive the Ambush. You begin the fight behind a stone table. This offers decent cover, so you may just want to stay here throughout the fight and let the Colqui and his squad of about 18 Jaguar Warriors come to you. They appear a few at a time, so this works well as long as you kill the men quickly as they approach. If you hesitate too long, they will surround Lara and you'll have to move or die.
NOTE: In the first moments before the enemies approach, you may want to use an Endurance Mixture (press F2 on the keyboard or hold L1/LB on the controller and press Circle/B). You will need to have unlocked the Heart of the Jaguar Skill to do this. Endurance mixtures reduce damage from melee and ranged attacks.
At the start of the fight, Colqui jumps down from the ledge on the far side of the room and rushes toward you. A few others make their way around from the left and right (as shown in the screenshot above).
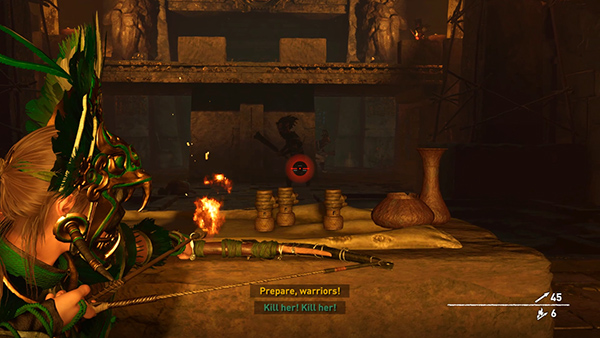
You can probably take Colqui out with a fire arrow...
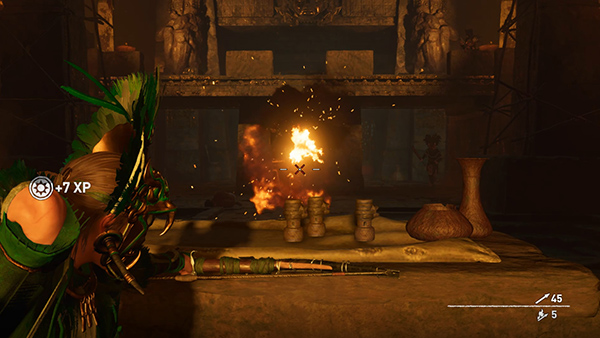
...before he gets close, or wait for him to approach and use one of the techniques below.
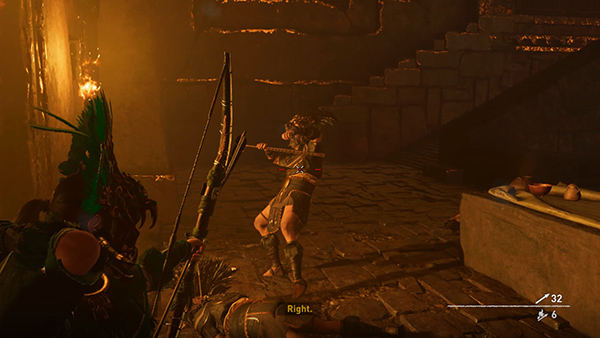
The warriors rush Lara a few at a time and attempt to flank her. You can unleash a hail of normal arrows as they approach.
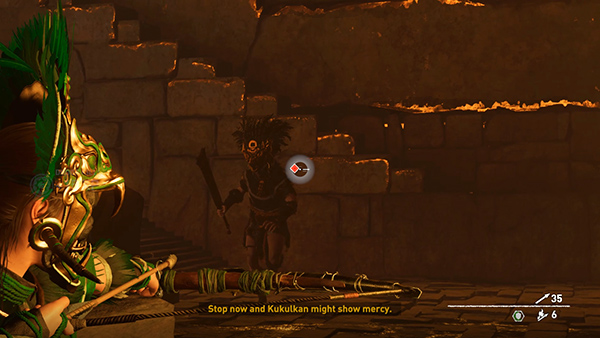
Or, try for a headshot, though the warriors carrying the obsidian blade weapons also wear helmets, so you'll need to land two headshots...
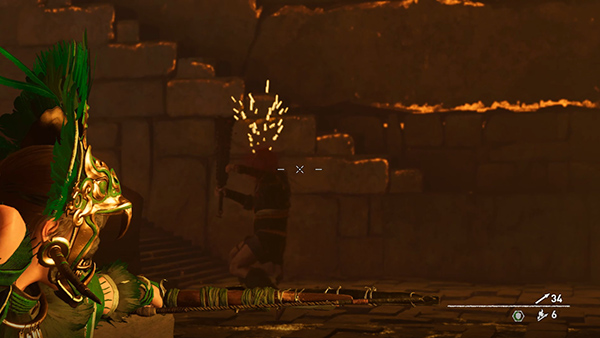
...one to destroy their helmet...
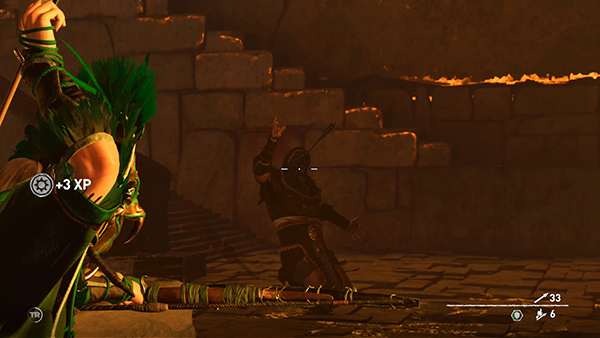
...and one to take them down.
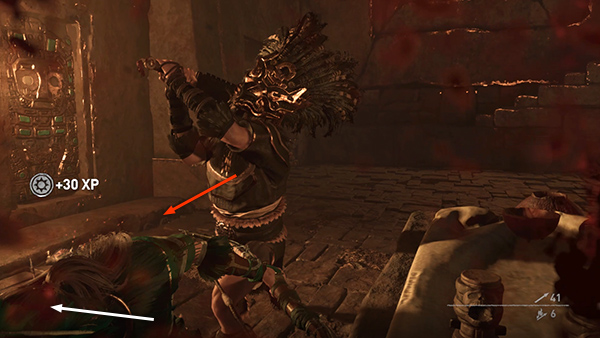
If you've unlocked the Puma's Feint skill, hold Aim to keep your bow drawn. Make sure you have room to maneuver, since this won't work if Lara is backed into a corner. Then, wait until one of the Jaguar Warriors lunges at you and press C on the keyboard, Circle or B on the controller, to dodge.
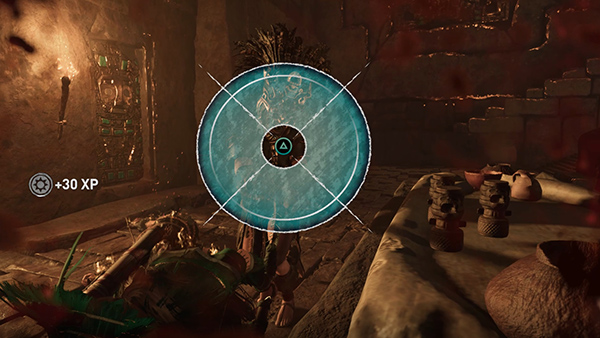
This brings up a QTE interface. When you see the Melee icon (which looks a little different depending on whether you're using a controller or keyboard), you'll have a brief window of opportunity for a counterattack as the white circle contracts inward toward the center ring. If you press too soon or too late, it won't work. But if you press Melee while the white ring is within the colored area of the disk...
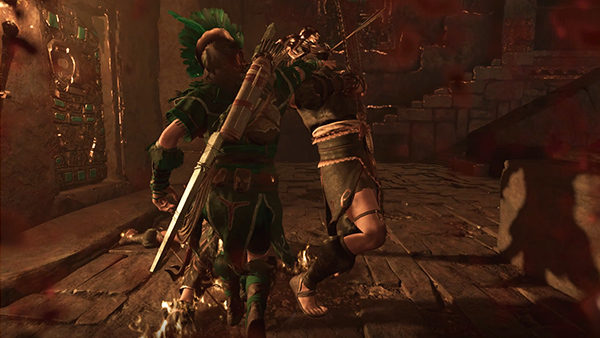
...Lara will stab the enemy in the throat with an arrow, and you'll receive bonus XP for a Dodge Kill.
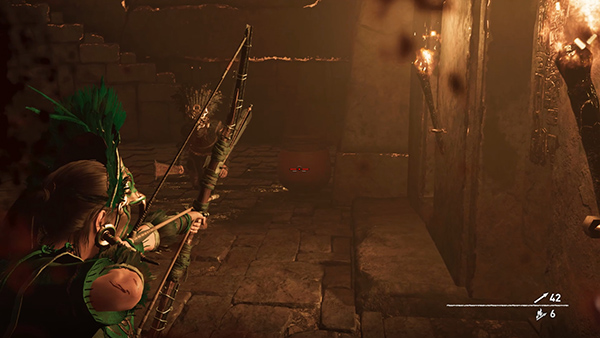
Another tactic is to wait for one of the warriors to approach, then when he's standing near one of the large red jars, shoot it...
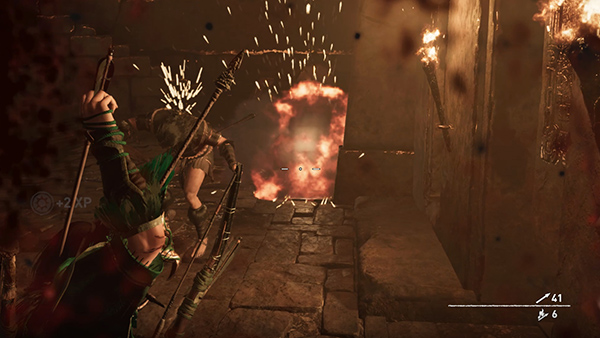
...to cause an explosion. Just make sure Lara isn't too close or she'll take damage as well.
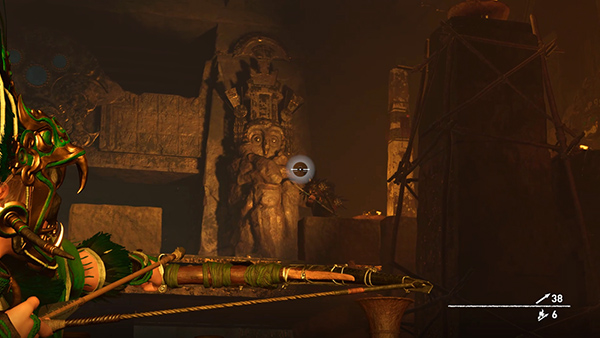
Occasionally one of the archers will jump down and approach Lara, but for the most part, they fire down from the ledge above the middle of the room. You can shoot them with fire arrows or just rely on the trusty headshot. Their helmets are decorative, so one well-aimed arrow should do it. Just to review, hold Aim and move the targeting reticle to the enemy's head. Press Z on the keyboard or click the right stick (R3) to zoom in.
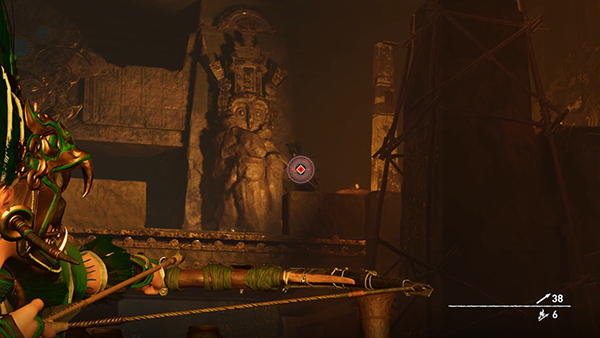
Then hold the fire button briefly to charge your shot. If you have unlocked the Skill Raposa's Threat, you'll see an enhanced targeting reticle for headshots.
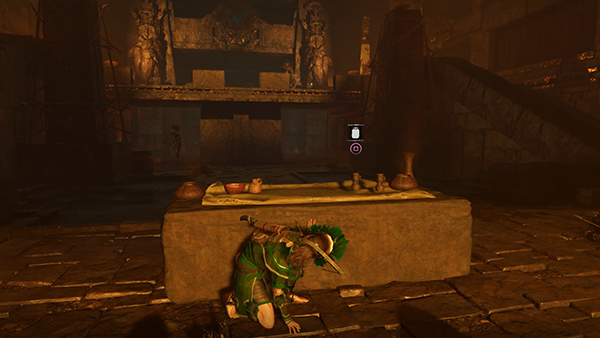
If you spend most of the fight behind the stone table, you'll notice the ceramic jars sitting on top. If you like you can grab one of these by pressing Interact.
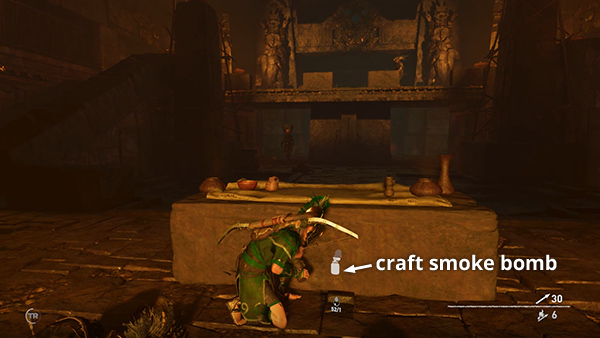
Then, without selecting a weapon, hold Alt Fire (Middle Mouse/R1/RB) to craft a smoke bomb using fat from your inventory.
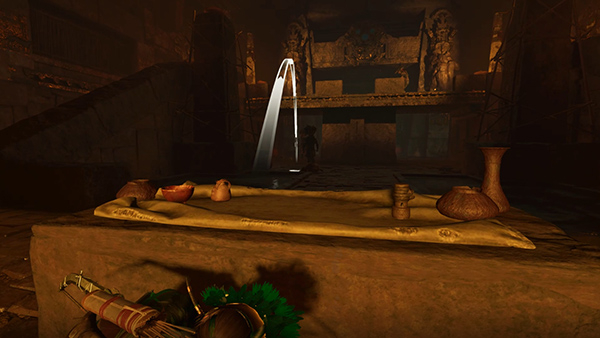
Hold Aim (Right Mouse/Left Trigger) and you'll see a white arc. Adjust with the mouse or right stick, then press Left Mouse/Right Trigger to throw the jar.
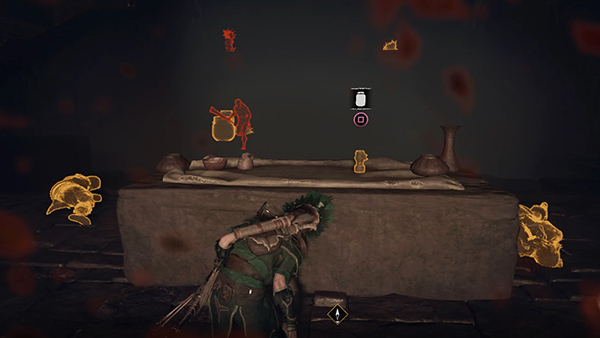
The smoke cloud briefly disorients nearby enemies and makes it difficult for them to spot Lara, but if you activate Survival Instinct, she can see them.
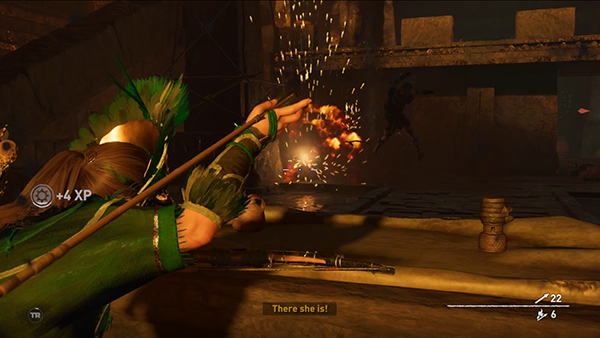
You can then shoot the men or the red explosive jars.
When you've defeated Colqui and his men, the mission is complete and you receive a large XP award. Be sure to loot the bodies. Each man carries at least 100 gold pieces, plus feathers and/or health and perception herbs. There's also a box of cloth at the foot of the staircase on the right and some arrows leaning against the wall near the back right corner.
[Previous | Mission Walkthrough]
Copyright © - Stellalune ( ). All rights reserved. Feel free to copy or print this walkthrough for personal use. By all means, share it with friends, but please include this credit line so people can send me their feedback. No part of this walkthrough may be reproduced on another site without permission. Follow this link for details about this site's advertising and privacy policy.