The Hidden City – Abandoned Village - Chuki's Crypt (part 1)
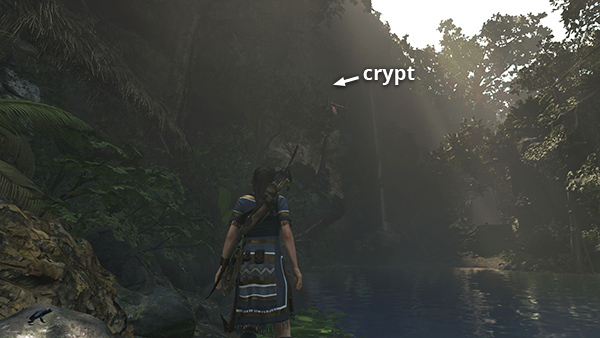
The entrance to the crypt is high above the northeast side of the pool, near the wooden diving platform.
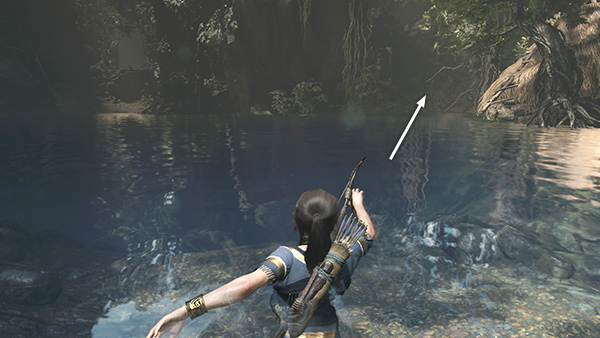
To get there from the Black Wolf Den, swim back across the pool to the far right side and follow the path back up to the village.
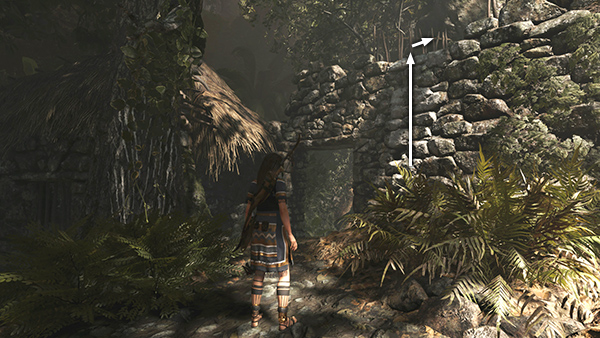
When you pass under the stone arch near the hut where you found document #19, turn around. (If you're coming from the city, rather than the wolf den, just head for the northeast corner of the village to find this archway.) Scramble up the wall to the right of the arch and move forward to a ledge overlooking the pool.
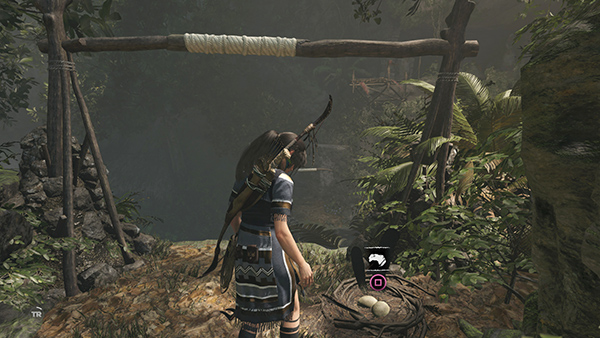
Loot the condor's nest for the Keep Calm and Carrion Challenge.
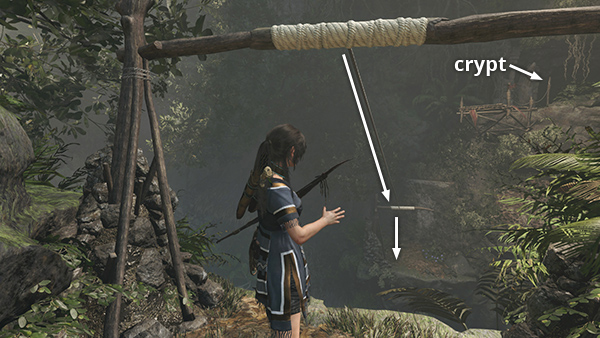
Then shoot a rope line into the beam on the far side of the pool and slide down.
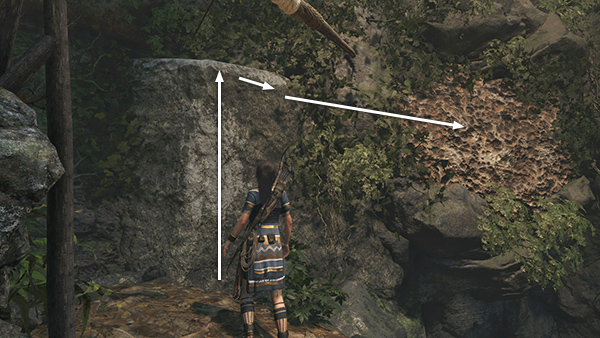
Scramble up the rock wall to grab the handhold above. Climb to the right, then jump over to the craggy climbing wall.
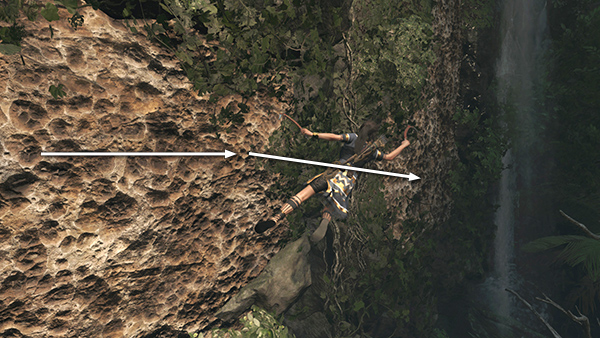
Climb to the right as far as you can, then jump to the next section of climbable wall, near the waterfall.
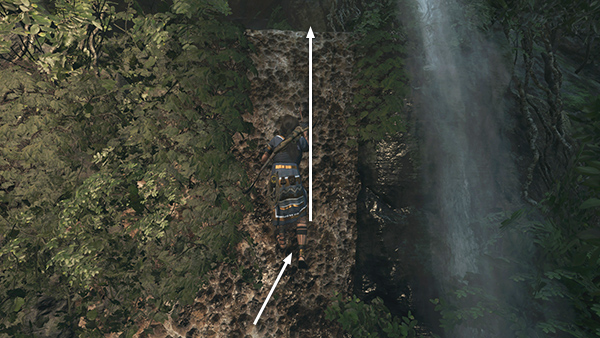
Climb onto the ledge above.
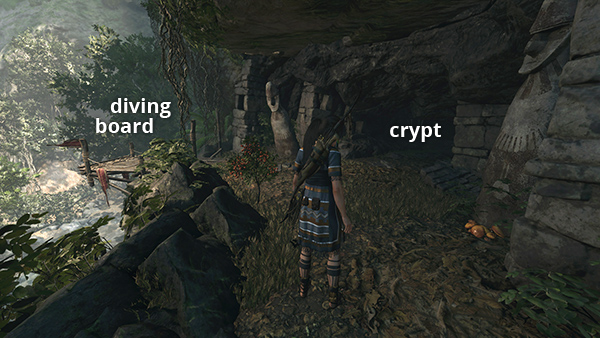
Here you'll find the crypt entrance and a platform for the High Diving Challenge. The crypt entrance is also the exit, so you can wait to dive on the way back.
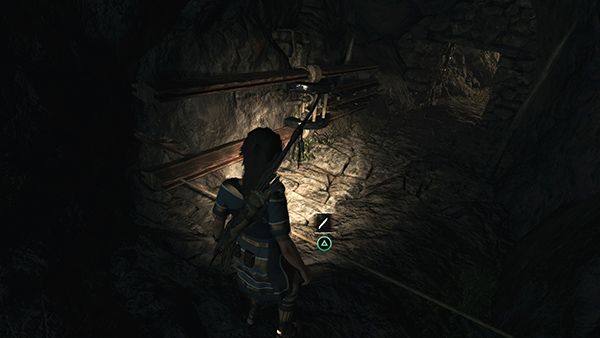
Follow the dark passageway to a trap with a tripwire you can cut to trigger the trap ahead of you.
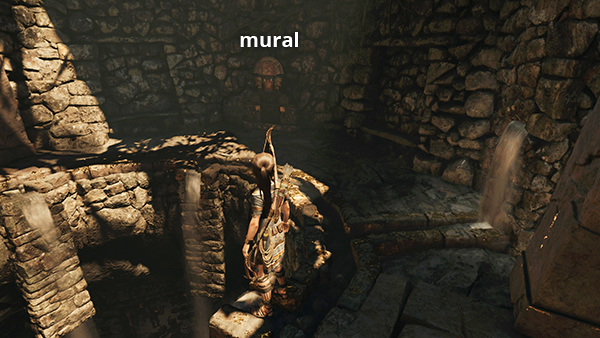
Continue to a round room with a pool of water below. Lara says it looks deep enough, but don't dive in. Instead examine the mural (14/23), Chuki, The Weaver (Quechua/Resting Places), on the right.
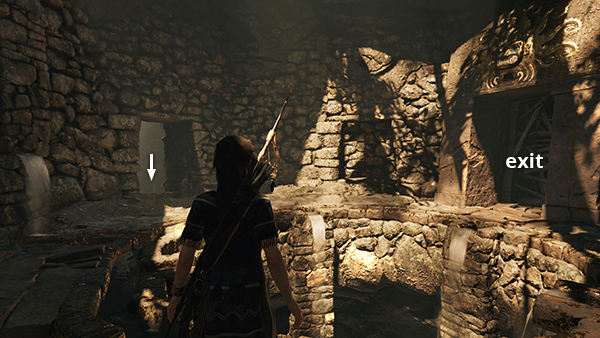
The wooden barrier opposite the crypt entrance won't open from this side. You'll exit here later. Go through the doorway on the west side, opposite the mural.
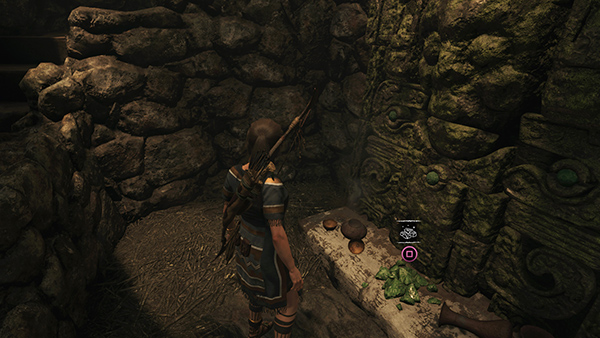
Follow the curving stairs down to the room below, where you'll find some jade ore.
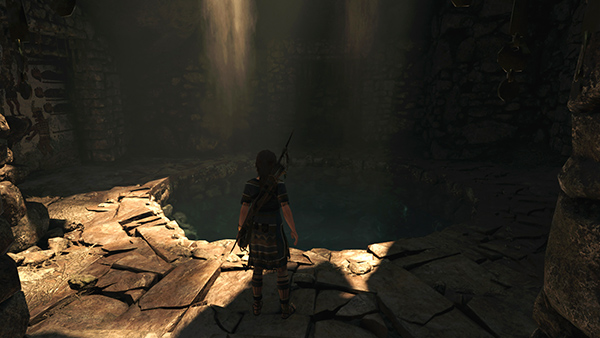
Follow the passageway, scrambling under the already triggered spear trap, to the pool you just saw from above. There are murals on either side of the pool that Lara can examine, but they aren't "official" ones, so no new information is added to your Artifact collection.
[Next | Crypt Walkthrough | Hidden City Walkthrough]
Copyright © - Stellalune ( ). All rights reserved. Feel free to copy or print this walkthrough for personal use. By all means, share it with friends, but please include this credit line so people can send me their feedback. No part of this walkthrough may be reproduced on another site without permission. Follow this link for details about this site's advertising and privacy policy.