Cenote – San Cordoba Challenge Tomb (part 3)
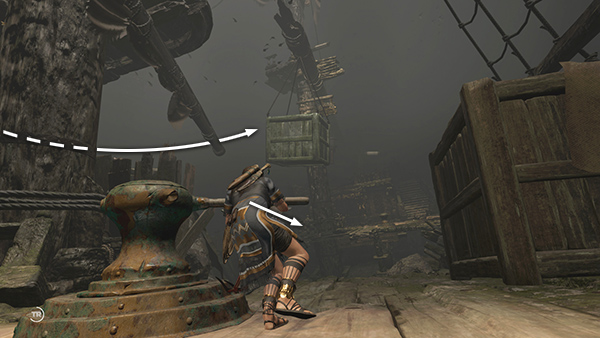
Grab the handle on the second capstan and pull it to rotate the boom in toward the dangling crate.
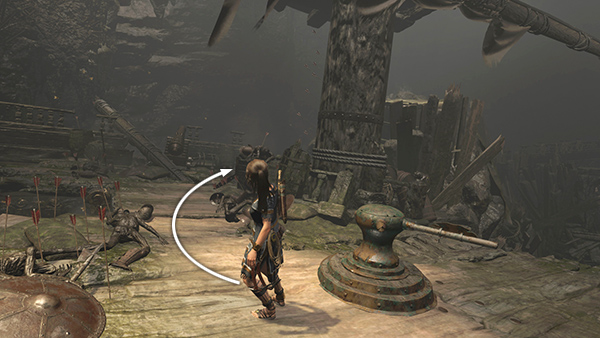
Go around to the other side of the mast.
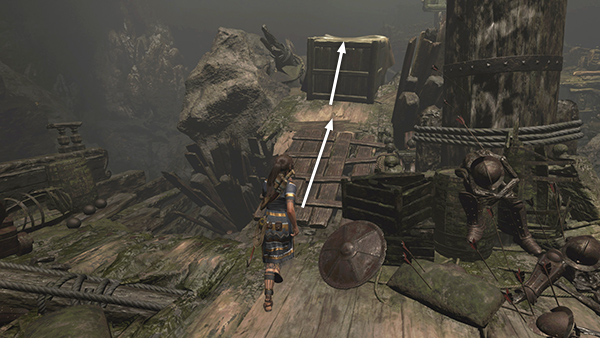
Move up the wooden ramp and climb onto the large crate.
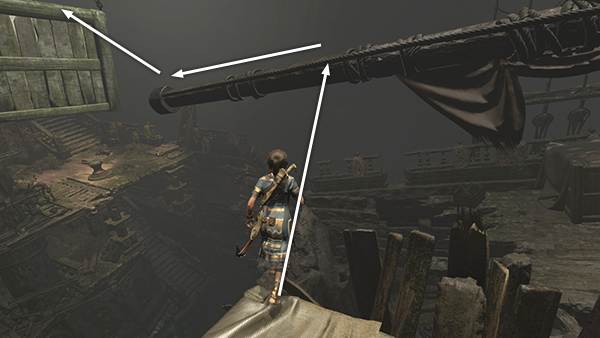
Turn right and jump to grab
the boom you just rotated. Pull up onto the boom, walk to the end, and jump onto the dangling crate.
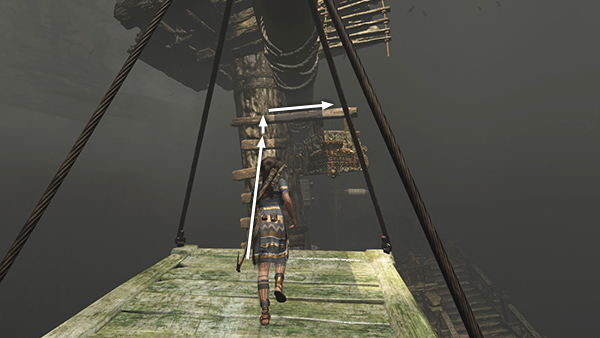
Jump from the crate to the ladder on the mizzenmast. Climb up then to the right, along the wooden board supporting the "San Cordoba" sign.
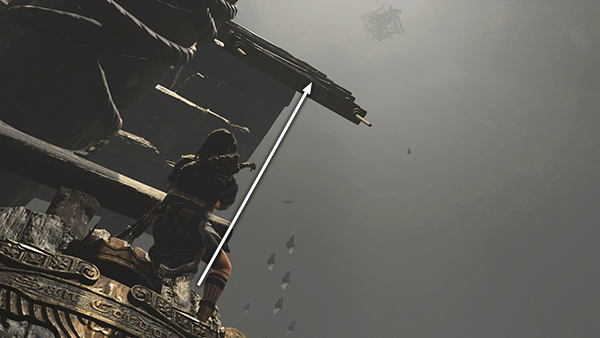
Jump up to grab the ladder above.
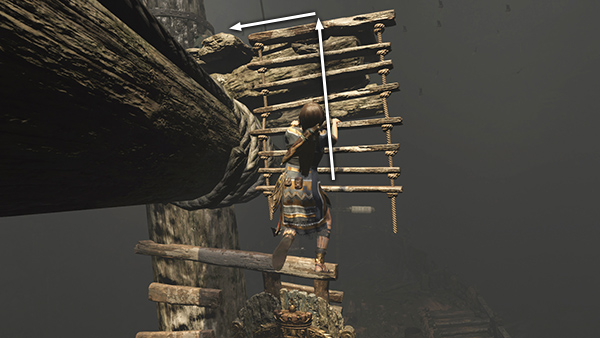
Climb to the top and move in toward the mast.
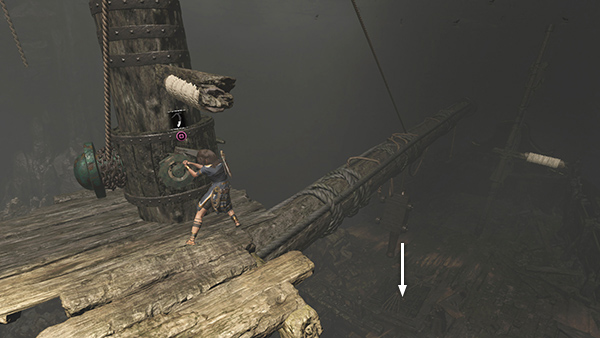
Use your axe to pry the mechanism attached to the mast in order to drop the falconet through the barrier on the deck..
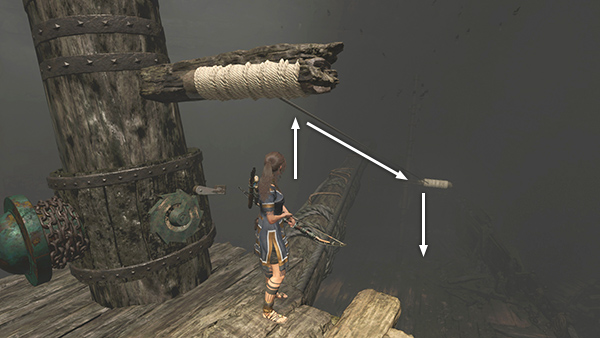
To get down quickly, stand under the rope-wrapped beam, shoot a rope arrow into the beam above the quarterdeck, and slide down the line.
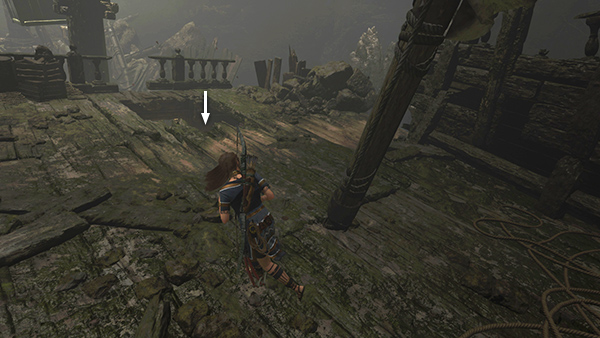
Drop through the opening you just made.
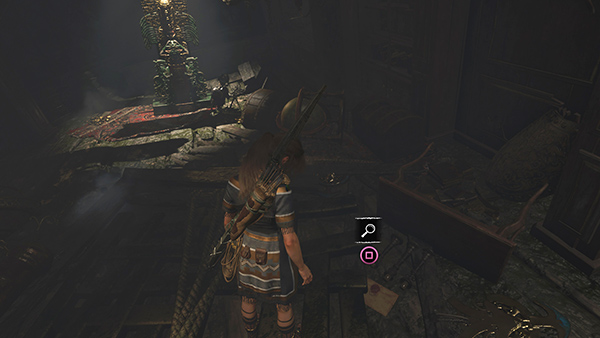
Inside the captain's quarters you'll find a document (3/6), Captain's Note (Conquerors), 2 piles of gold, and the tomb stele. Examine it to unlock Scavenger Skill Caiman's Breath II, which further increases Lara's breath capacity.
NOTE: If you haven't already retrieved relic #4, do that before leaving the ship. See here for details.
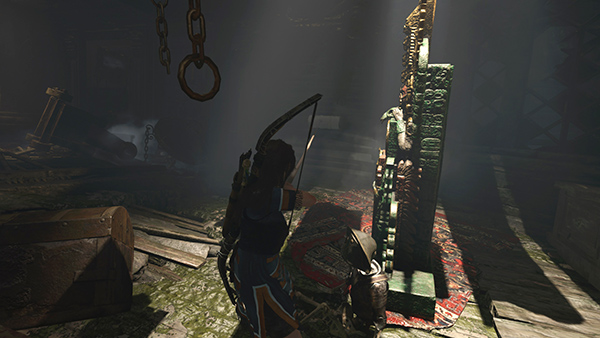
Then use a rope arrow to pull down the wooden barrier next to the stele for a convenient exit back to the pool.
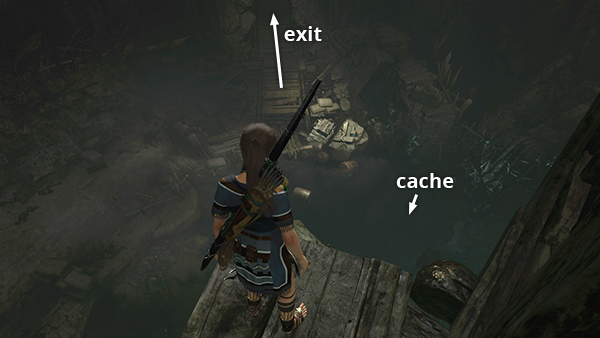
Dive in, retrieve survival cache #4 if you didn't get it earlier, and then head up the ramp and straight through the building to the southeast to get back to the Collapsed Temple Base Camp.
[Previous | Challenge Tomb Walkthrough]
Copyright © - Stellalune ( ). All rights reserved. Feel free to copy or print this walkthrough for personal use. By all means, share it with friends, but please include this credit line so people can send me their feedback. No part of this walkthrough may be reproduced on another site without permission. Follow this link for details about this site's advertising and privacy policy.