Cenote – Backtracking for Survival Caches #4 and #5
These caches are in the caverns on the way to the San Cordoba Challenge Tomb. If you missed them, start by fast traveling to the Cenote Temple Ruins Base Camp.
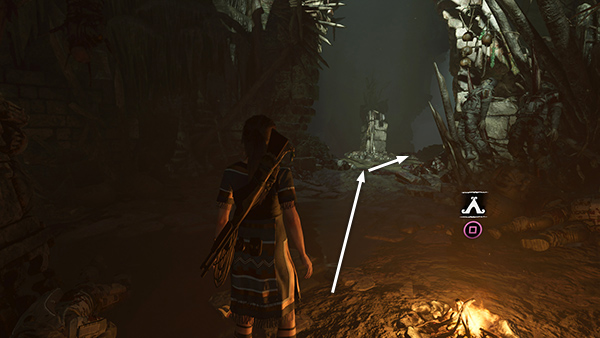
From the campfire, head down the slope to the east, bearing right at the square column. Continue down the slope to the ledge where you originally climbed up.

Jump down onto the ledge below and move to the left edge, overlooking the chasm.
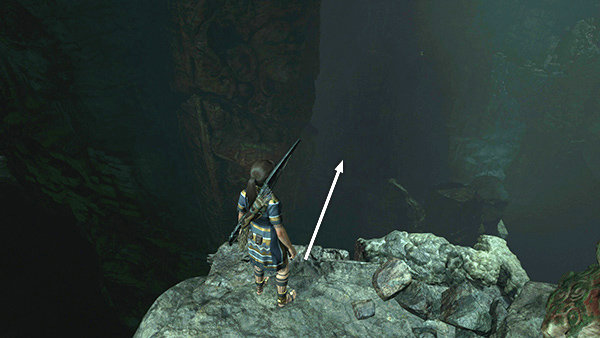
Now you're aiming for the path on the other (northeast) side of the chasm. Even with the screen brightened considerably, it's hard to see where to go. Check this map detail or just aim to the right of the tall column and Lara should land on the path.
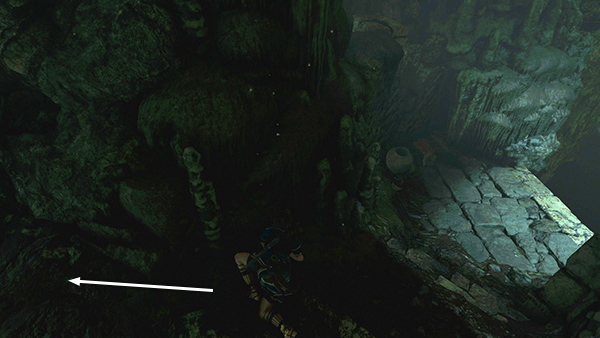
To the right is the ledge where you first climbed up from below. Turn left...

...and squeeze through the gap between the rocks to emerge near the Challenge Tomb entrance.
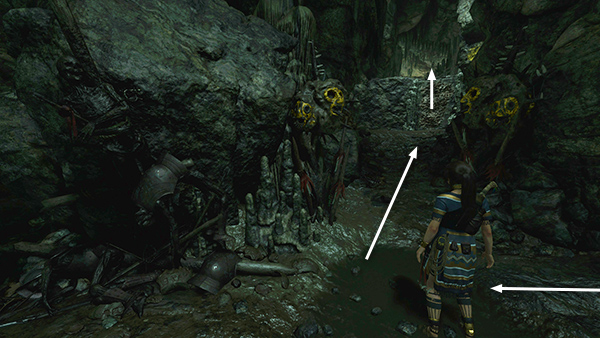
Turn right (east) and follow the path between the golden totems At the top of the hill, jump across the gap, latch onto the climbing wall, and climb to the ledge above.
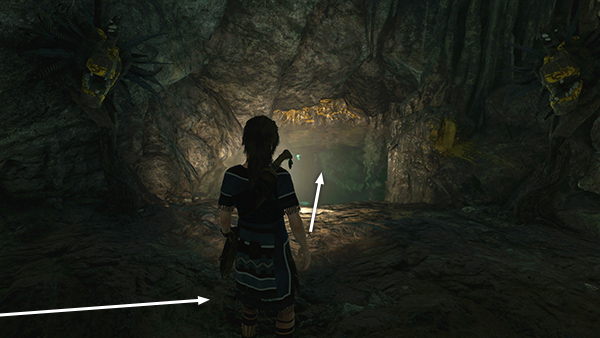
In the cave ahead, turn left and enter the flooded passageway
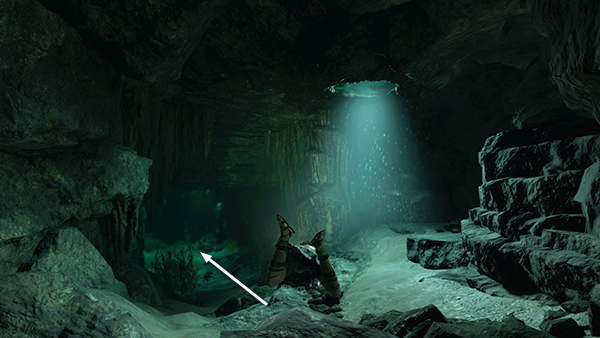
There's an air pocket just ahead on the right. Take a breath if you need it. Then swim onward...
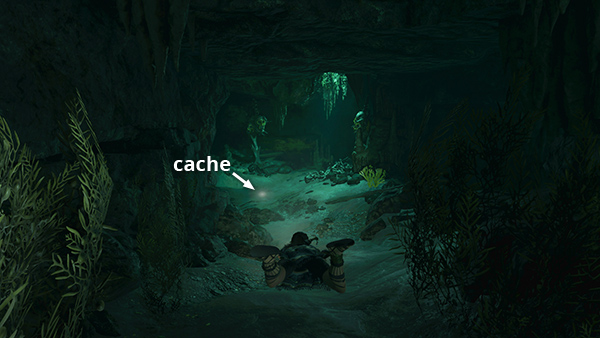
...and you'll spot survival cache #4 just ahead.
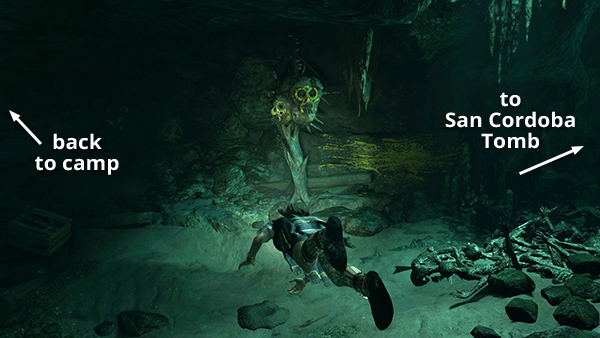
If you still need survival cache #5 or anything in the Challenge Tomb, turn right (north) here and follow the tomb walkthrough to navigate the flooded caverns and reach the tomb. The quick guide includes additional details on revisiting this area.
If all you needed was survival cache #4, turn left (south) here, surface, and climb out of the water.
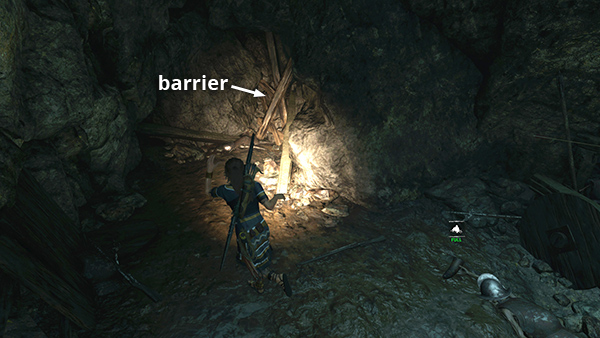
Break down the wooden barrier with your axe and squeeze through the gap to emerge in the cavern near document #4.
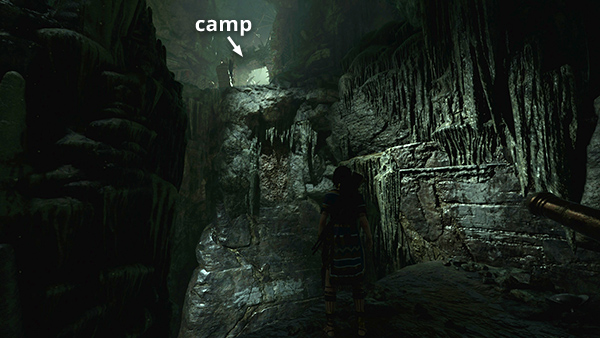
To get back to the Cenote Temple Ruins Base Camp, retrace the same route you took when playing through the story: Climb the wall to the west, shimmy along the narrow ledge, jump across the chasm to the climbing wall, rappel down, wall run and jump to the left, then work your way up and around to the camp. (Check these screenshots from the main walkthrough if you need a refresher.)
Copyright © - Stellalune ( ). All rights reserved. Feel free to copy or print this walkthrough for personal use. By all means, share it with friends, but please include this credit line so people can send me their feedback. No part of this walkthrough may be reproduced on another site without permission. Follow this link for details about this site's advertising and privacy policy.