Pyramid of Osiris - Challenge: Knock 3 Skeletons onto Spikes
with Remote Bombs
The first opportunity to work on this challenge is in the OPEN AREA WITH SKELETONS AND SPIKE PIT.
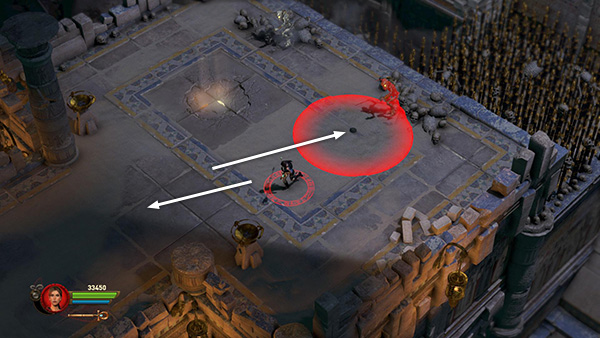
In the next area, several skeletons appear. If you're quick, you may be able to run forward and plant a bomb near either of the piles of bones near the edge of the spike pit. Try to position it so the bomb radius (indicated by the colored circle) just touches the edge of the bone pile. Then, when a skeleton jumps down from the ledge above, detonate the bomb...
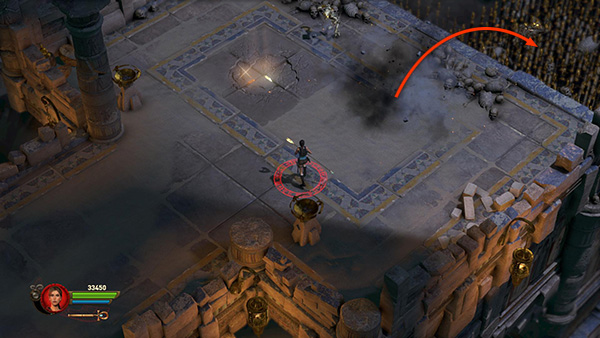
...to blow the skeleton into the spikes.
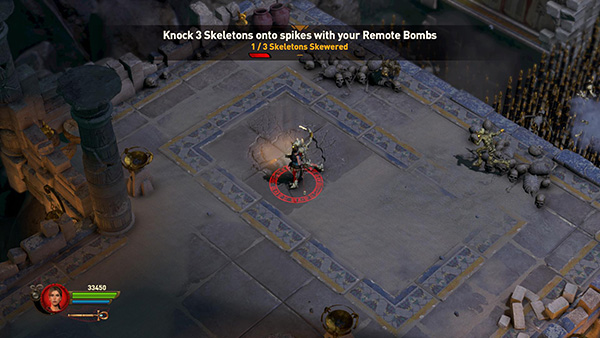
If you're successful, you'll see an on-screen message: "1/3 Skeletons Skewered." You may be able to blast another skeleton into this pit, but don't worry if you don't manage. There will be other opportunities ahead.
Later in the level you'll come to a SPIKE FIELD WITH SMALL PLATFORMS AND ARROW TRAPS.
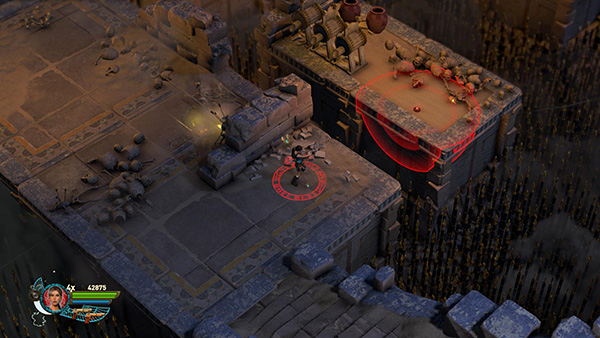
Hop across the gap at the upper right and place a remote bomb between the edge of the platform and the sleeping skeleton. Then jump back across to the larger ledge. Shoot the skeleton just briefly to wake it up without killing it.
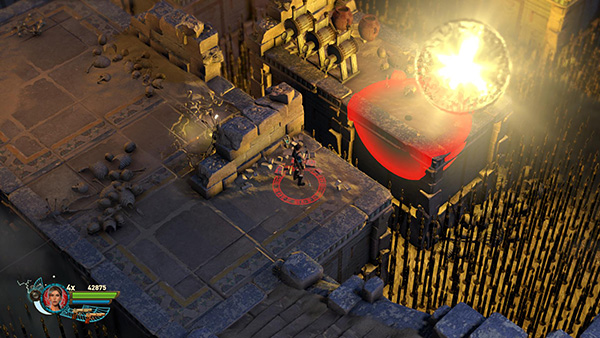
Then, when it comes fully to life, you'll see a flash of light.
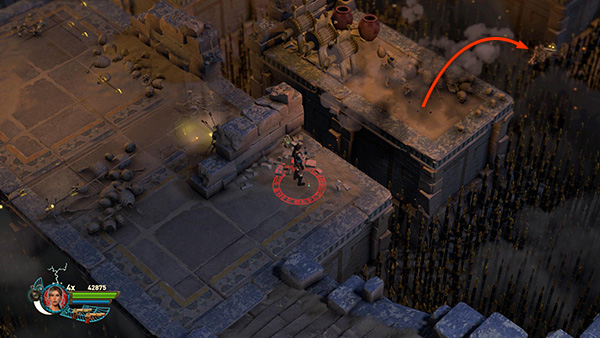
Detonate the bomb to knock it into the spikes.
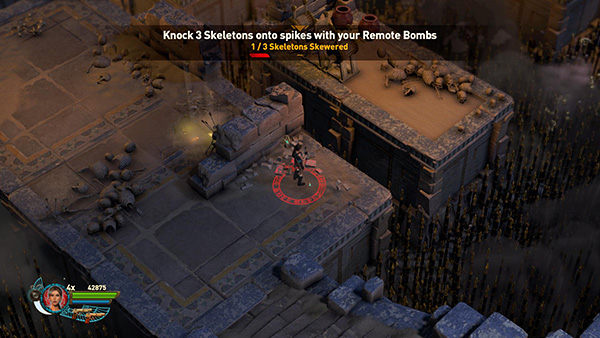
If you're successful, you'll see an on-screen message showing how many skeletons you've destroyed this way.
NOTES: If you are replaying this level after beating the game, you will probably want to avoid equipping items that increase bomb power and radius. Otherwise, your bombs will most likely destroy the skeletons instead of knocking them back. If this happens, you can go to the pause menu and choose "Reload Checkpoint." You'll lose a few points as a penalty for reloading, but you can then try again. Next time, be sure to position the bomb so only the edge touches the skeleton, and wait for it to fully animate before setting off the bomb.
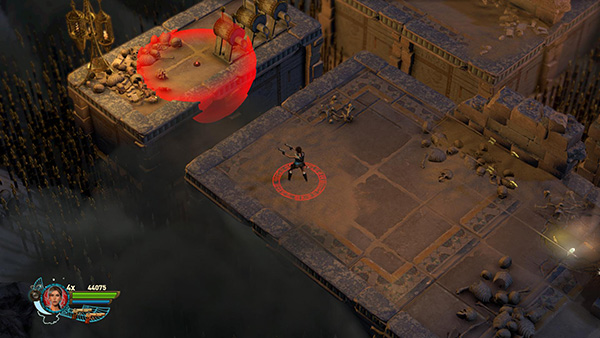
There's another sleeping skeleton a little farther along. Hop over to its platform, plant a bomb between the skeleton and the arrow traps, so the edge of the bomb radius just touches the skeleton. Then hop back to the larger platform and shoot the skeleton just briefly to wake it up.
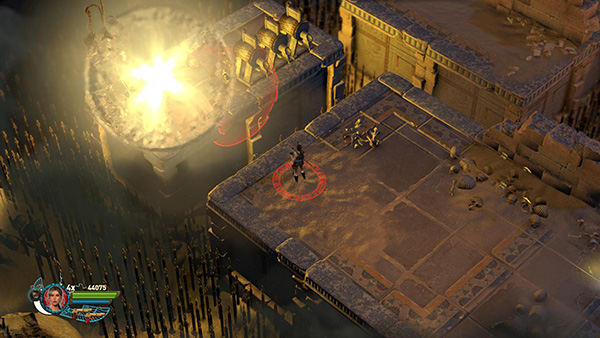
Again, you'll see a bright flash of light when the skeleton animates.
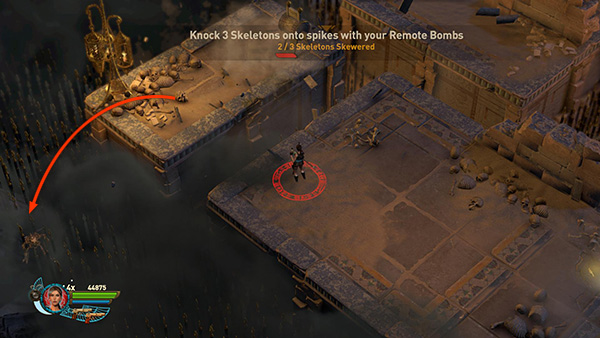
After the flash, detonate your bomb to knock the skeleton into the spikes.
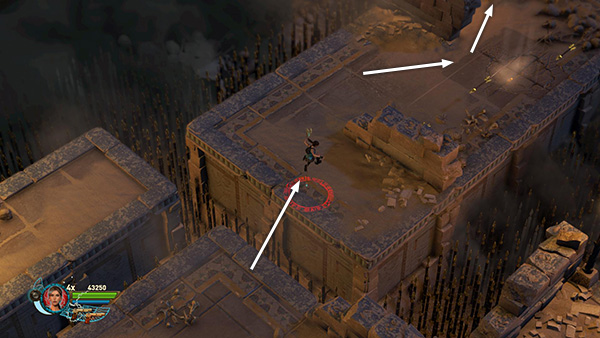
If you have not completed the challenge at that point, there are more skeletons just ahead. Hop over the spikes to the
next platform on the right. Avoid the flying arrows as you move around the low barrier walls to the top corner of the platform.
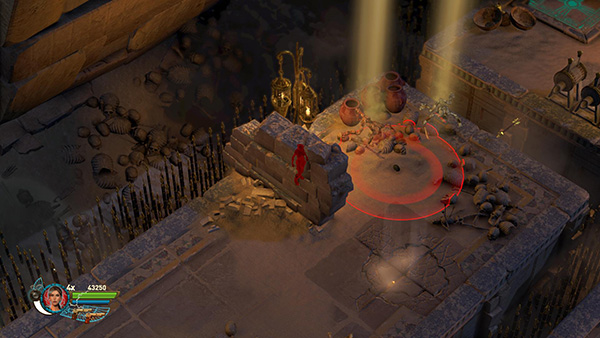
These 2 skeletons start to rise as you approach. So quickly plant your bomb and detonate it as soon as the skeletons fully animate.
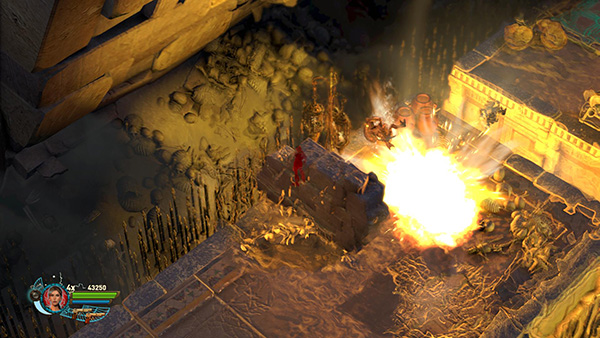
...
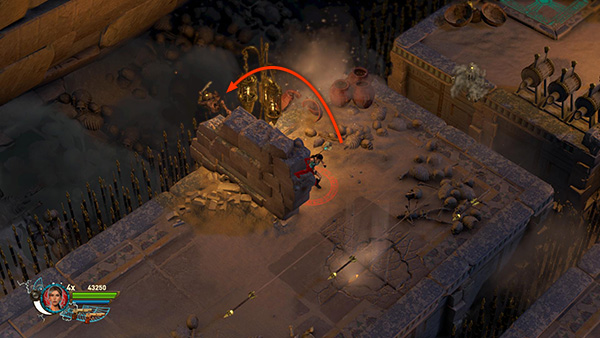
The bomb should knock one of them off the edge into the spikes on the left.
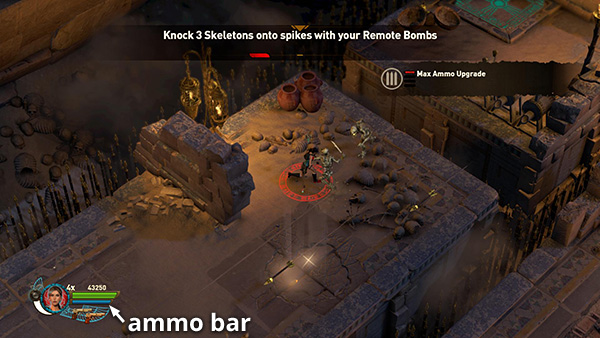
When you've destroyed 3 skeletons this way, you'll receive a MAX AMMO UPGRADE, which both refills and extends your ammo meter.
If you have not beaten the challenge by this point, you can either reload the last checkpoint and try again or run away as more skeletons approach and try to bomb them off the edge as they chase Lara across the platforms.
Copyright © 2014- - Stellalune (
). All rights reserved. The screenshots and videos included here were made using Fraps. Feel free to copy or print this walkthrough for personal use. By all means, share it with friends, but please include this credit line so people can send me their feedback. No part of this walkthrough may be reproduced on another site without permission. Follow this link for details about this site's advertising and privacy policy.